Simple Box
This is one of the the simplest cartonnage project: a parallelepipedal box that opens on a hinge.
Materials
You will need:
bookbinding board, 2-3 mm thick;
bookbinding cloth or cloth-like paper;
decorative paper such as that used for book end sheets;
mull, tarlatan or fabric scraps;
plus
contact glue;
PVA or paste;
and the following tools:
metal ruler;
pencil;
X-acto or snap-off blade knife;
a brush or spatula to apply the white glue;
For a small box, such as the C6 one in the pictures, 2 mm board is fine, above that it’s probably better to use 2.5 mm or even 3 mm for something around C4 size and above.
Pattern
For a box of external dimensions w × l × h, with bookbinding board of thickness t, you will need the following bookbinding board pieces:
2 × plates: w × l;
2 × long sides: w × (h - t);
2 × short sides: (l - t*2) × (h - t);
a piece of fabric w × about 50 mm for the hinge;
the following pieces of bookbinding cloth:
1 × cover (w + 40 mm) × ( l * 2 + h + 40 mm);
1 × sides (w + l * 2) × (h + 20 mm);
and finally the following pieces of decorative paper:
1 × inner cover (w - 4) × (l - 2 + 20);
1 × base (w - t * 2) × (l - t * 2);
2 × short sides (l + 40) × (h - t - 2 + 20);
2 × long sides (w - t * 2) × (h - t - 2 + 20);
dimensions in the bookbinding cloth and paper where 20 mm or 40 mm are added can be rounded to the closest 5 mm.
Precalculated dimensions for a box in 2 mm board can be as follows, in millimetres:
Piece |
C6 (h 28) |
C6 (h 40) |
|---|---|---|
plates |
114 × 162 |
114 × 162 |
long sides |
162 × 26 |
162 × 38 |
short sides |
110 × 26 |
110 × 38 |
fabric |
114 × 50 |
114 × 50 |
cover |
200 × 300 |
200 × 310 |
sides |
390 × 50 |
390 × 60 |
inner cover |
158 × 130 |
158 × 130 |
base |
158 × 110 |
158 × 110 |
short sides |
155 × 45 |
115 × 55 |
long sides |
158 × 45 |
158 × 55 |
Instructions
Cutting
Cut all the pieces in the appropriate material. When cutting the board make sure that the grain of the side pieces lies along their short side and the grain of the plates lies along their long sides. For the bookcloth and paper try to make the grain run along the long edge of the finished box, but it may not be as critical.
Structure
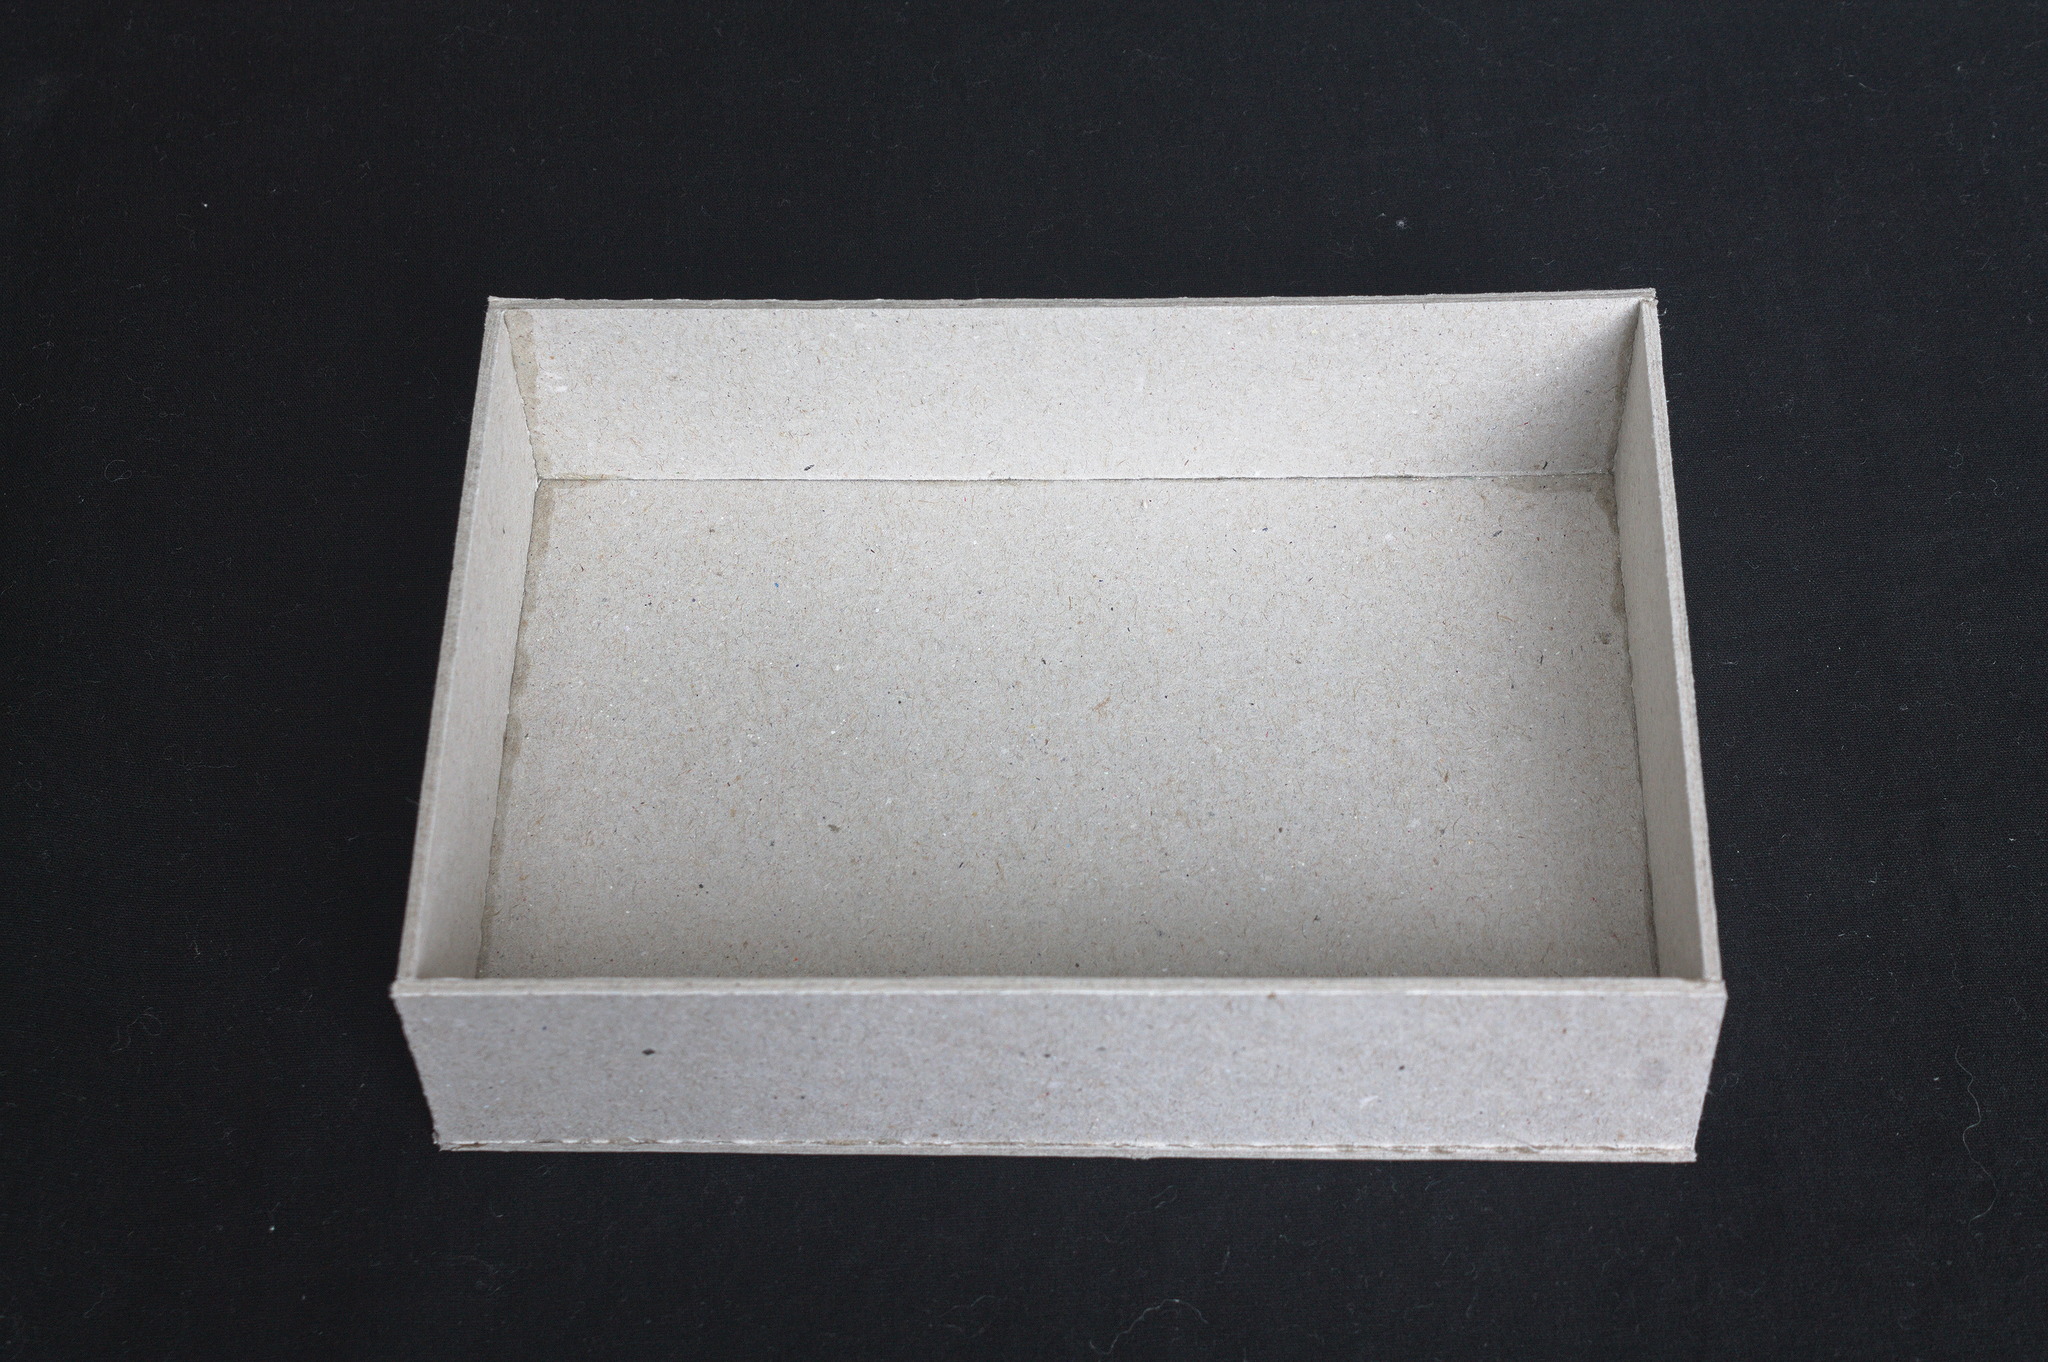
Using contact glue, attach the four sides to one of the plates, starting from the spine, then the top and bottom and finally the front.
Tip
read the instructions of the glue for details on how to use it: you will probably have to apply some glue to both board pieces, let it rest for a few minutes, then apply some more glue and press together the pieces in their right position with some force.
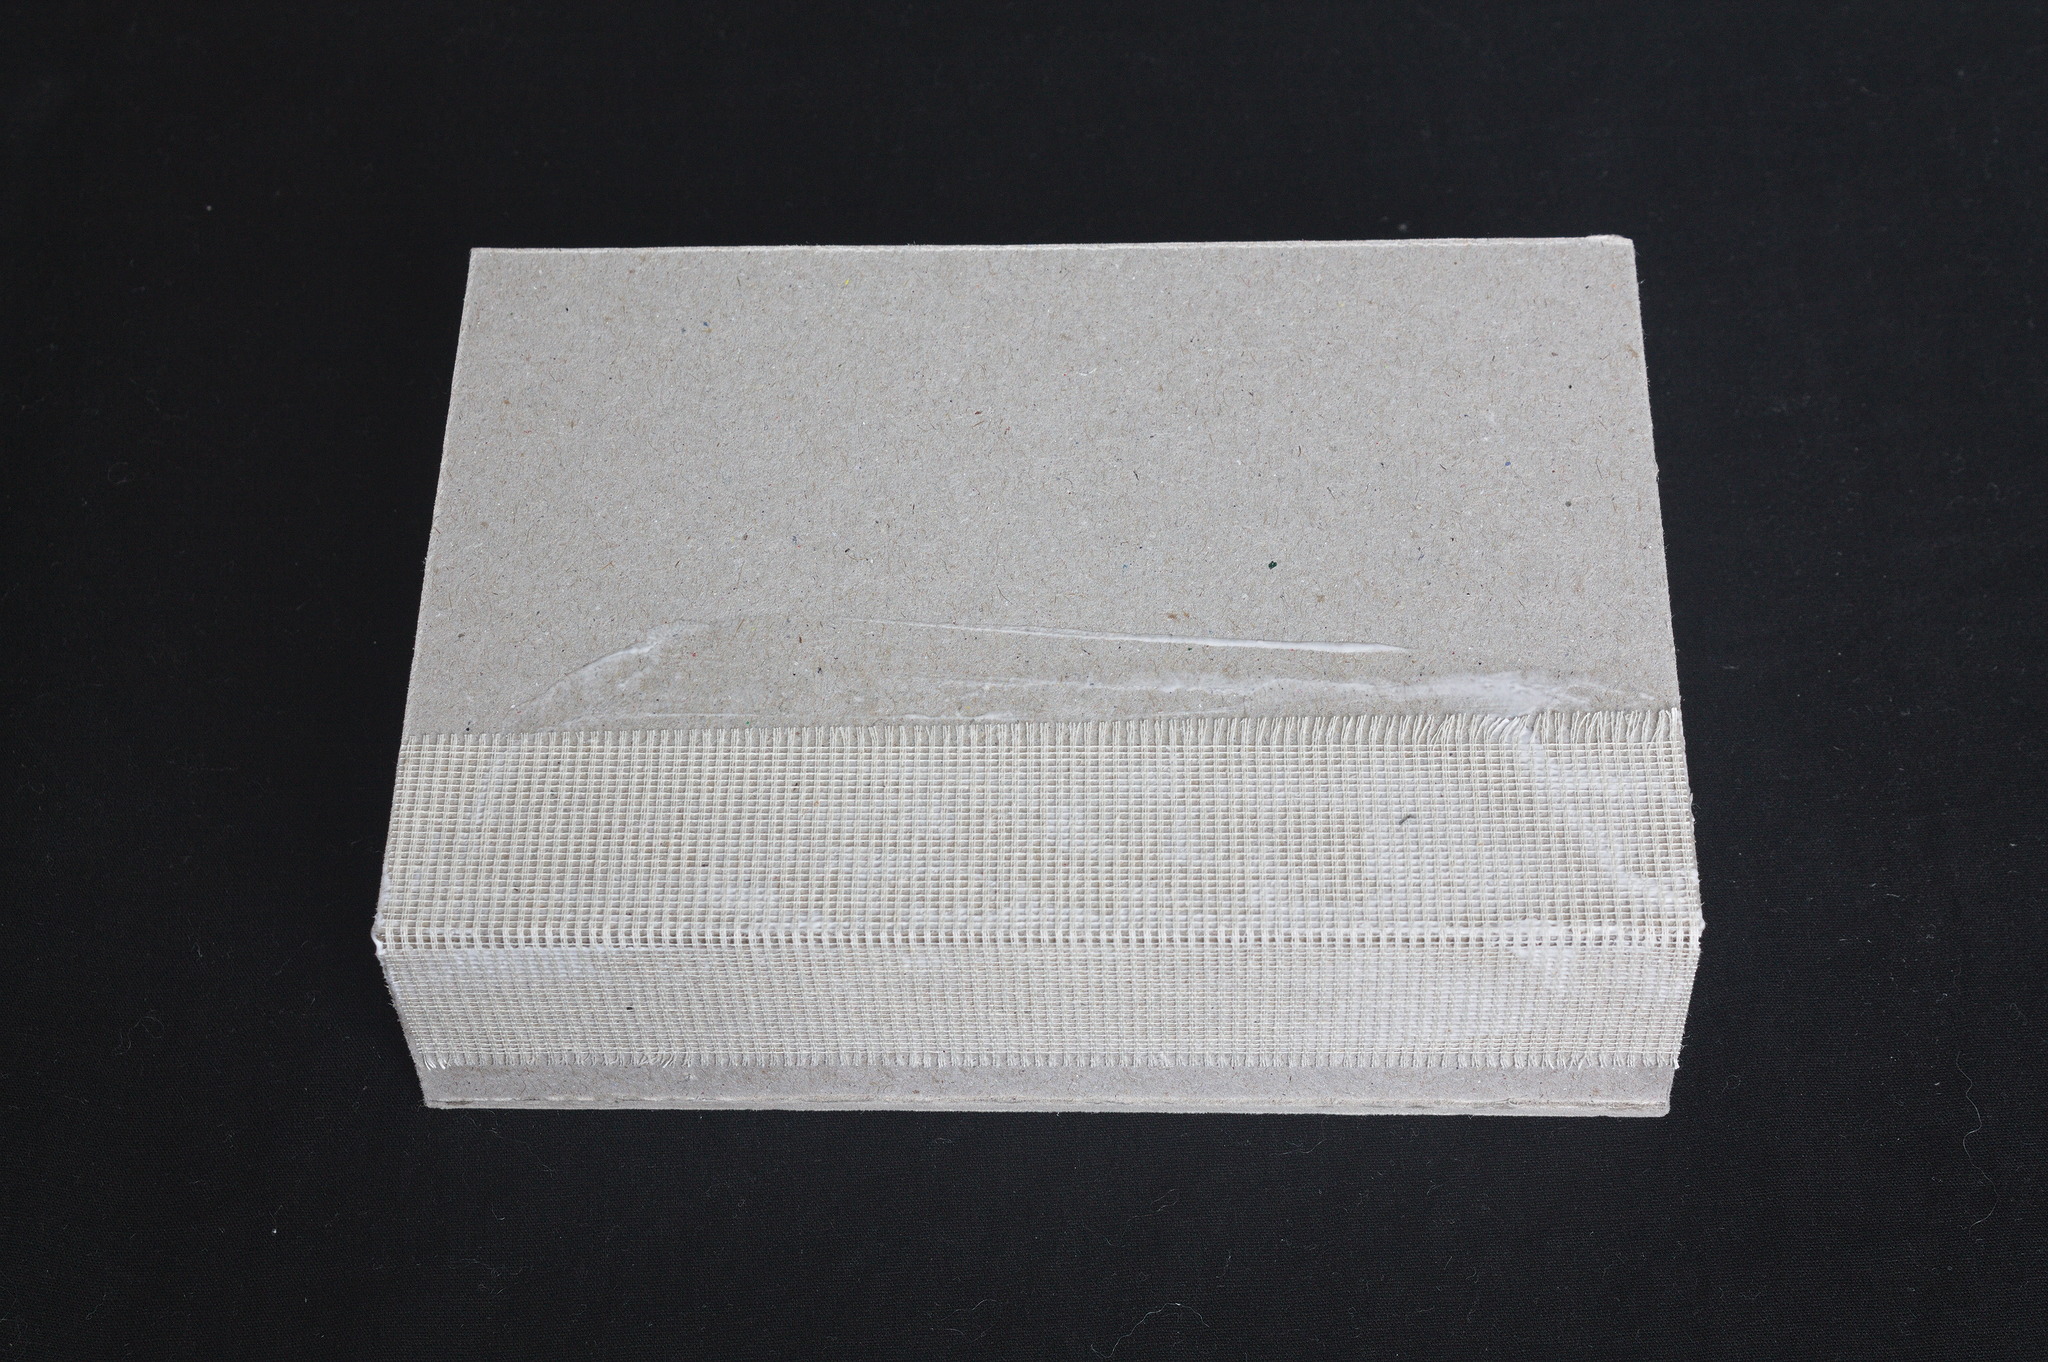
Put the top plate over the base, spread PVA for about 2 cm around a long edge, on the top plate and the adjacent long side; put the fabric on top and press well to form a hinge.

Cloth Outer
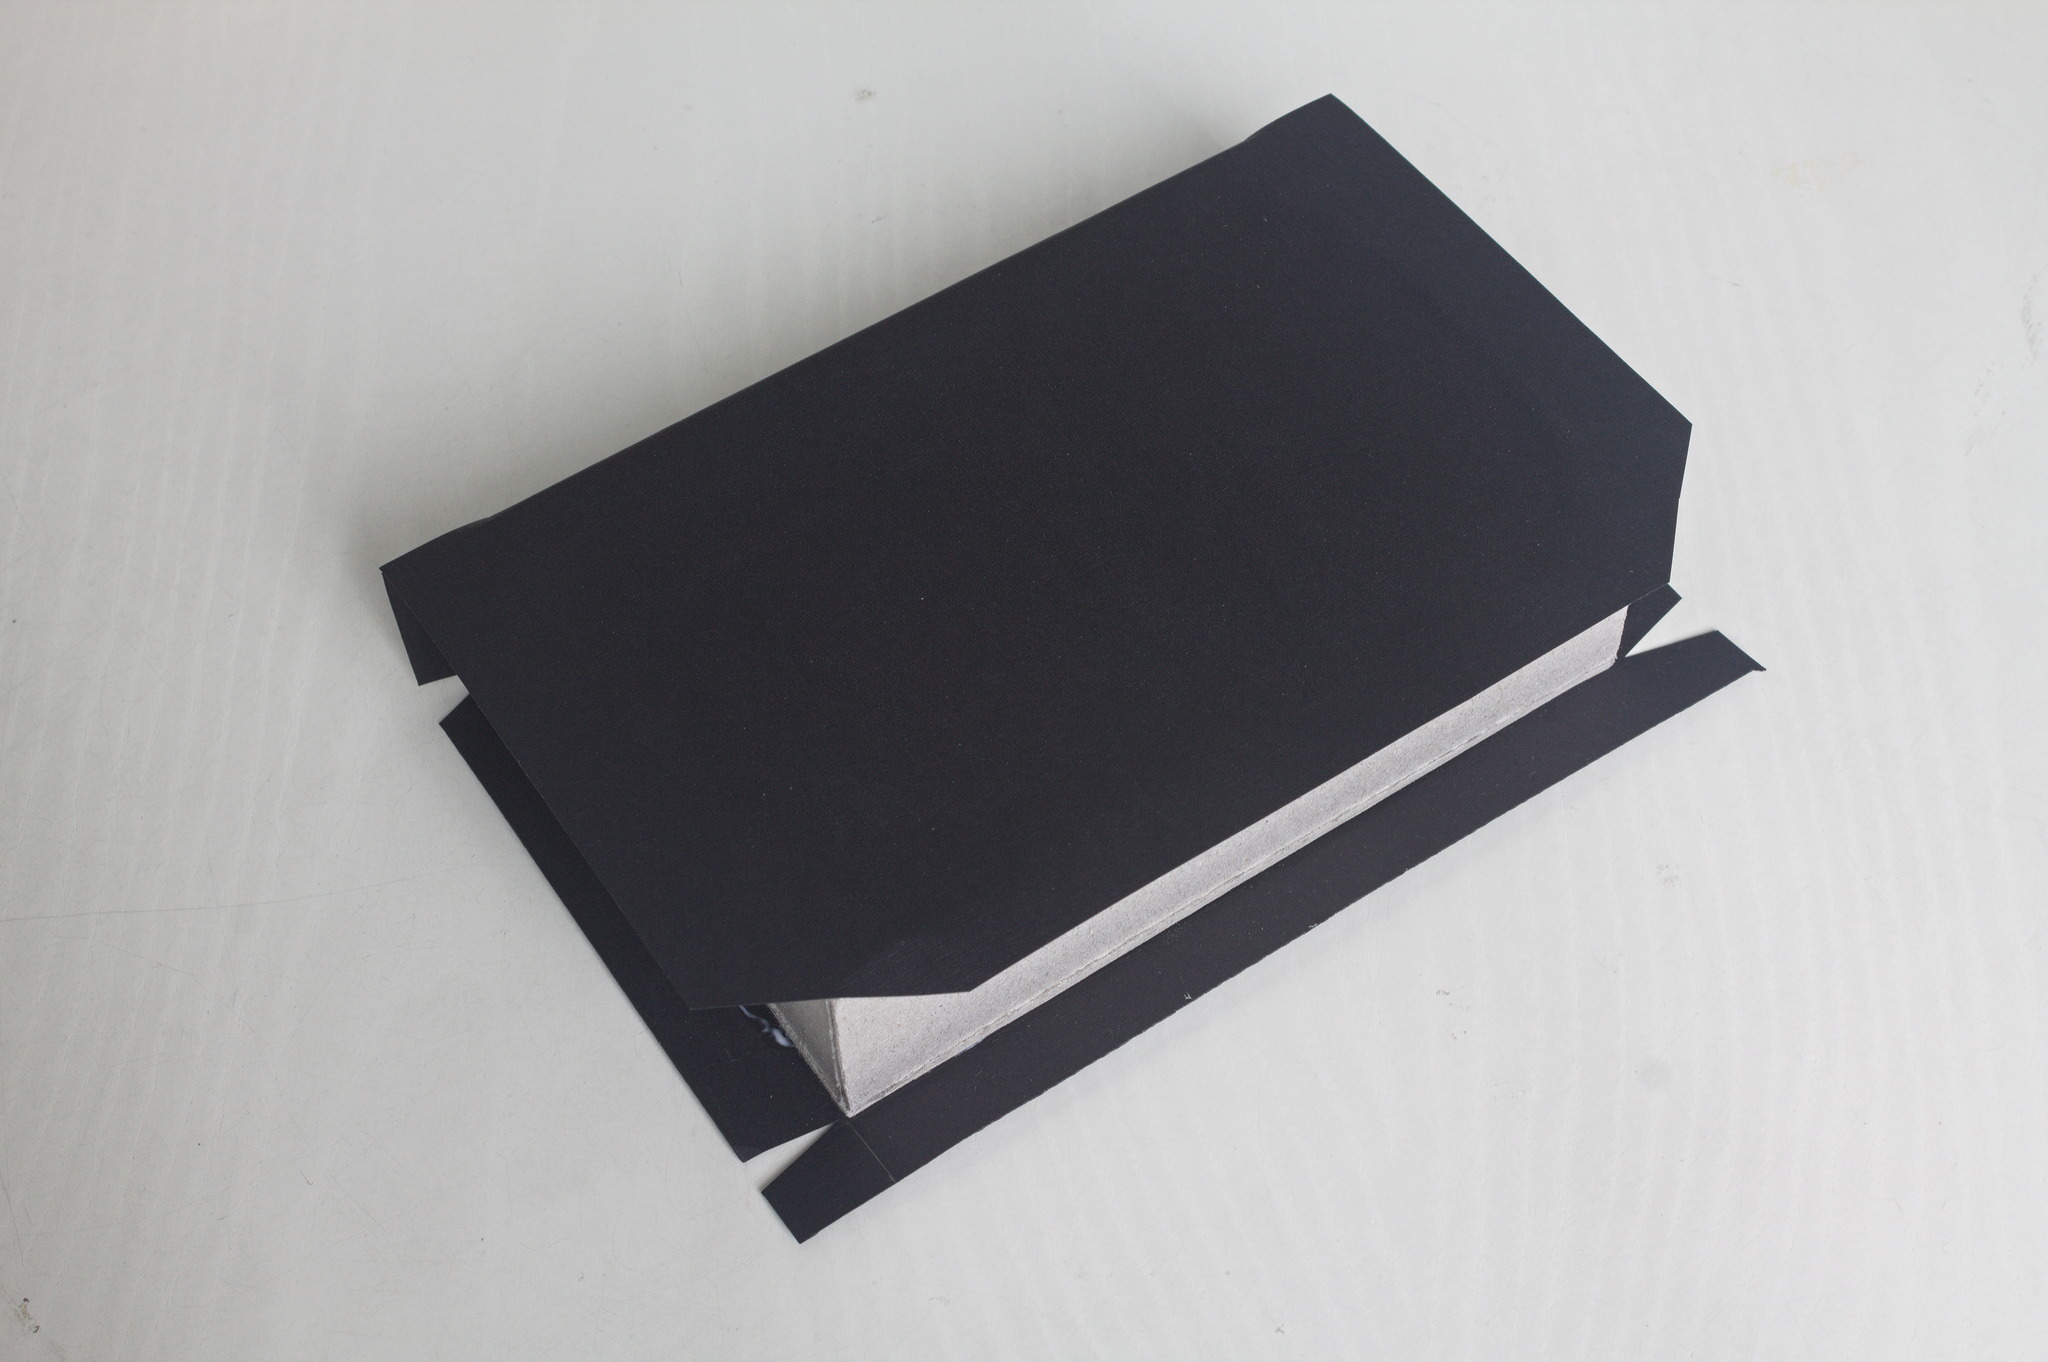
Spread PVA on the bookcloth for the cover, put the box on top of it, aligned at about 2 cm from one end and wrap the cover around it; press carefully and cut a notch at ever place where the cloth is curving.
Note
when glueing bookcloth, make sure to only touch it with hands that are clean from glue, as that can stain the front of the cloth in a way that is very hard to clean.
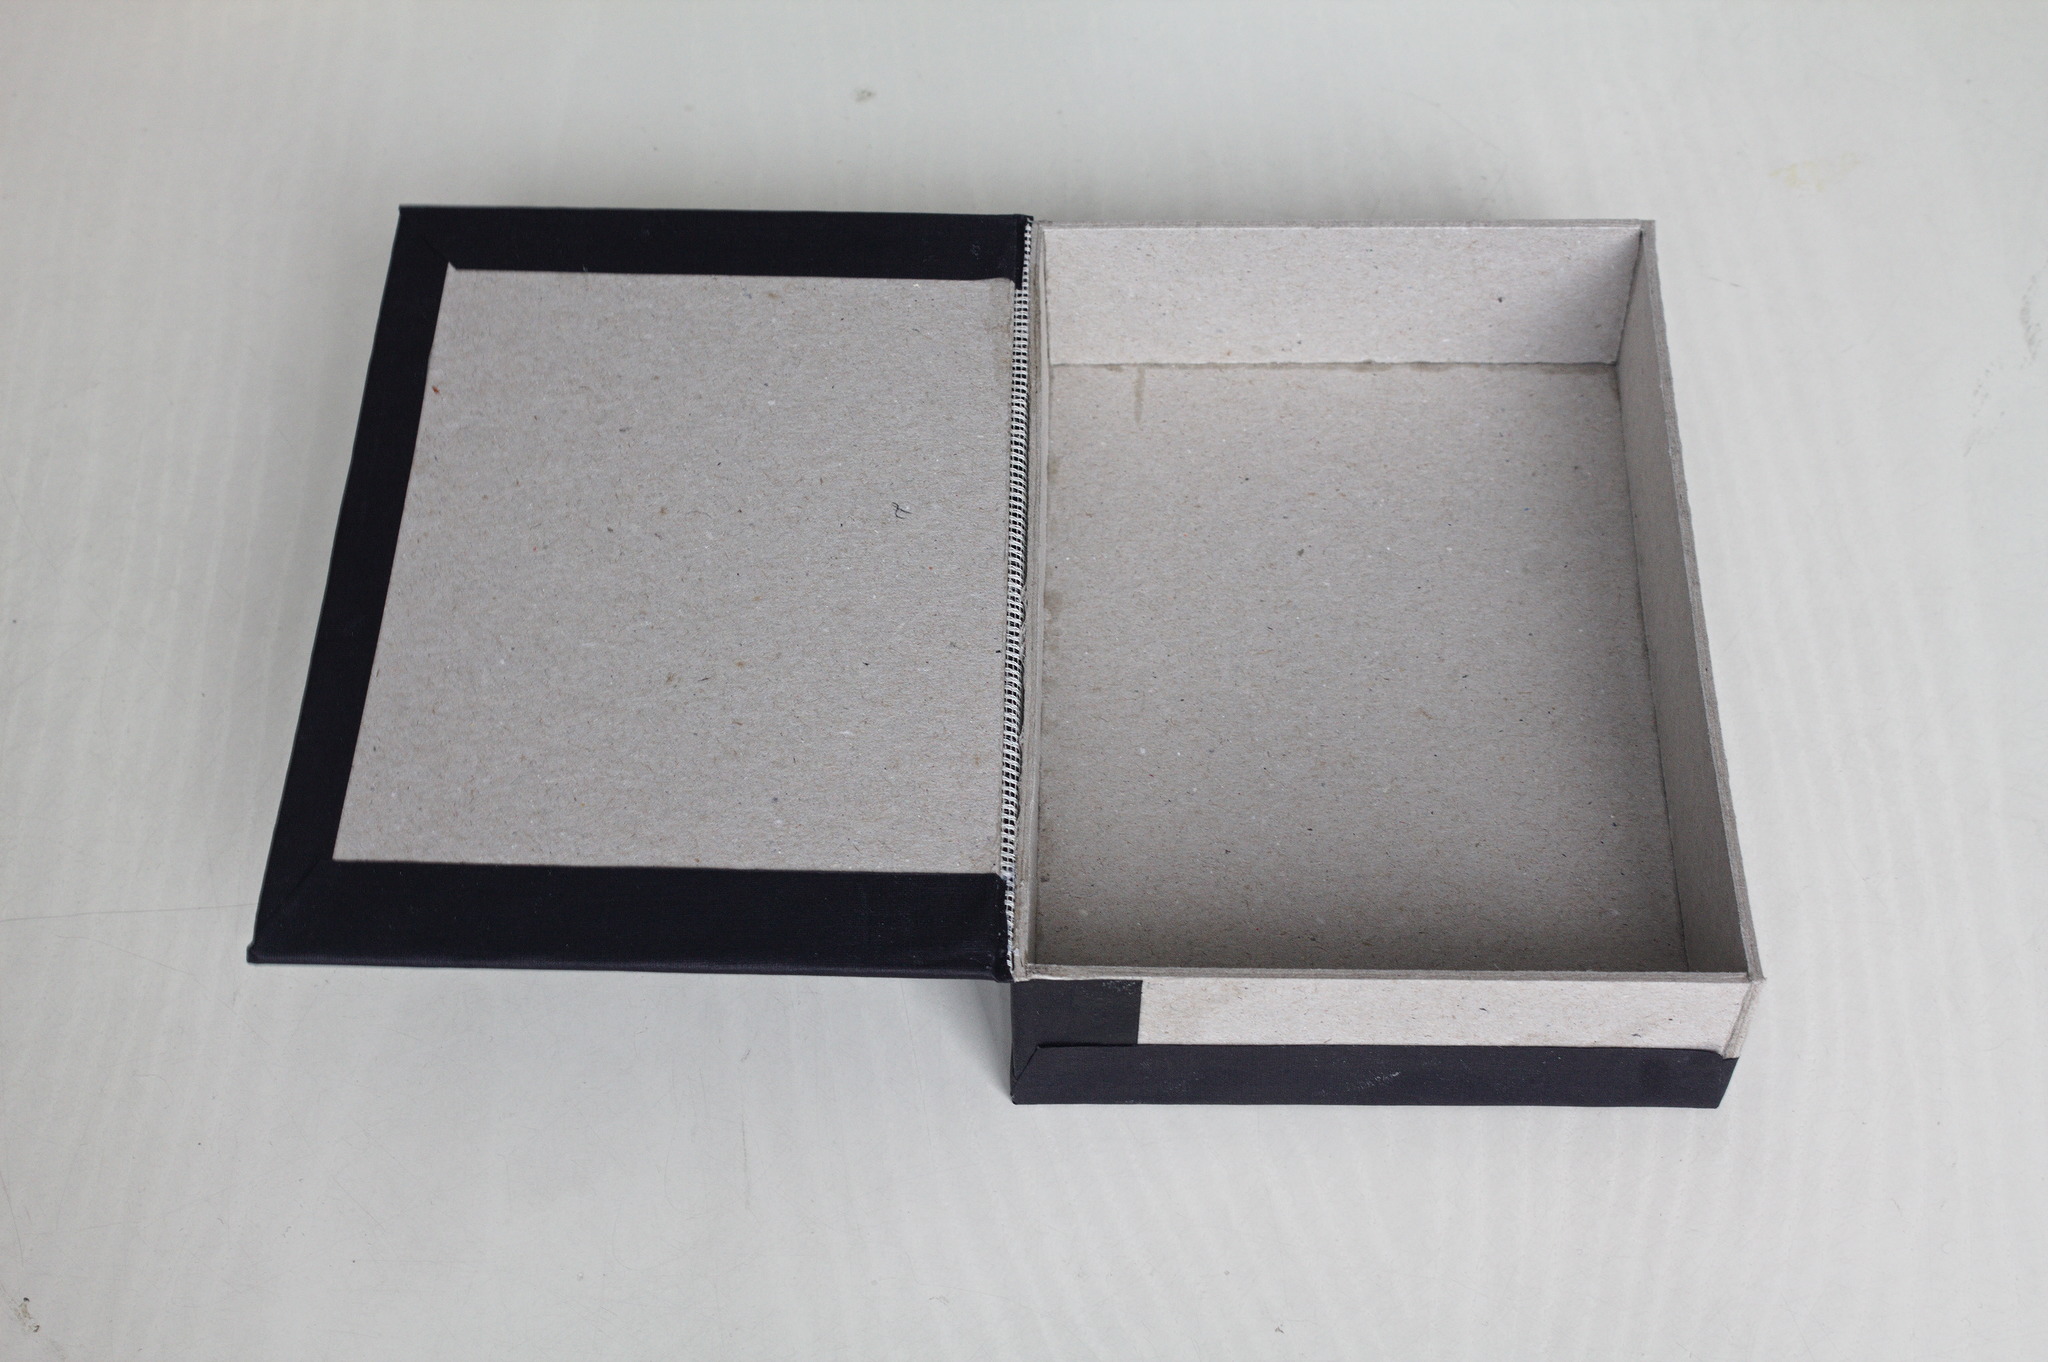
Fold all remaining edges of the bookcloth so that they are glued to the inside of the cover and to the sides.
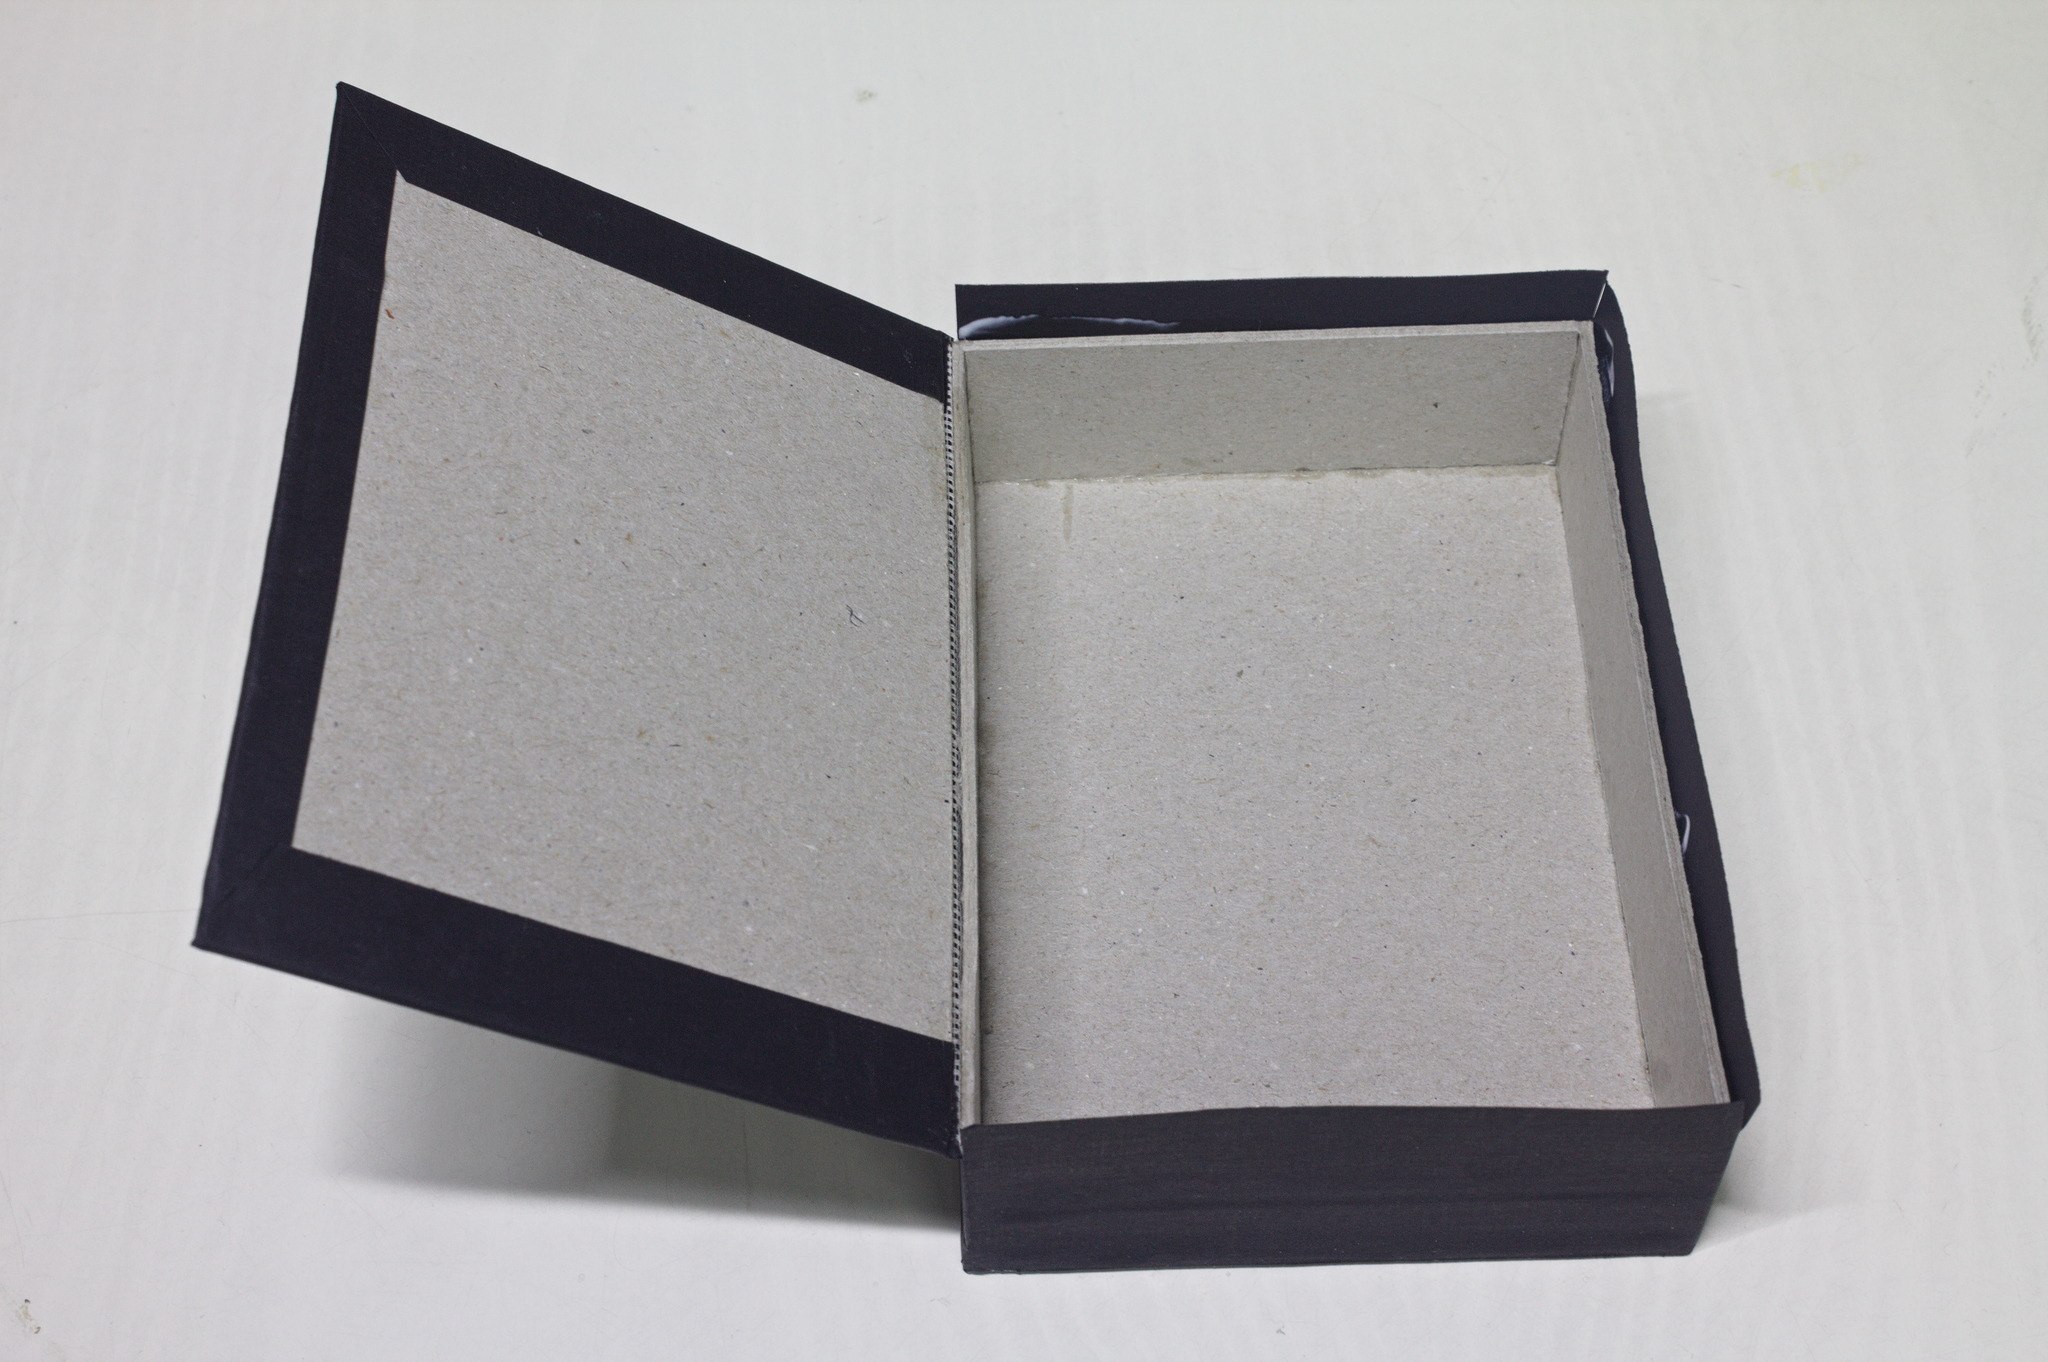
Spread PVA on the bookcloth for the sides, put it on the remaining sides, aligning it to the bottom of the box and to the corners with the spine. Clip the top of the cloth at each corner.
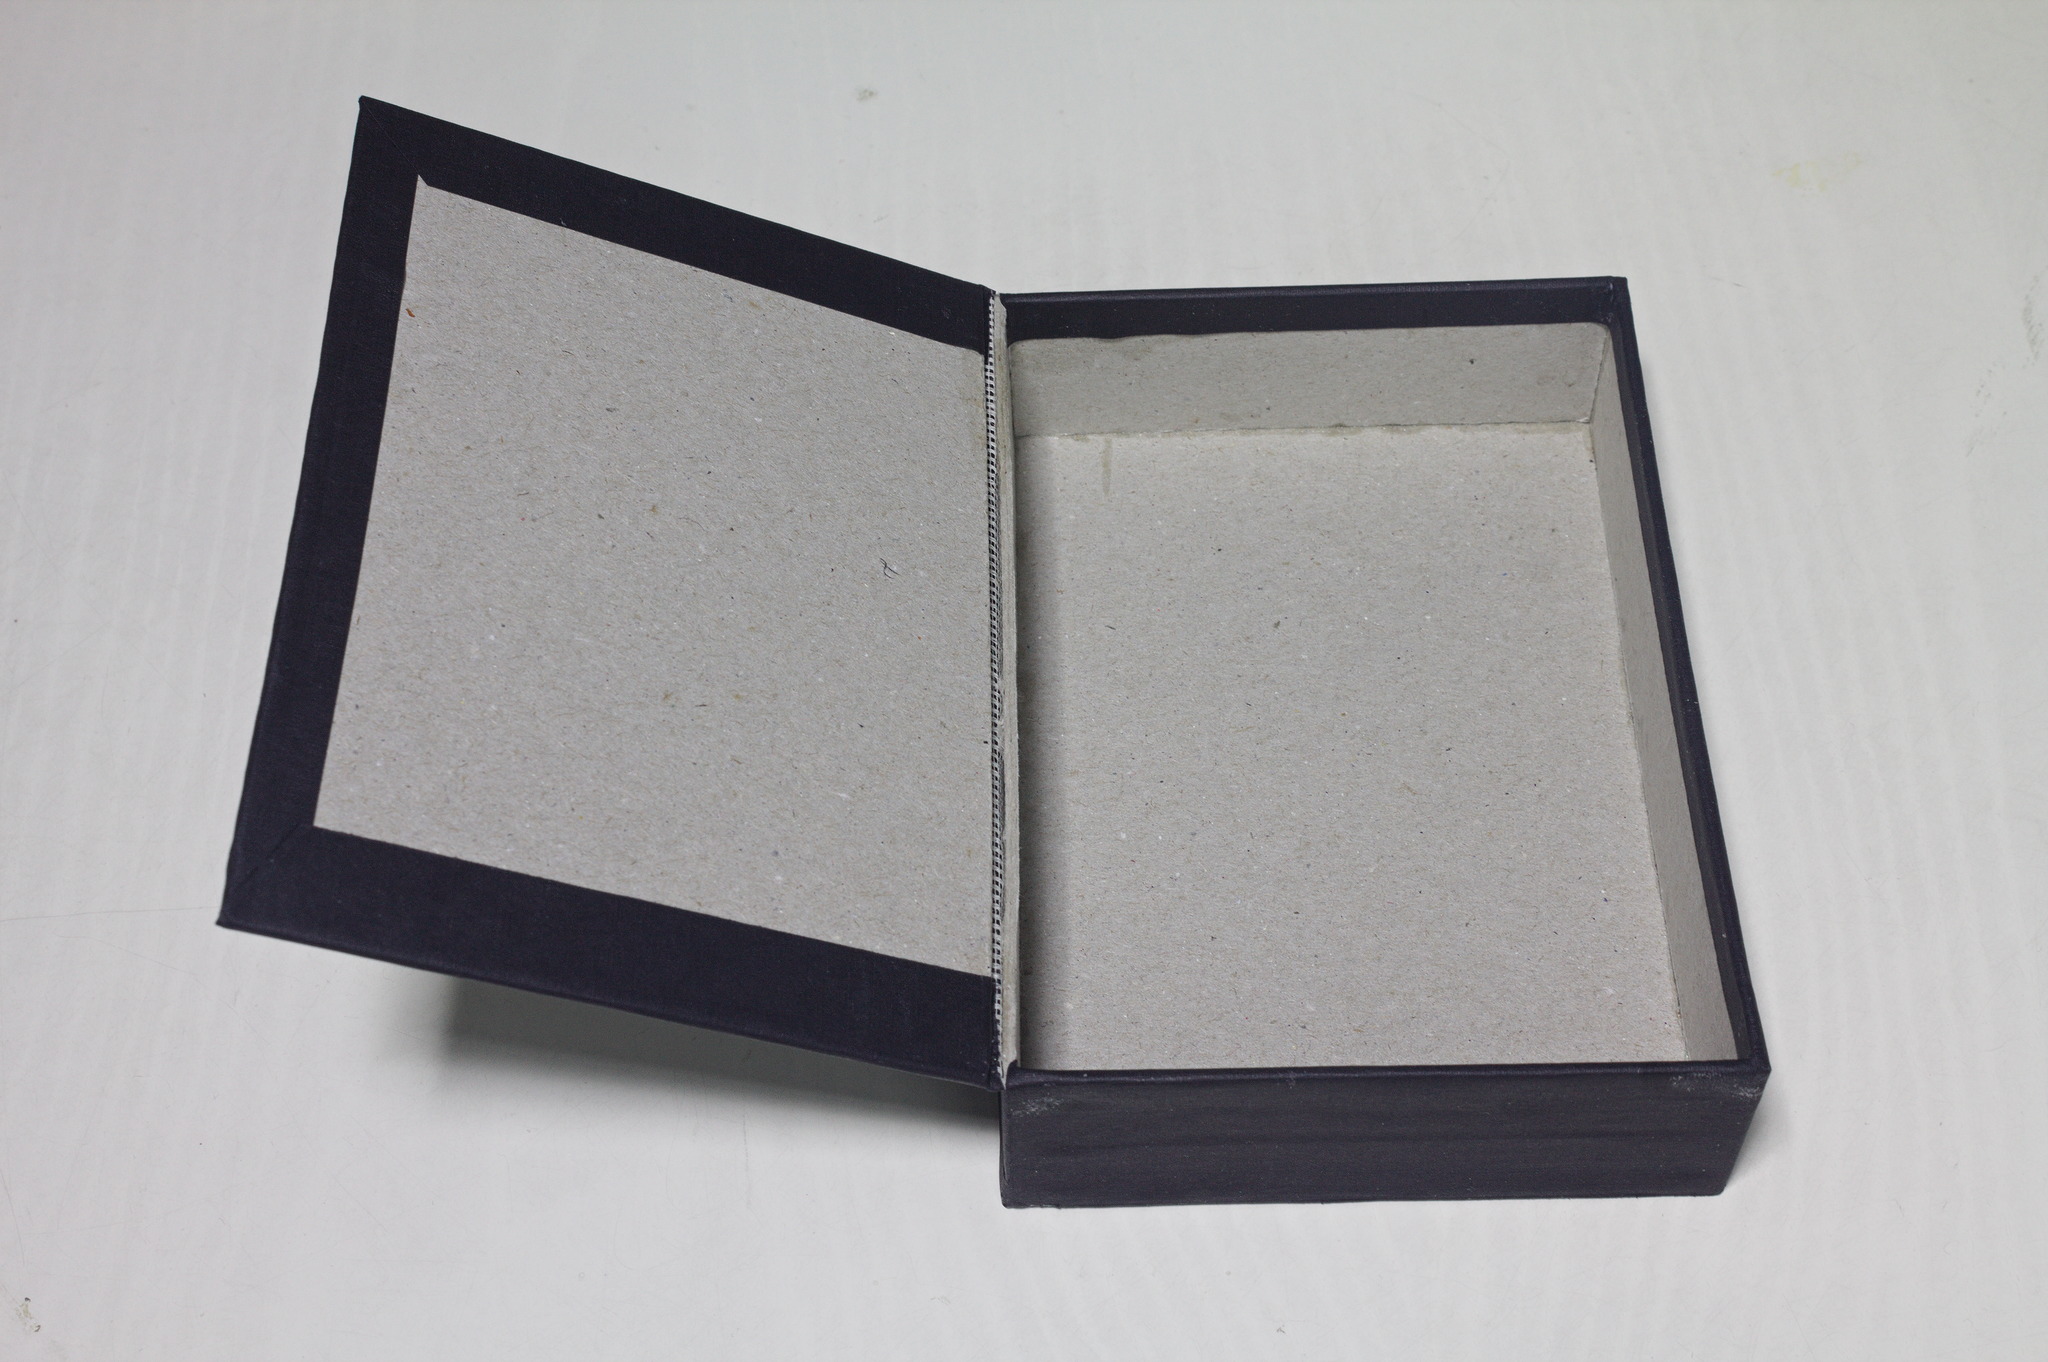
Fold down the flaps into the box.
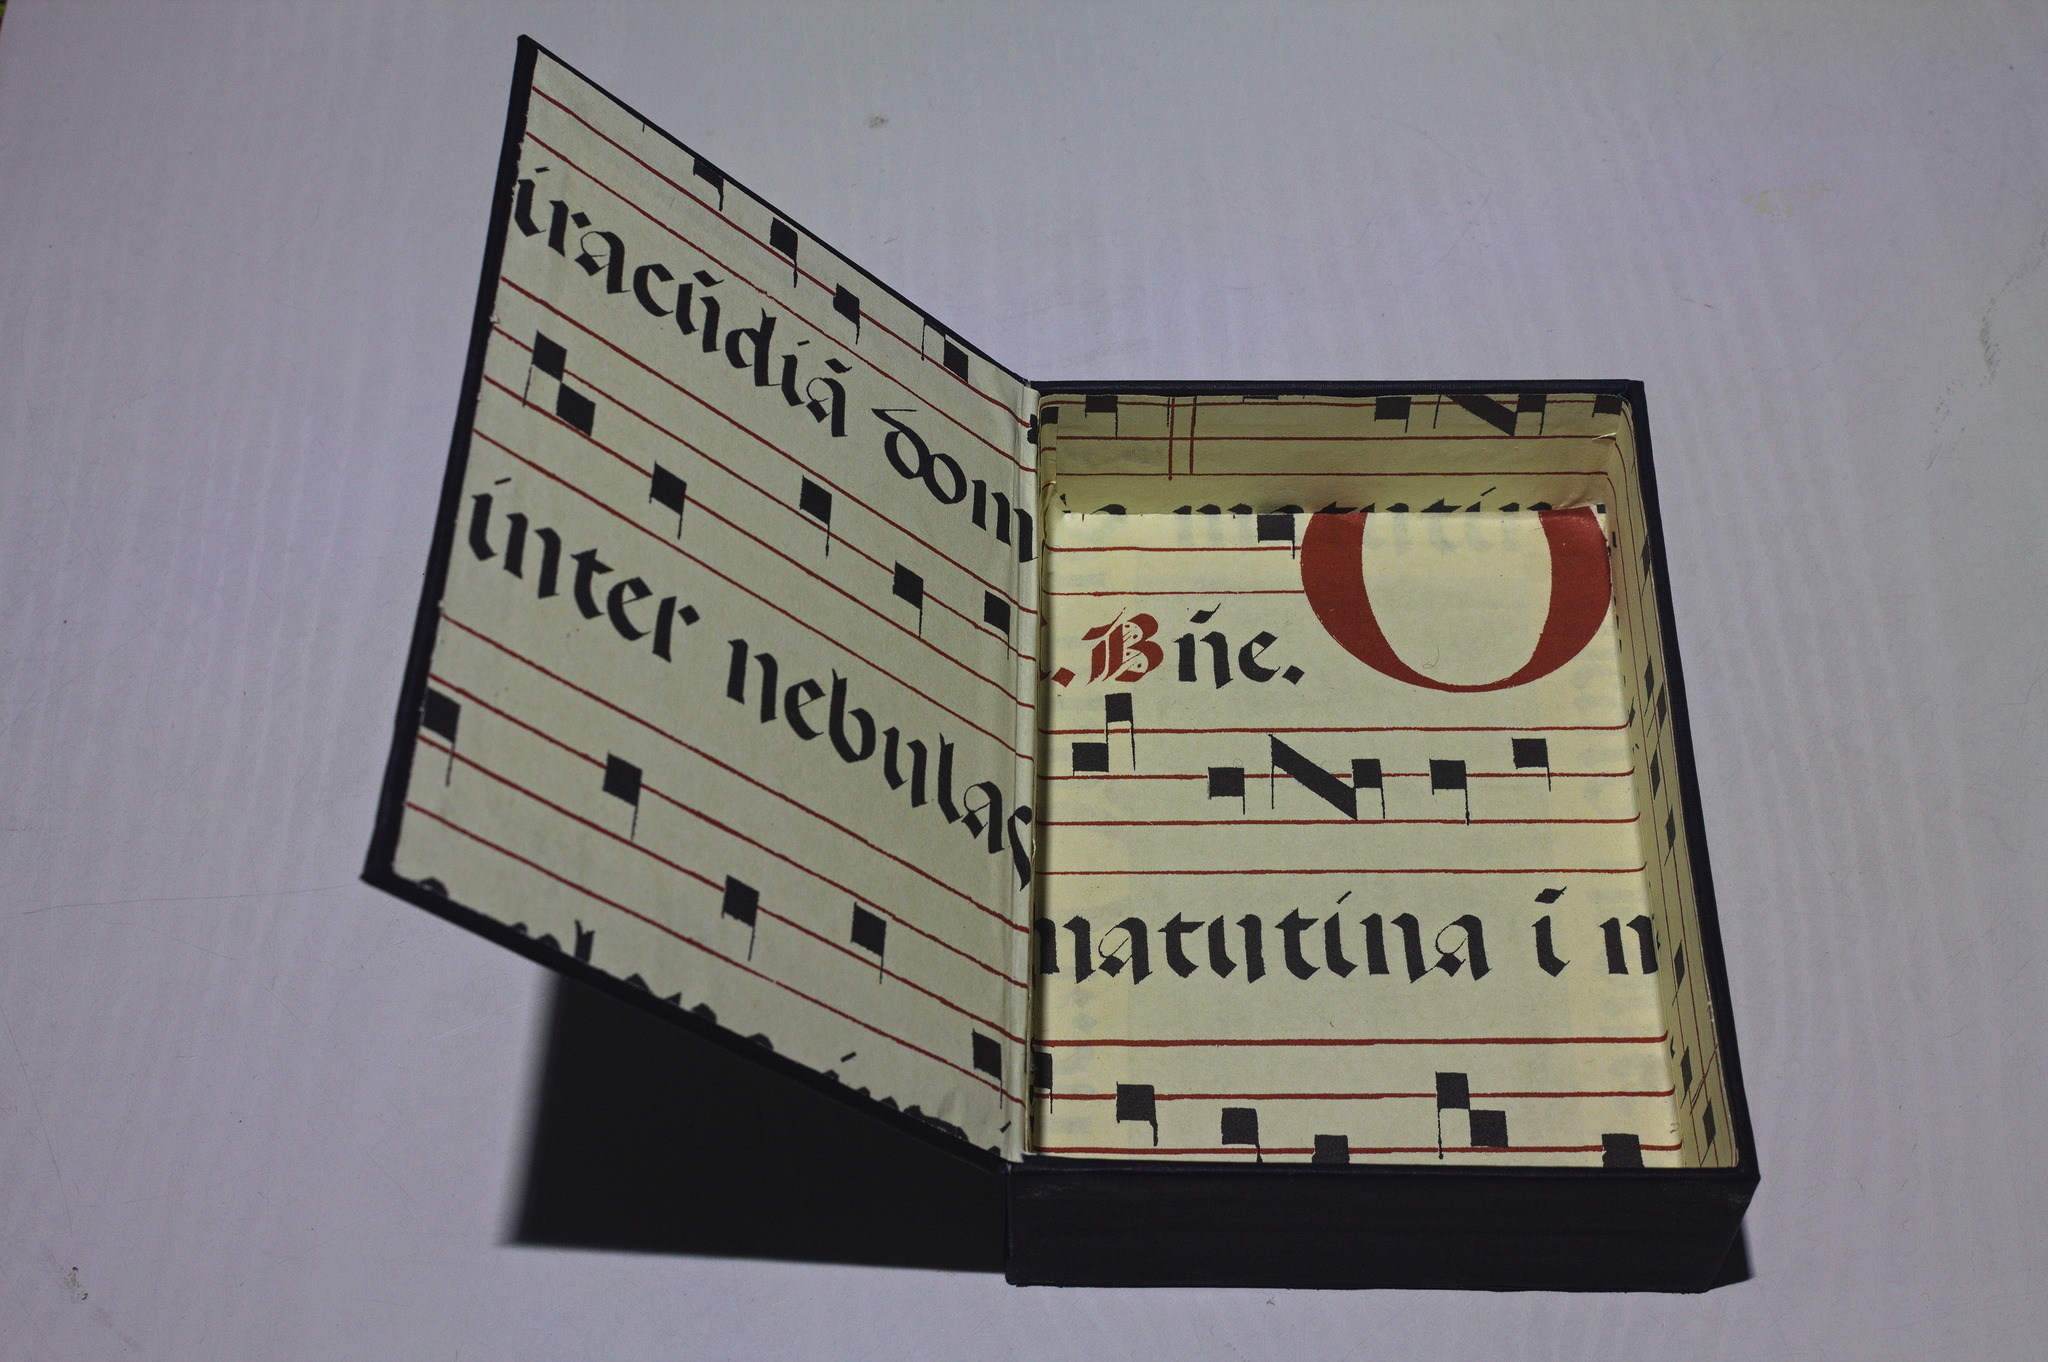
Paper Lining
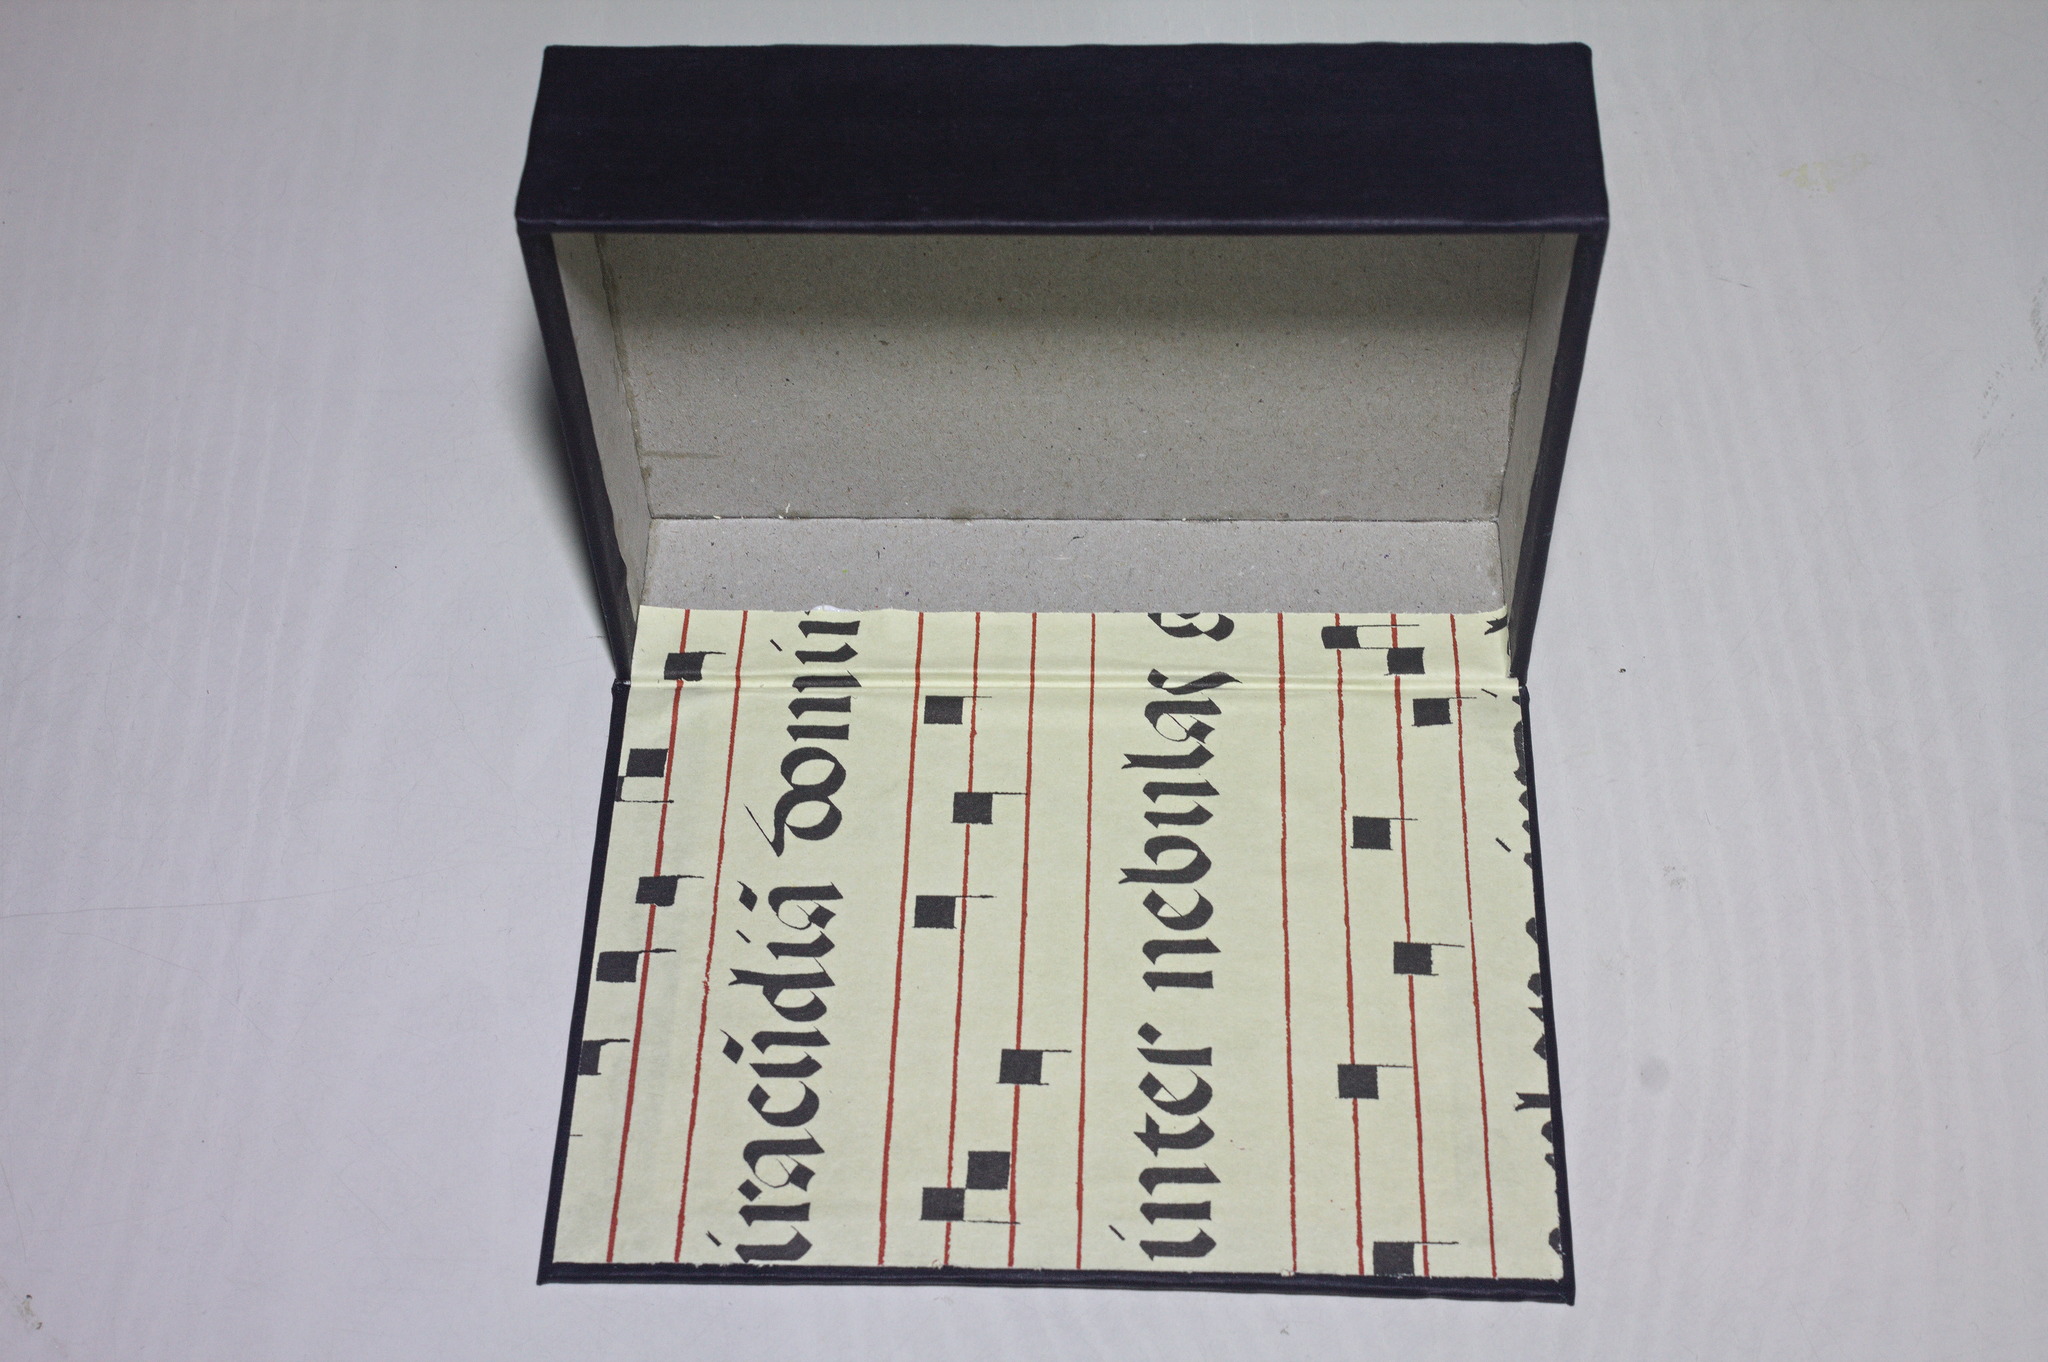
Spread PVA on the cover lining, put it on the cover, at 2 mm from each edge and going down into the spine.
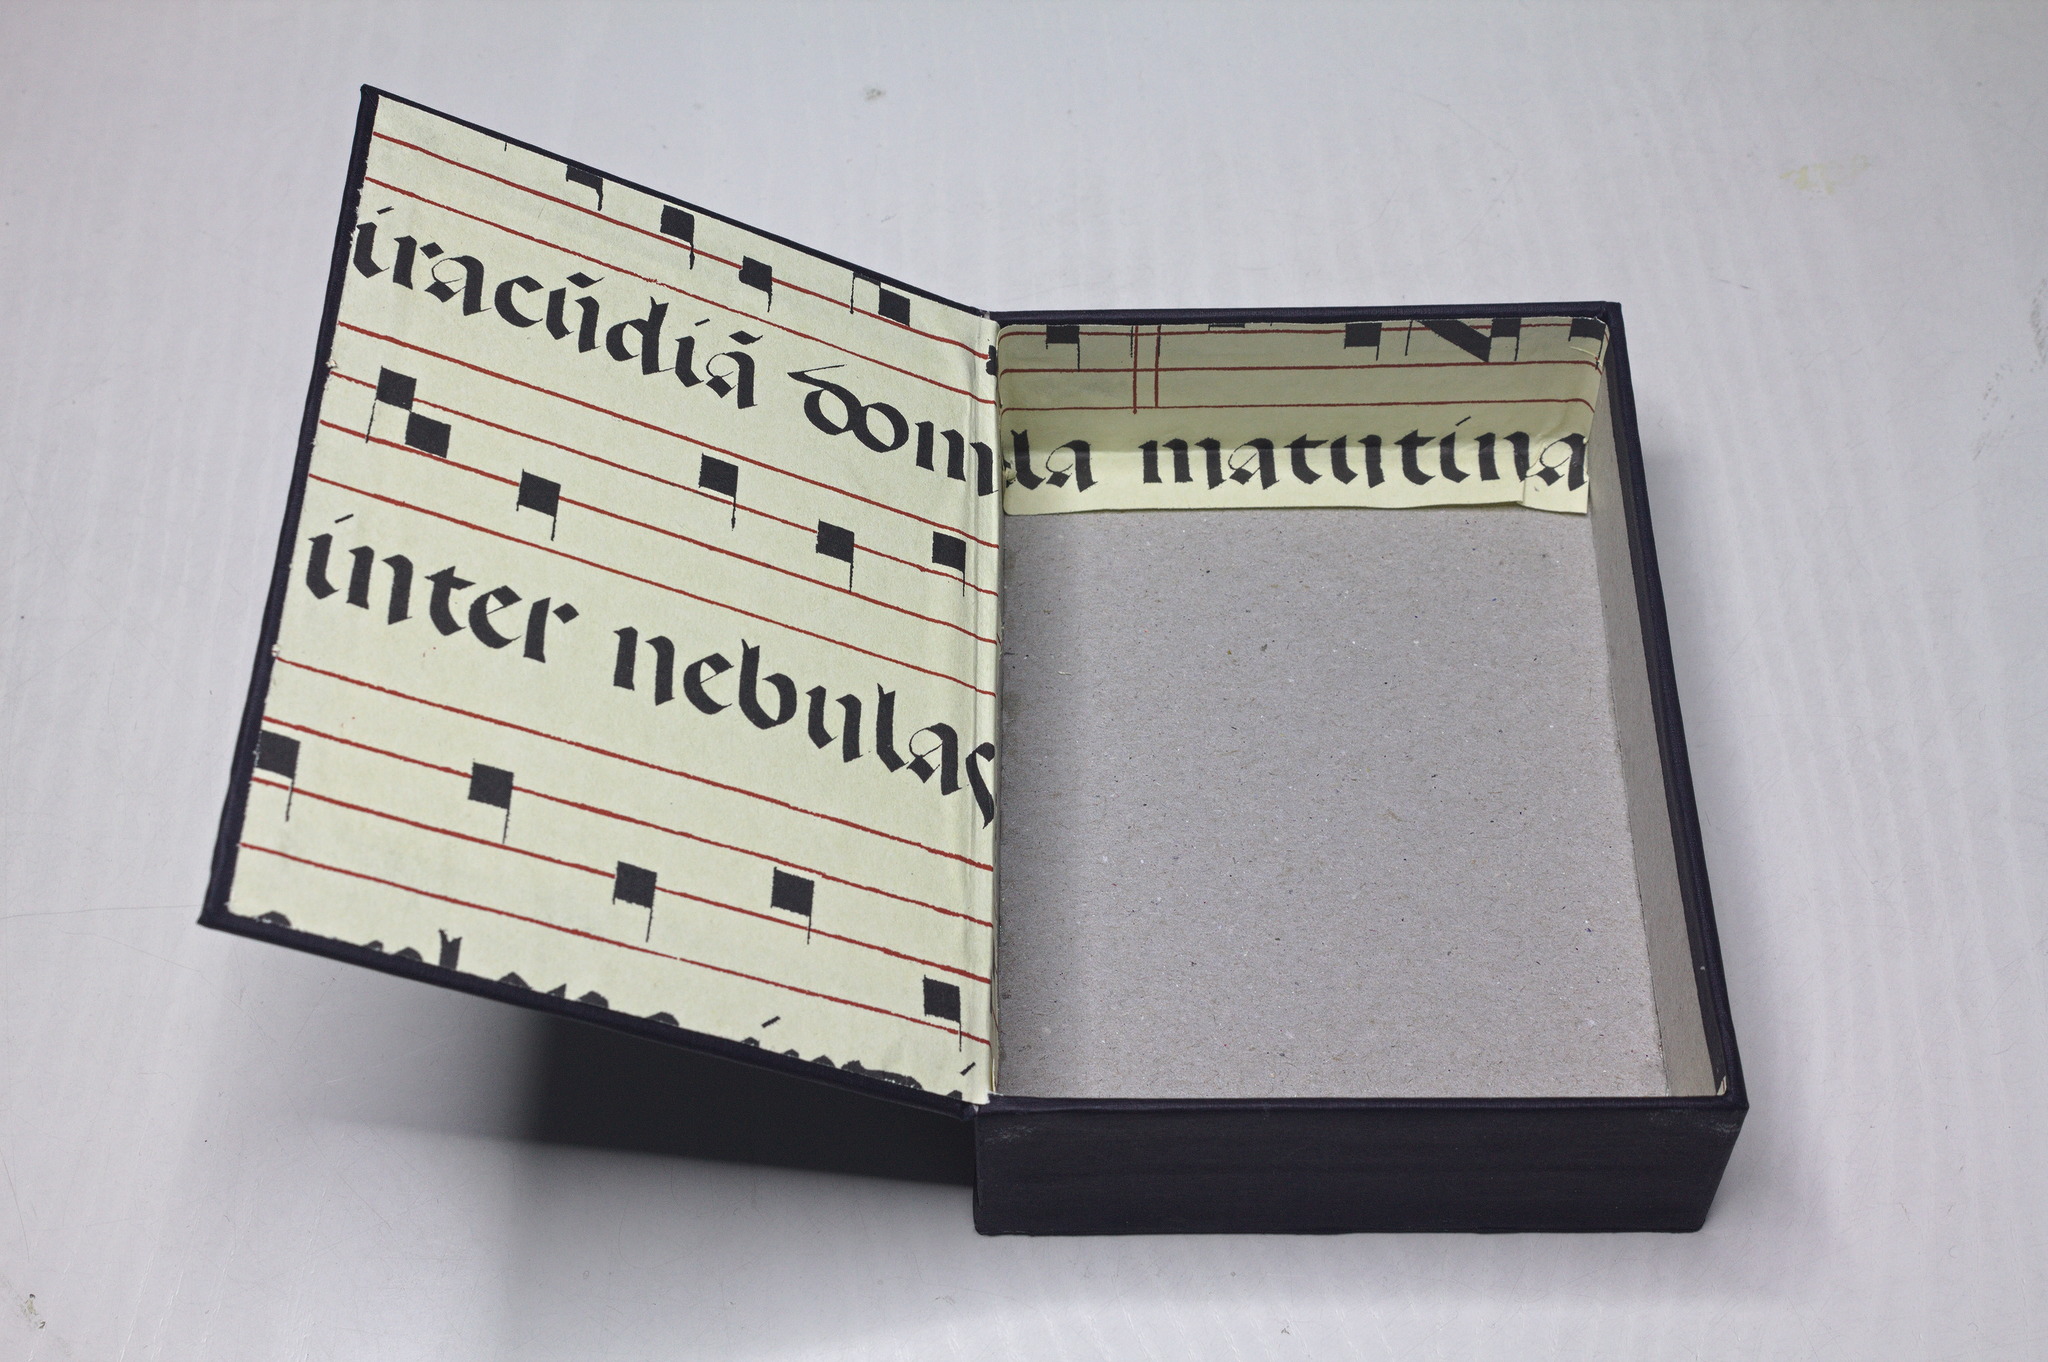
Spread PVA on one of the short side linings, put it in the box, 2 mm down from the edge and extending into the long sides and the base, being careful to let the corner lay flat; notching the paper may help.
Repeat for the other short side.
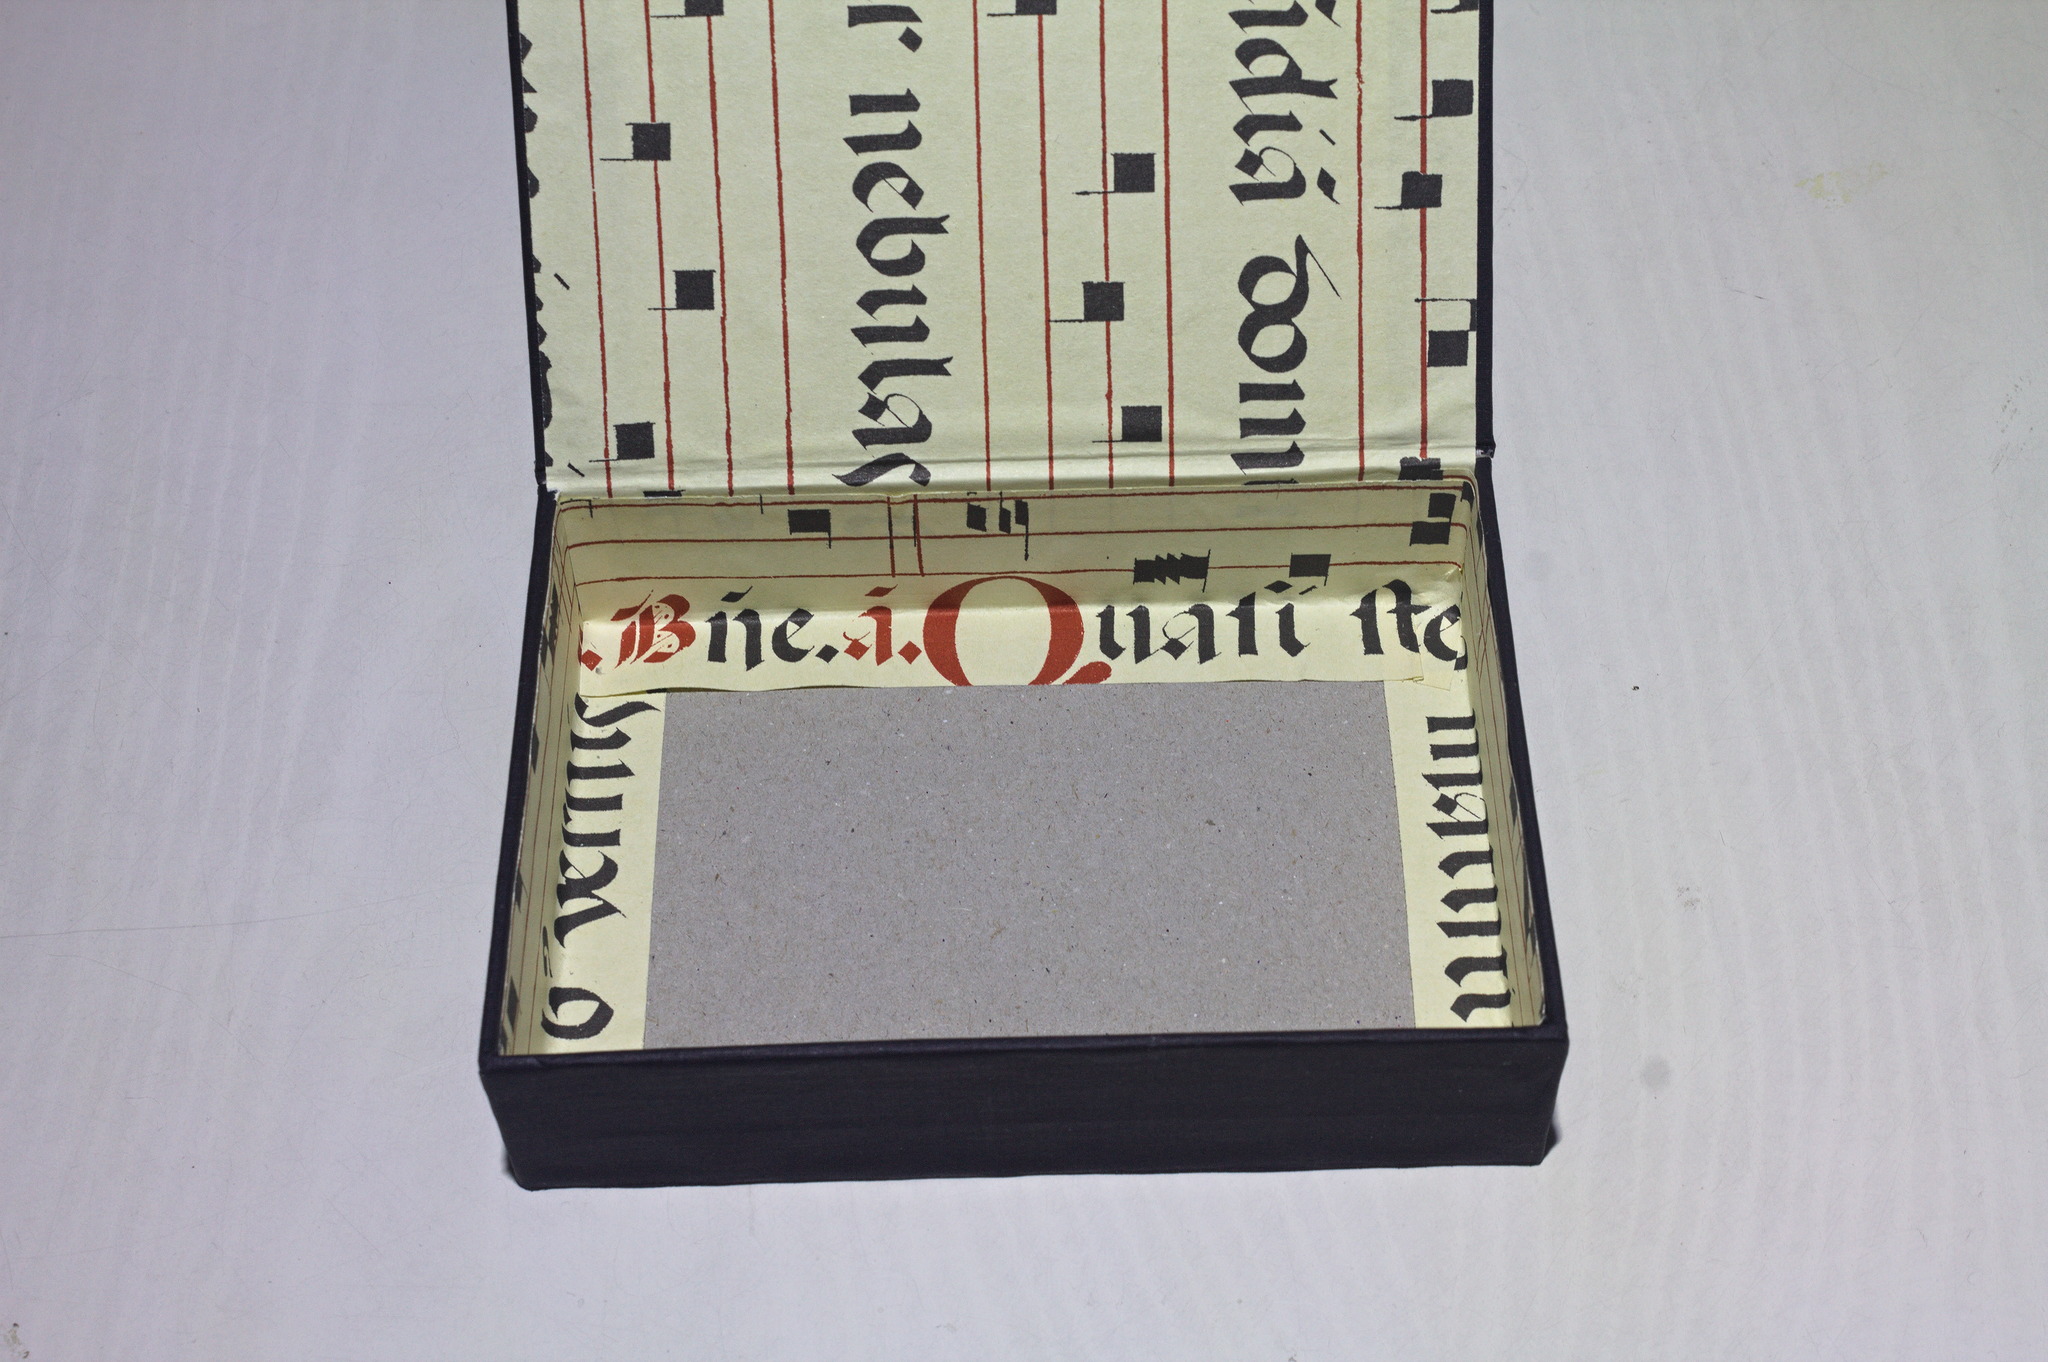
Spread PVA on one of the long side linings, put it in the box, 2 mm down from the edge and precisely aligned between the corners, with the excess going into the base.
Finally, spread PVA on the base lining and put it in the box.