Watercolour Paper Zine
This is a way to sew together a zine that is made of heavyweight paper, such as watercolour paper.
Because of the thickness of this kind of paper, the classical method from a single sheet, with one cut and many folds, wouldn’t work; on the other hand with four, or even just two sheets this is sturdy enough that sewing is an option.
Of course a long-arm stapler would also be an alternative, but that’s a somewhat specialized tool that not everybody has.
Materials
You need:
1 sheet of watercolour paper;
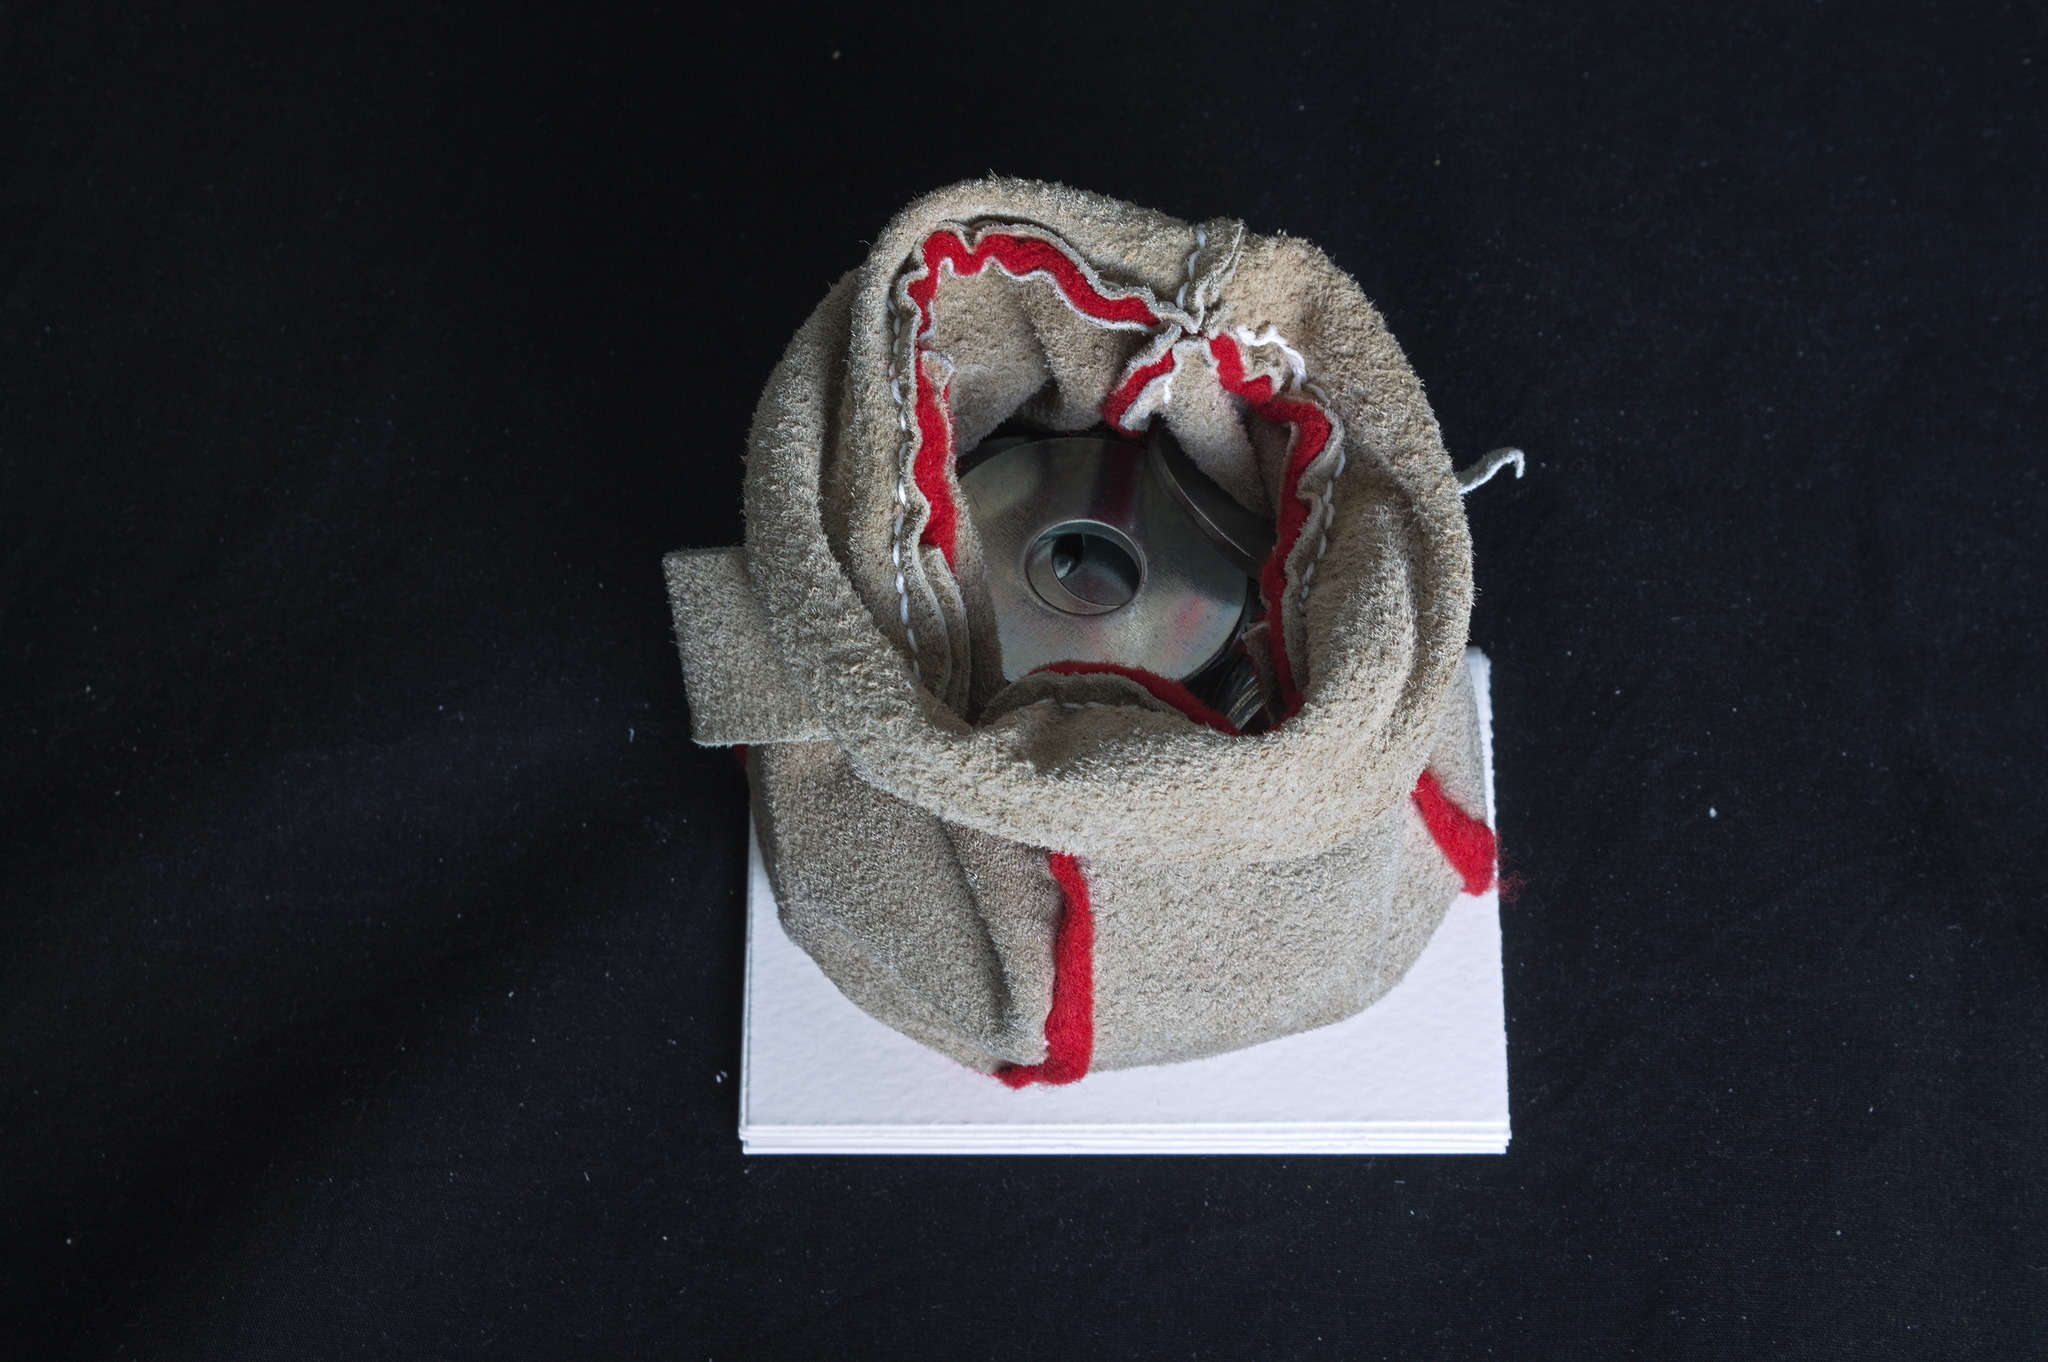
bookbinding or other strong thread;
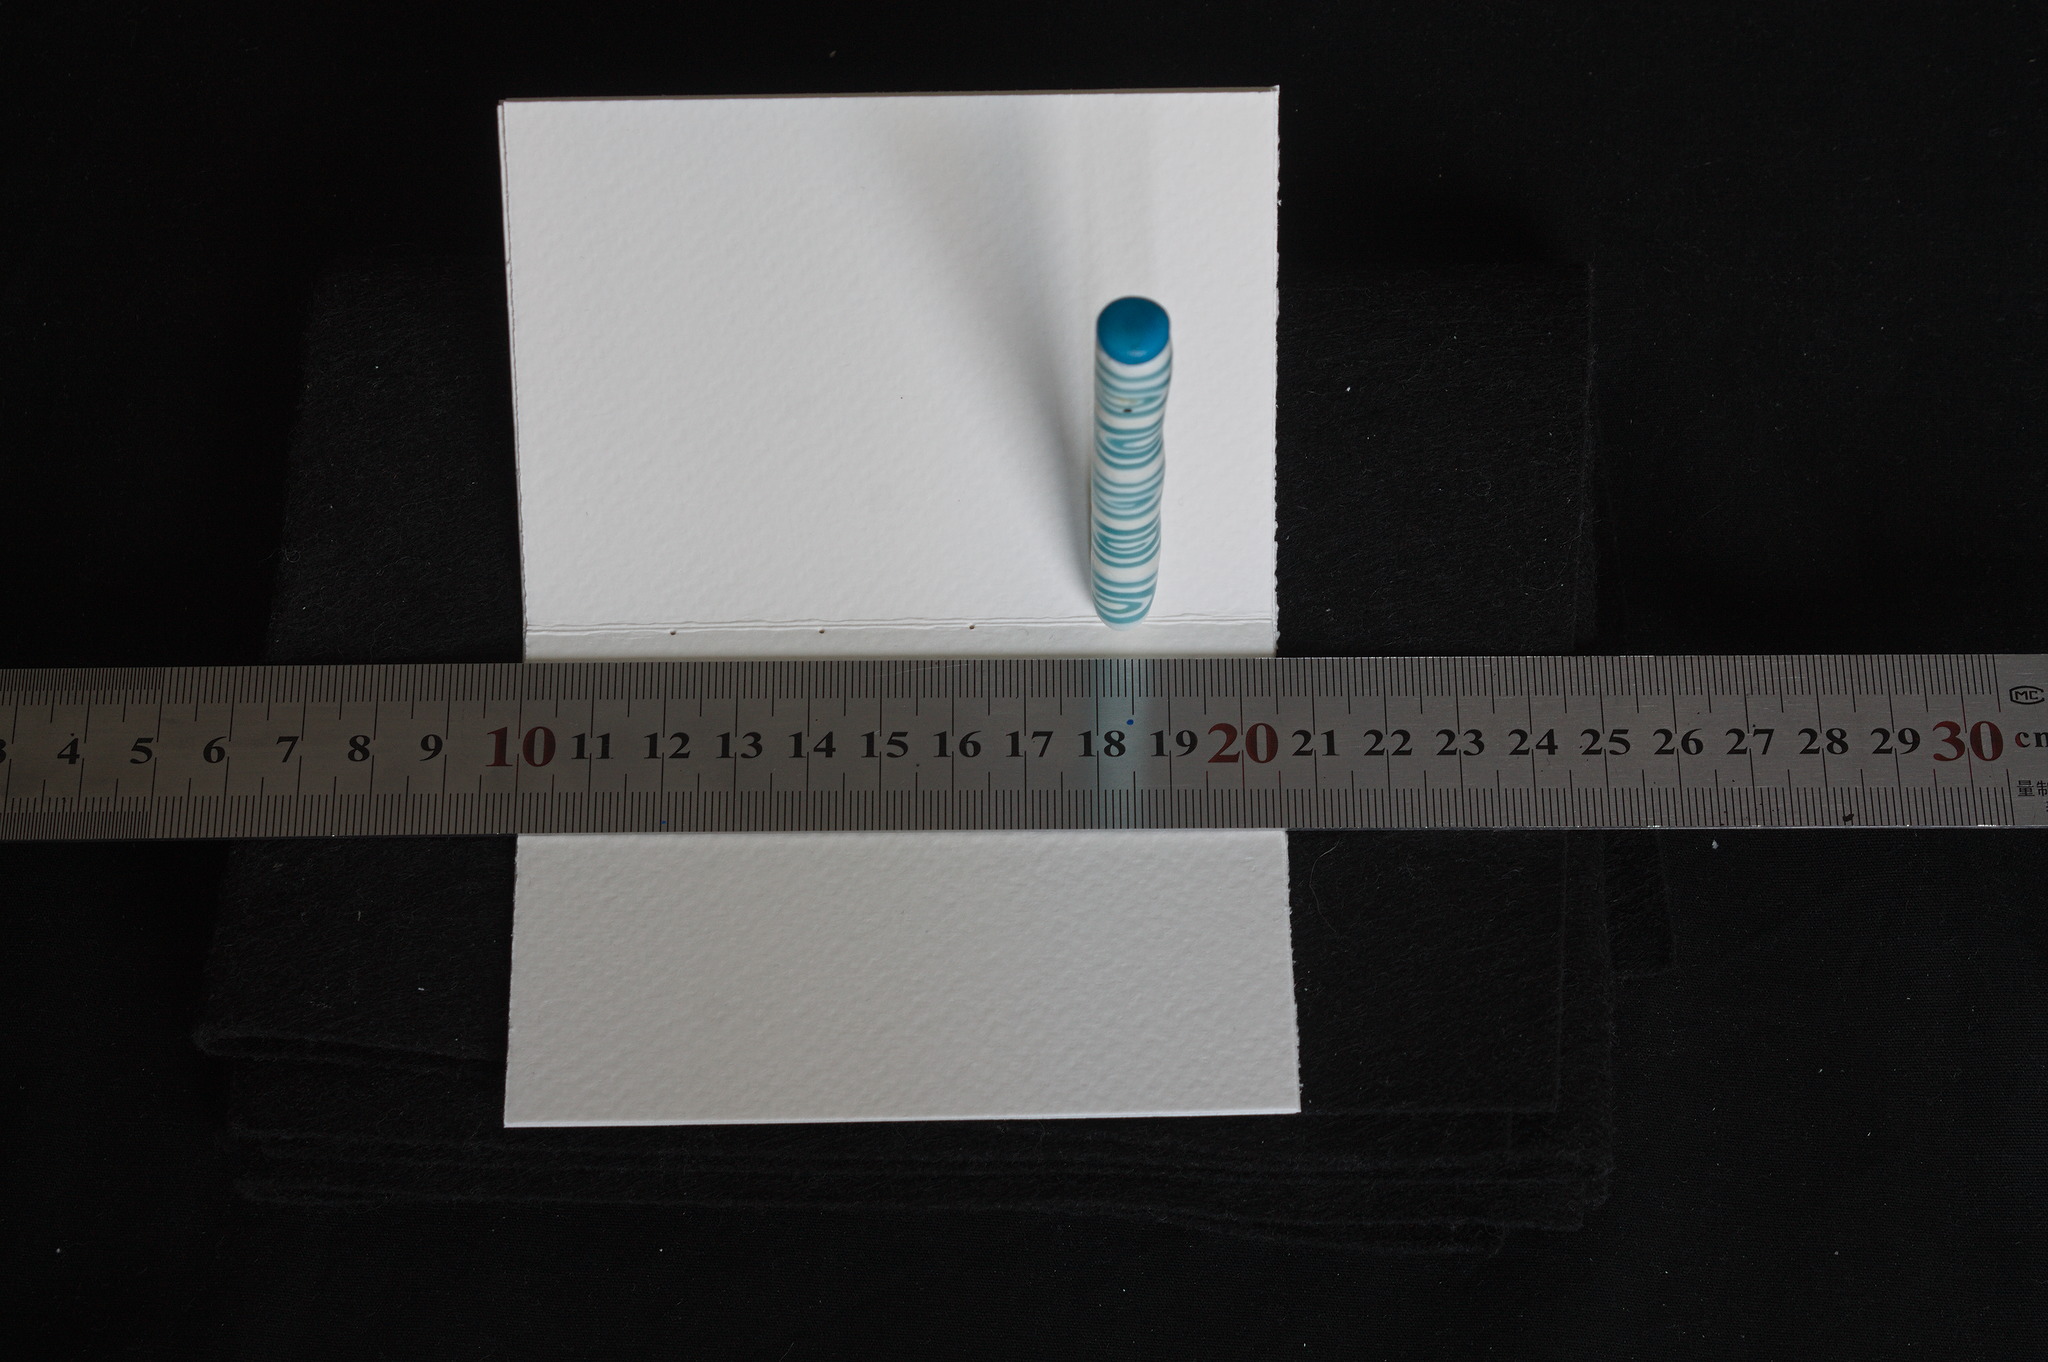
Starting with an A3 (or two A4) sheet of paper will result in an A6 or postcard sized zine, which is good for mailing, or use other sizes to taste.
These instructions will make a 16 pages zine; dividing the paper in just two pieces for an 8 pages zine would also work.
300 g/m² is a good weight; going above that may be harder to fold.
Bookbinding thread is a thick waxed linen thread, a thick sewing linen thread waxed by rubbing it on a piece of beeswax also works.
As an alternative, something like buttonhole twist can be used, but regular sewing thread should only be used as a last resort, and at least used double.
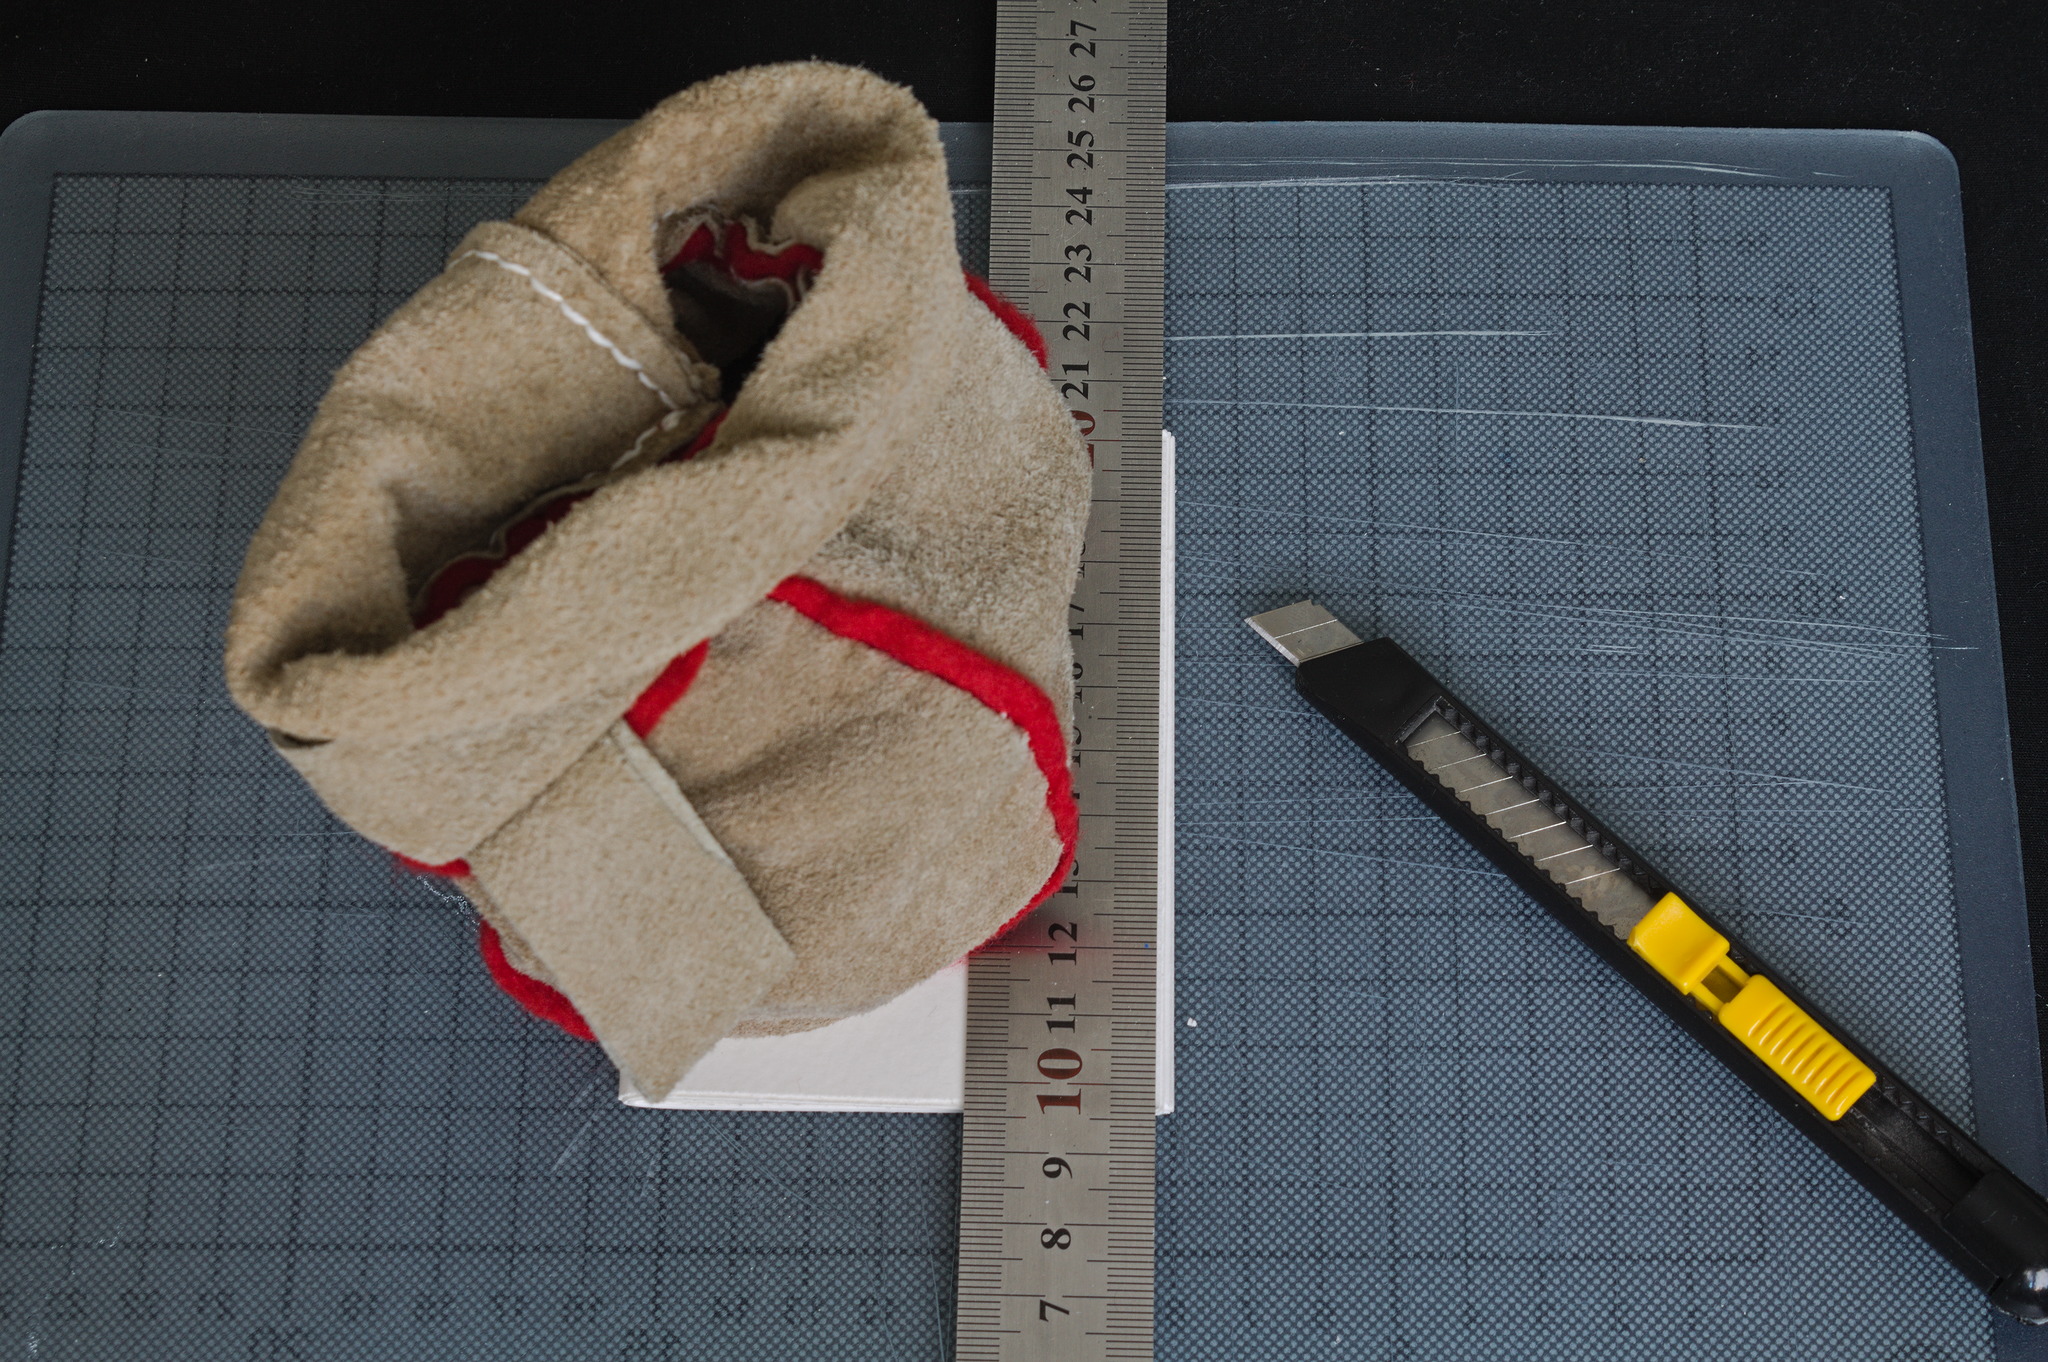
As for tools, you will need:
a ruler, ideally metal;
X-acto or snap-off blade knife;
a needle big enough for the thread used;
some weight, such as a bag of big washers or a few big books;
a surface suitable for cutting;
a soft surface to work on when making holes, such as a few layers of felt / fabric;
optionally: a needle tip, mounted in an handle;
optionally: an awl.
For the needle, regular big hand-sewing needles will work fine, or you can use specialized bookbinding needles with a blunt tip.
A regular big needle that has been wrapped in a handle made of polymer clay (or any other kind of modelling material) is much more comfortable than just using a bare needle to score the paper, and can also be used instead of the awl to poke the holes before sewing.
Instructions
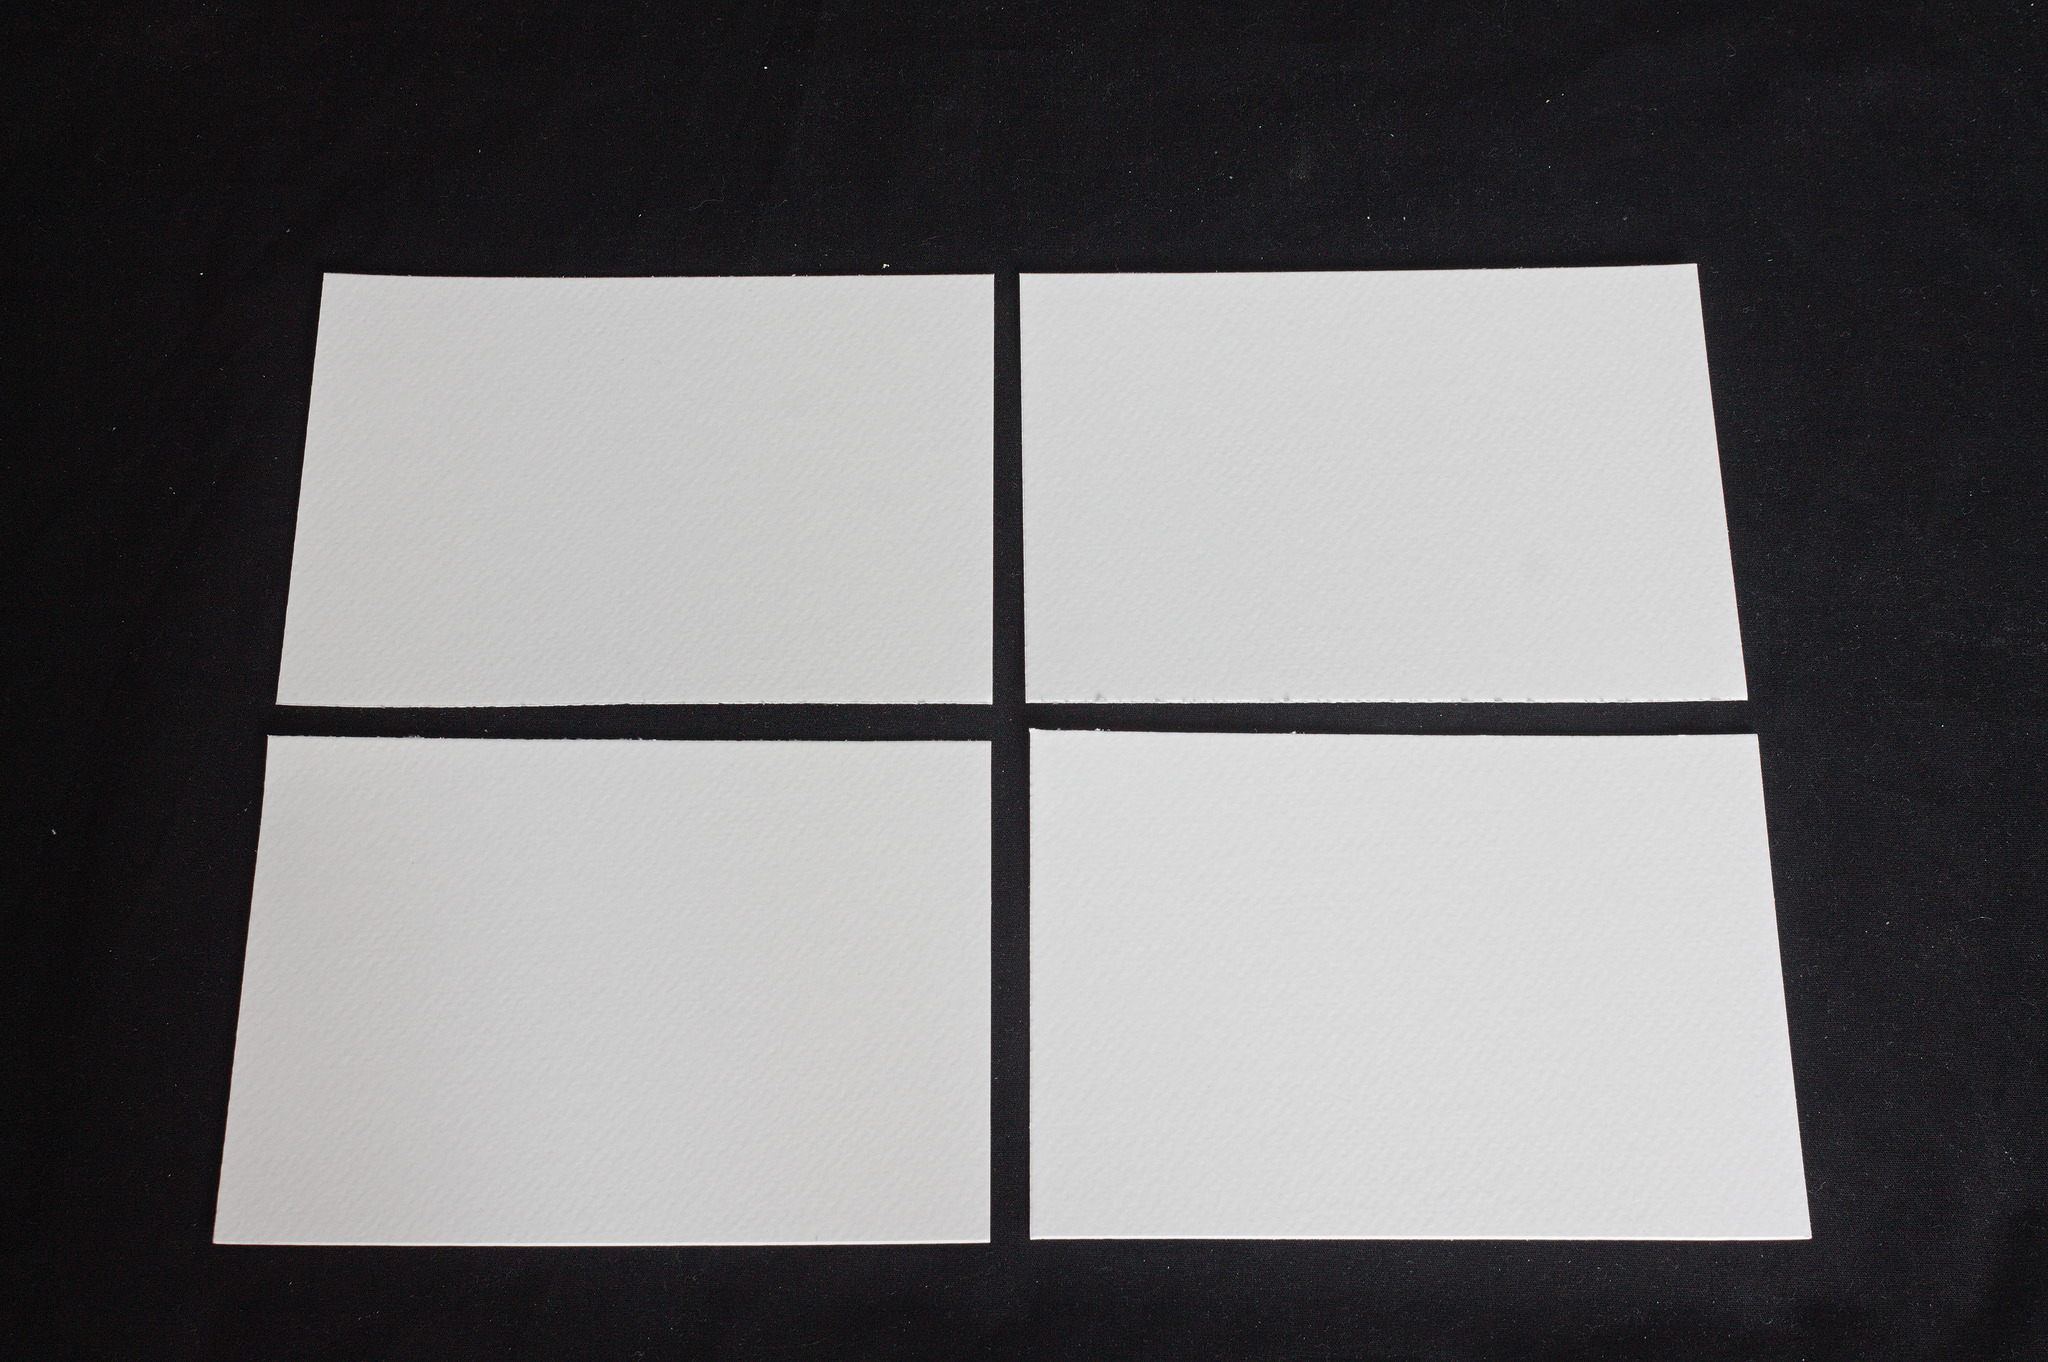
Cut the paper into four equal sheet (or two, if making an 8 pages zine), twice as big as the finished zine.
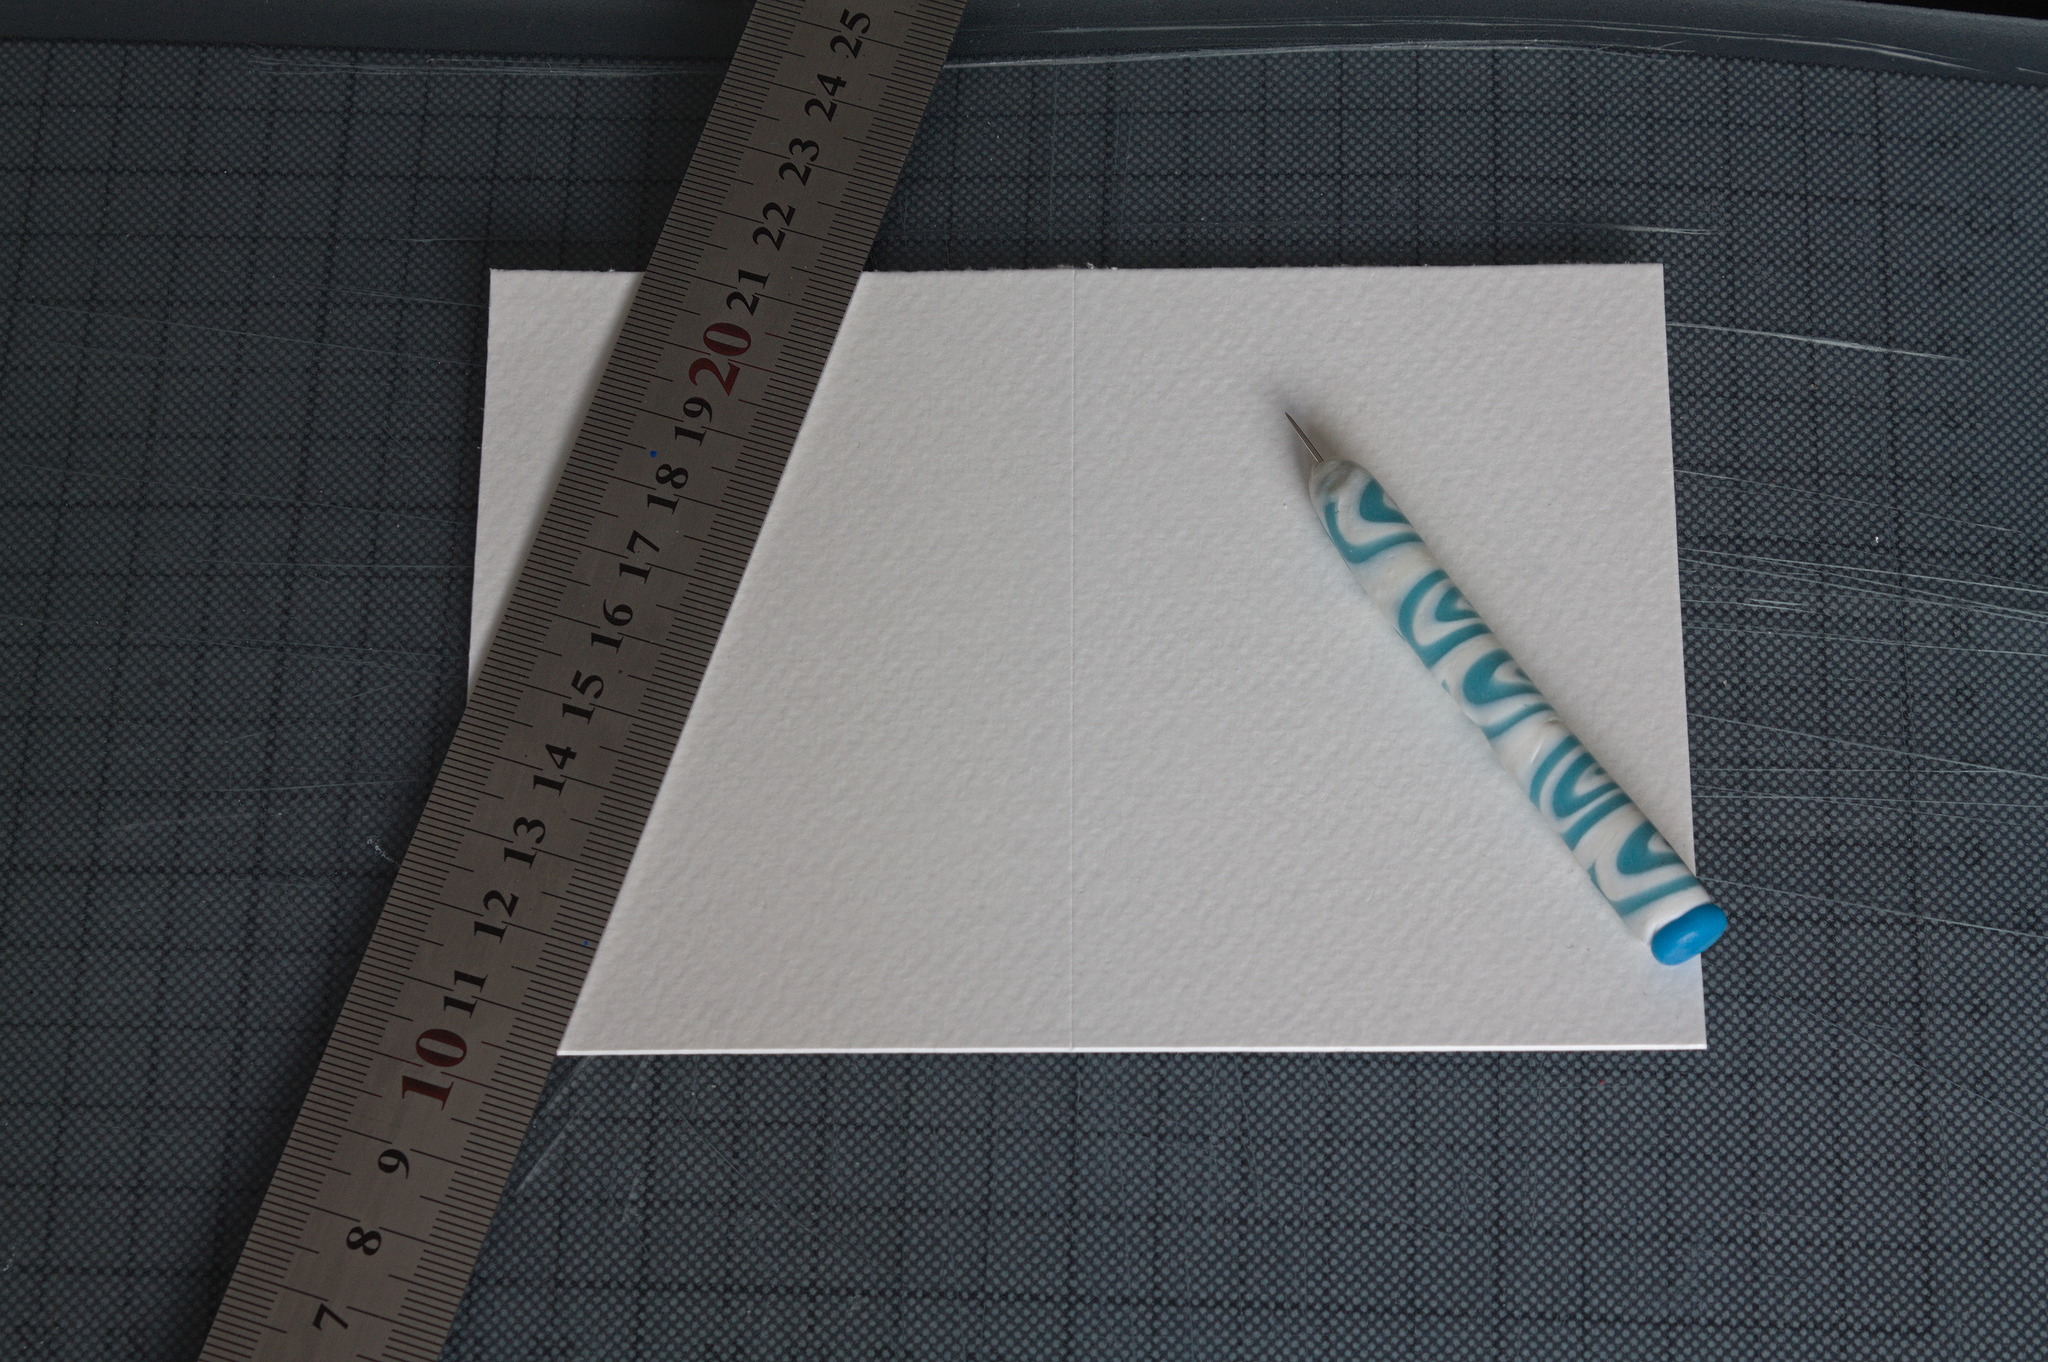
Measure and score each sheet in the middle using the needle mounted in a handle (or the needle you will use for sewing the book).
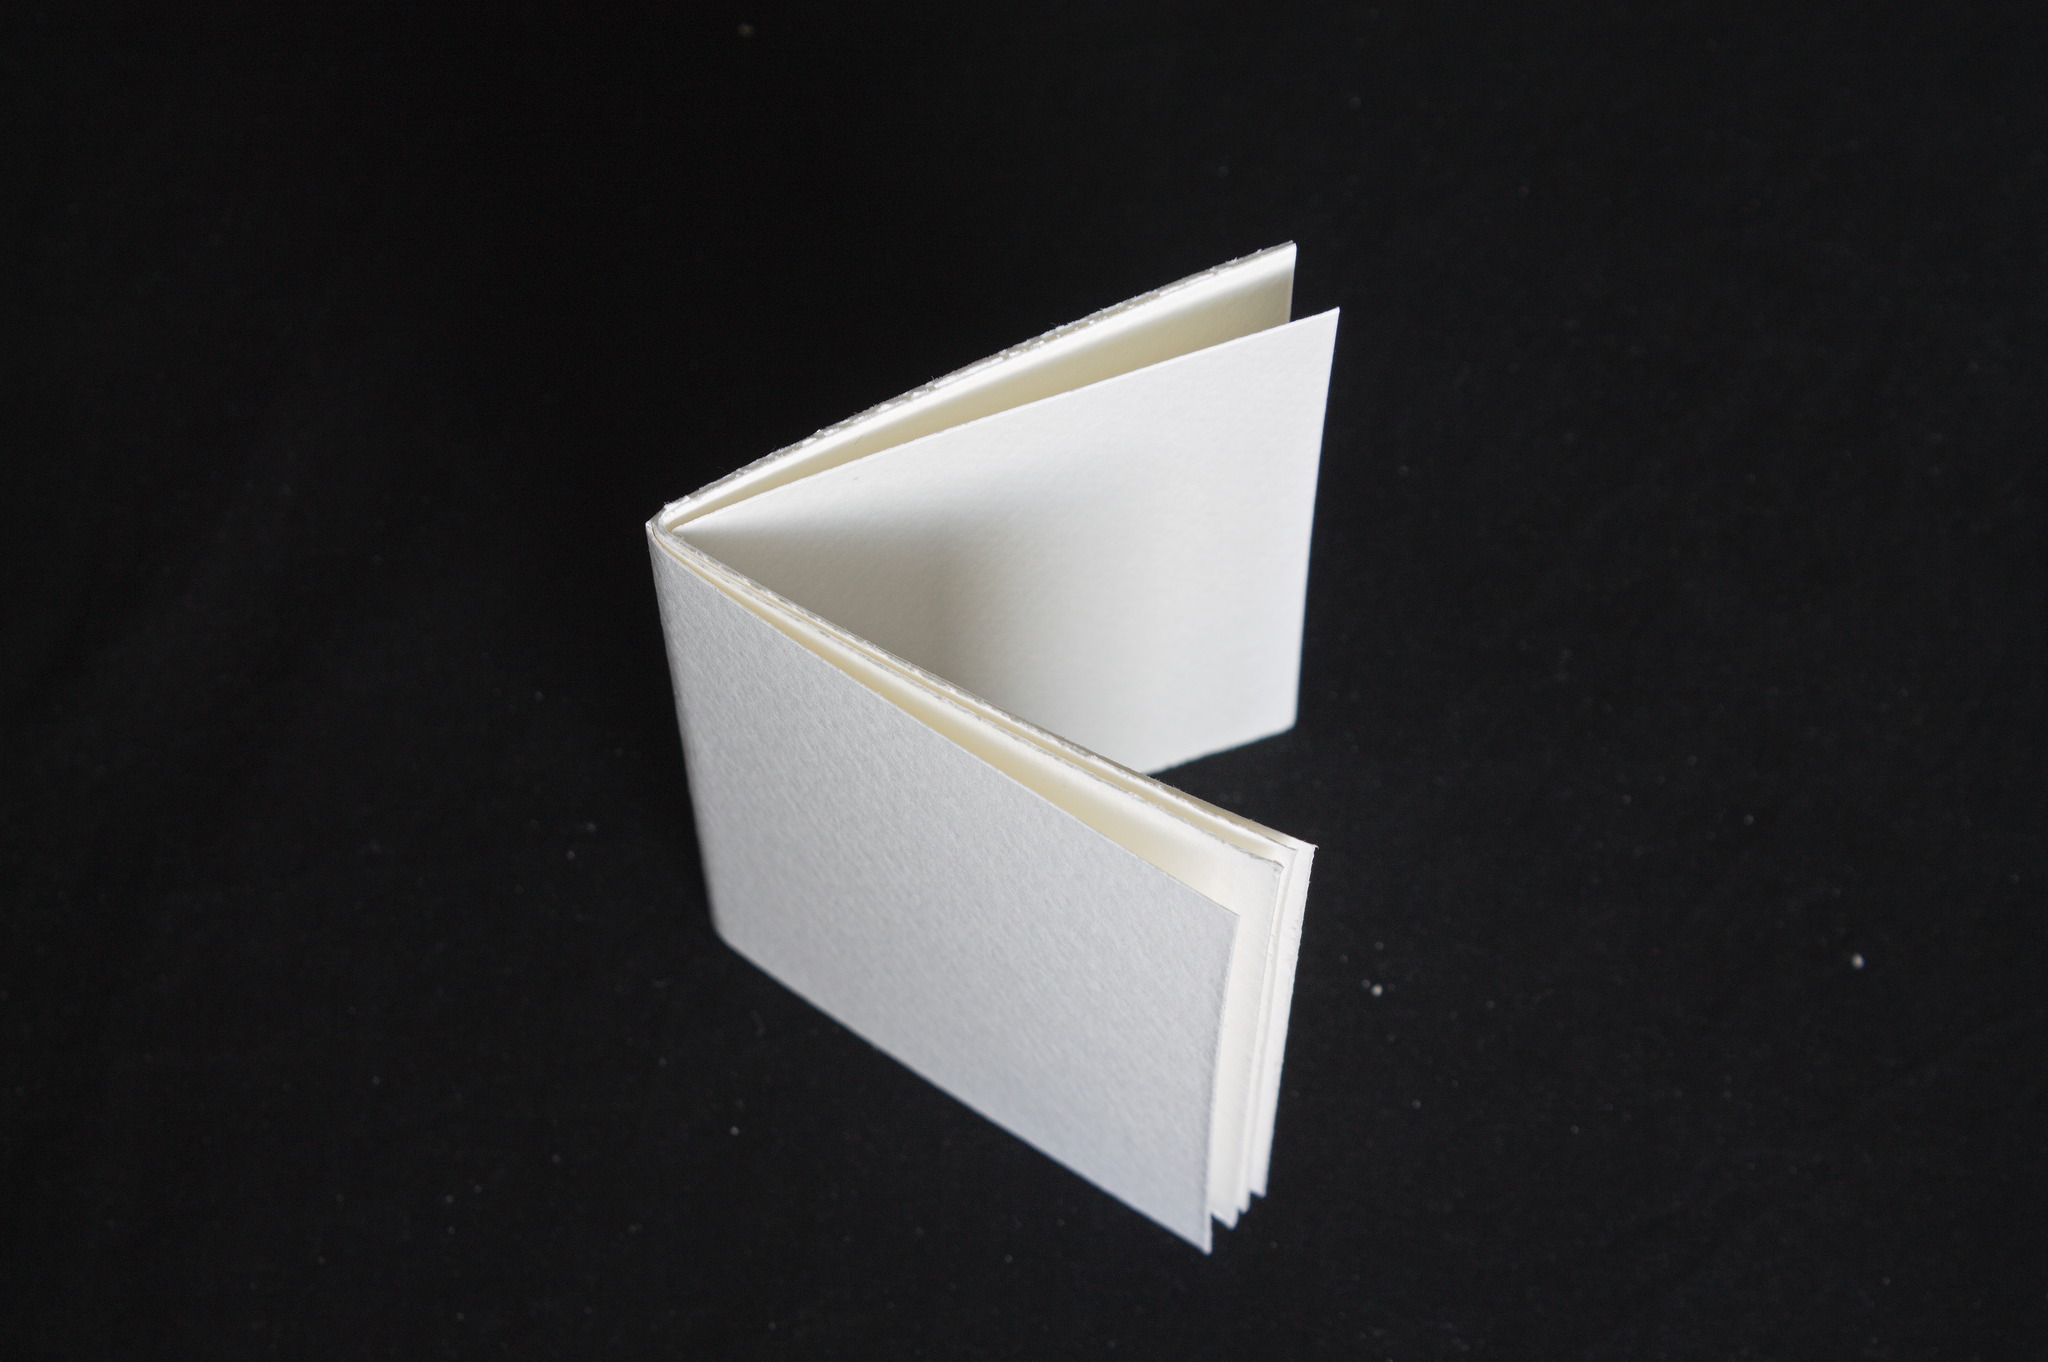
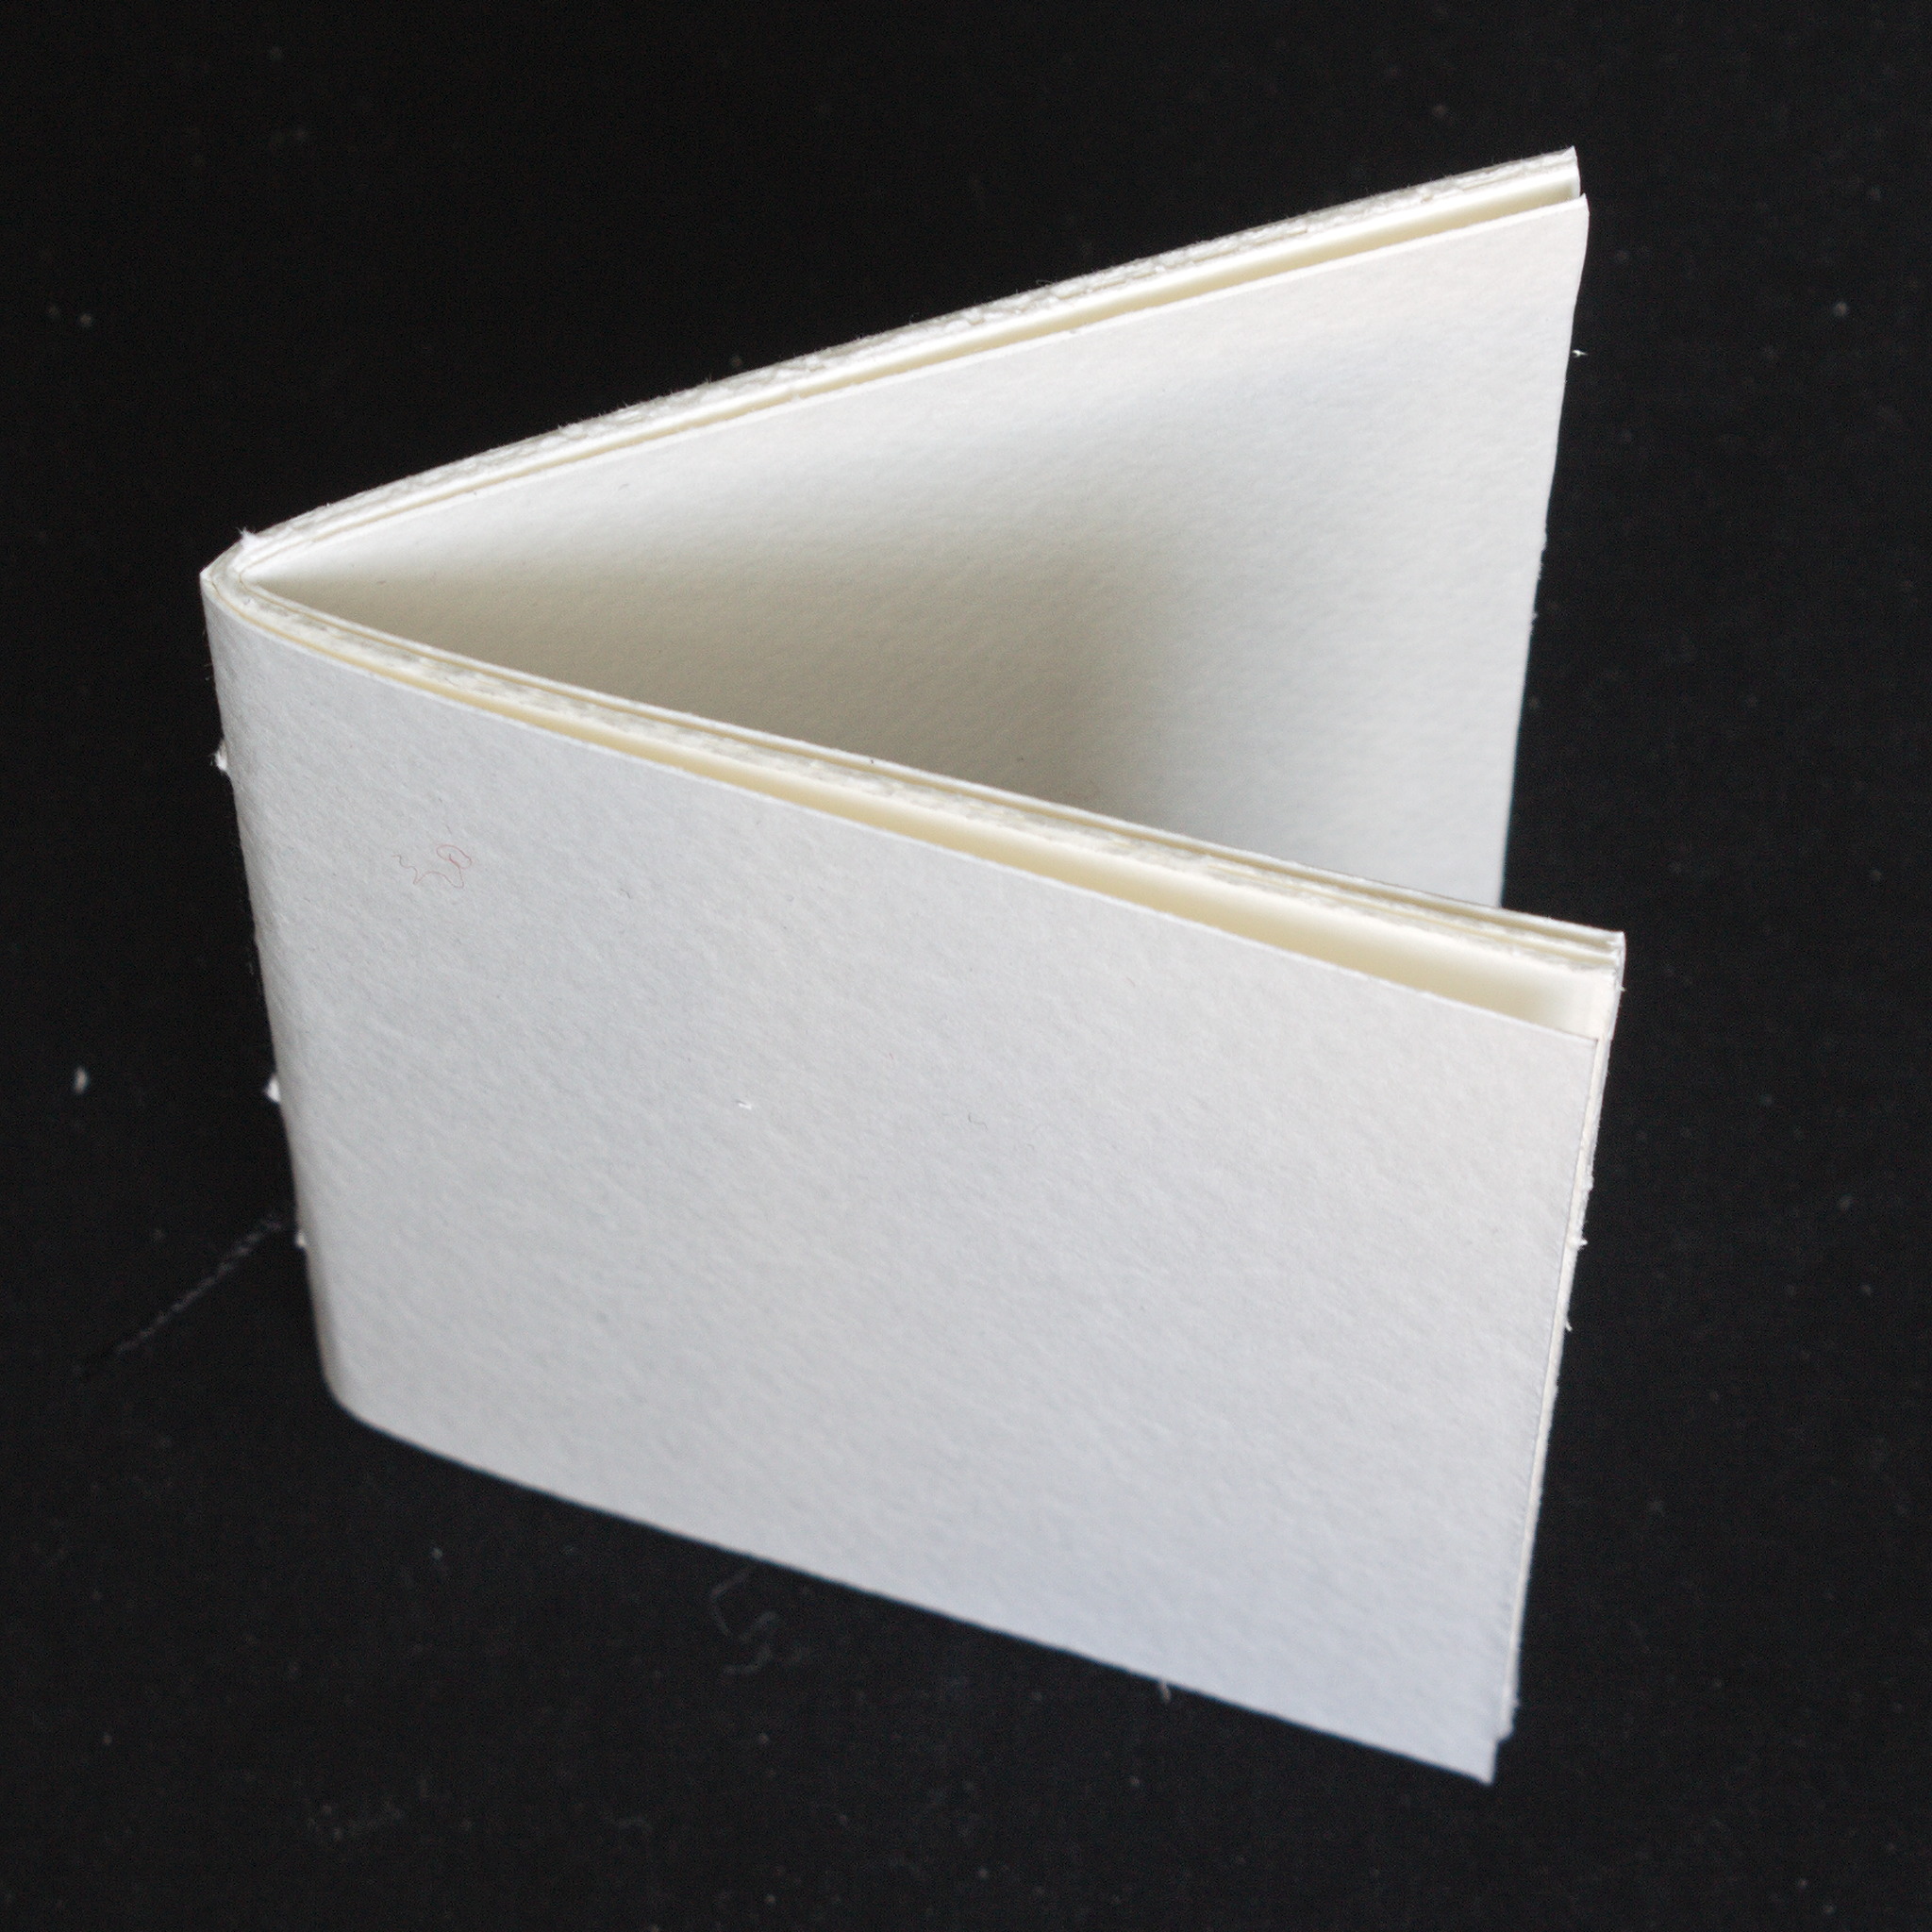
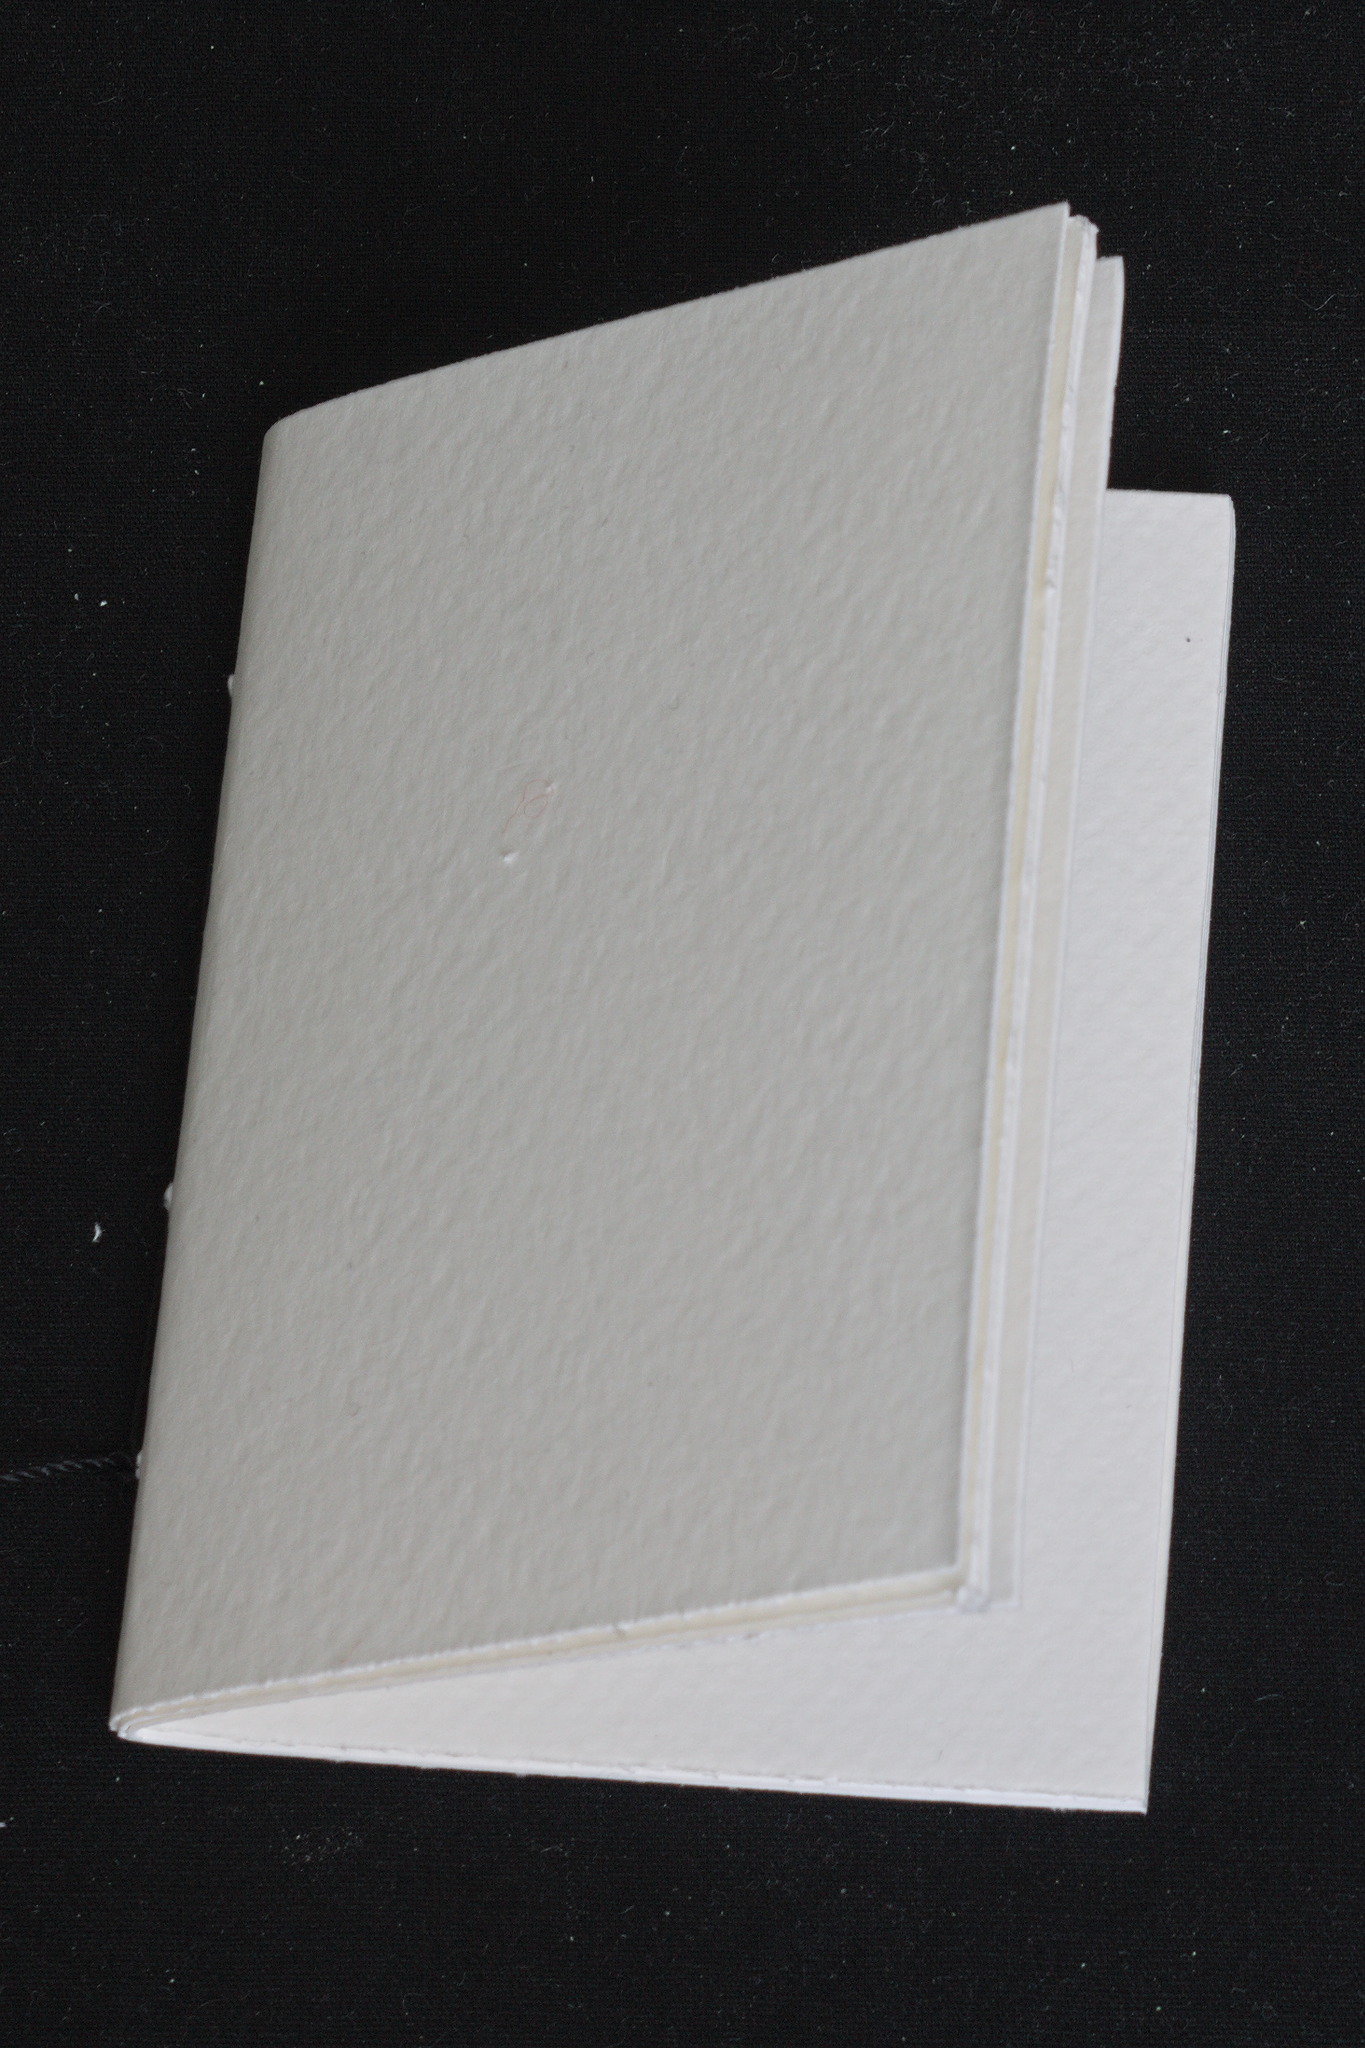
Put all sheets on top of each other and carefully fold them in half into a signature, letting the outer sheets curve around the inner ones.
Put everything under a weight for a while.
Using an awl (or again, the needle you will sew with and some care) make an even number of holes in the fold; for an A6 zine you may make 4 holes, about every 30 mm.

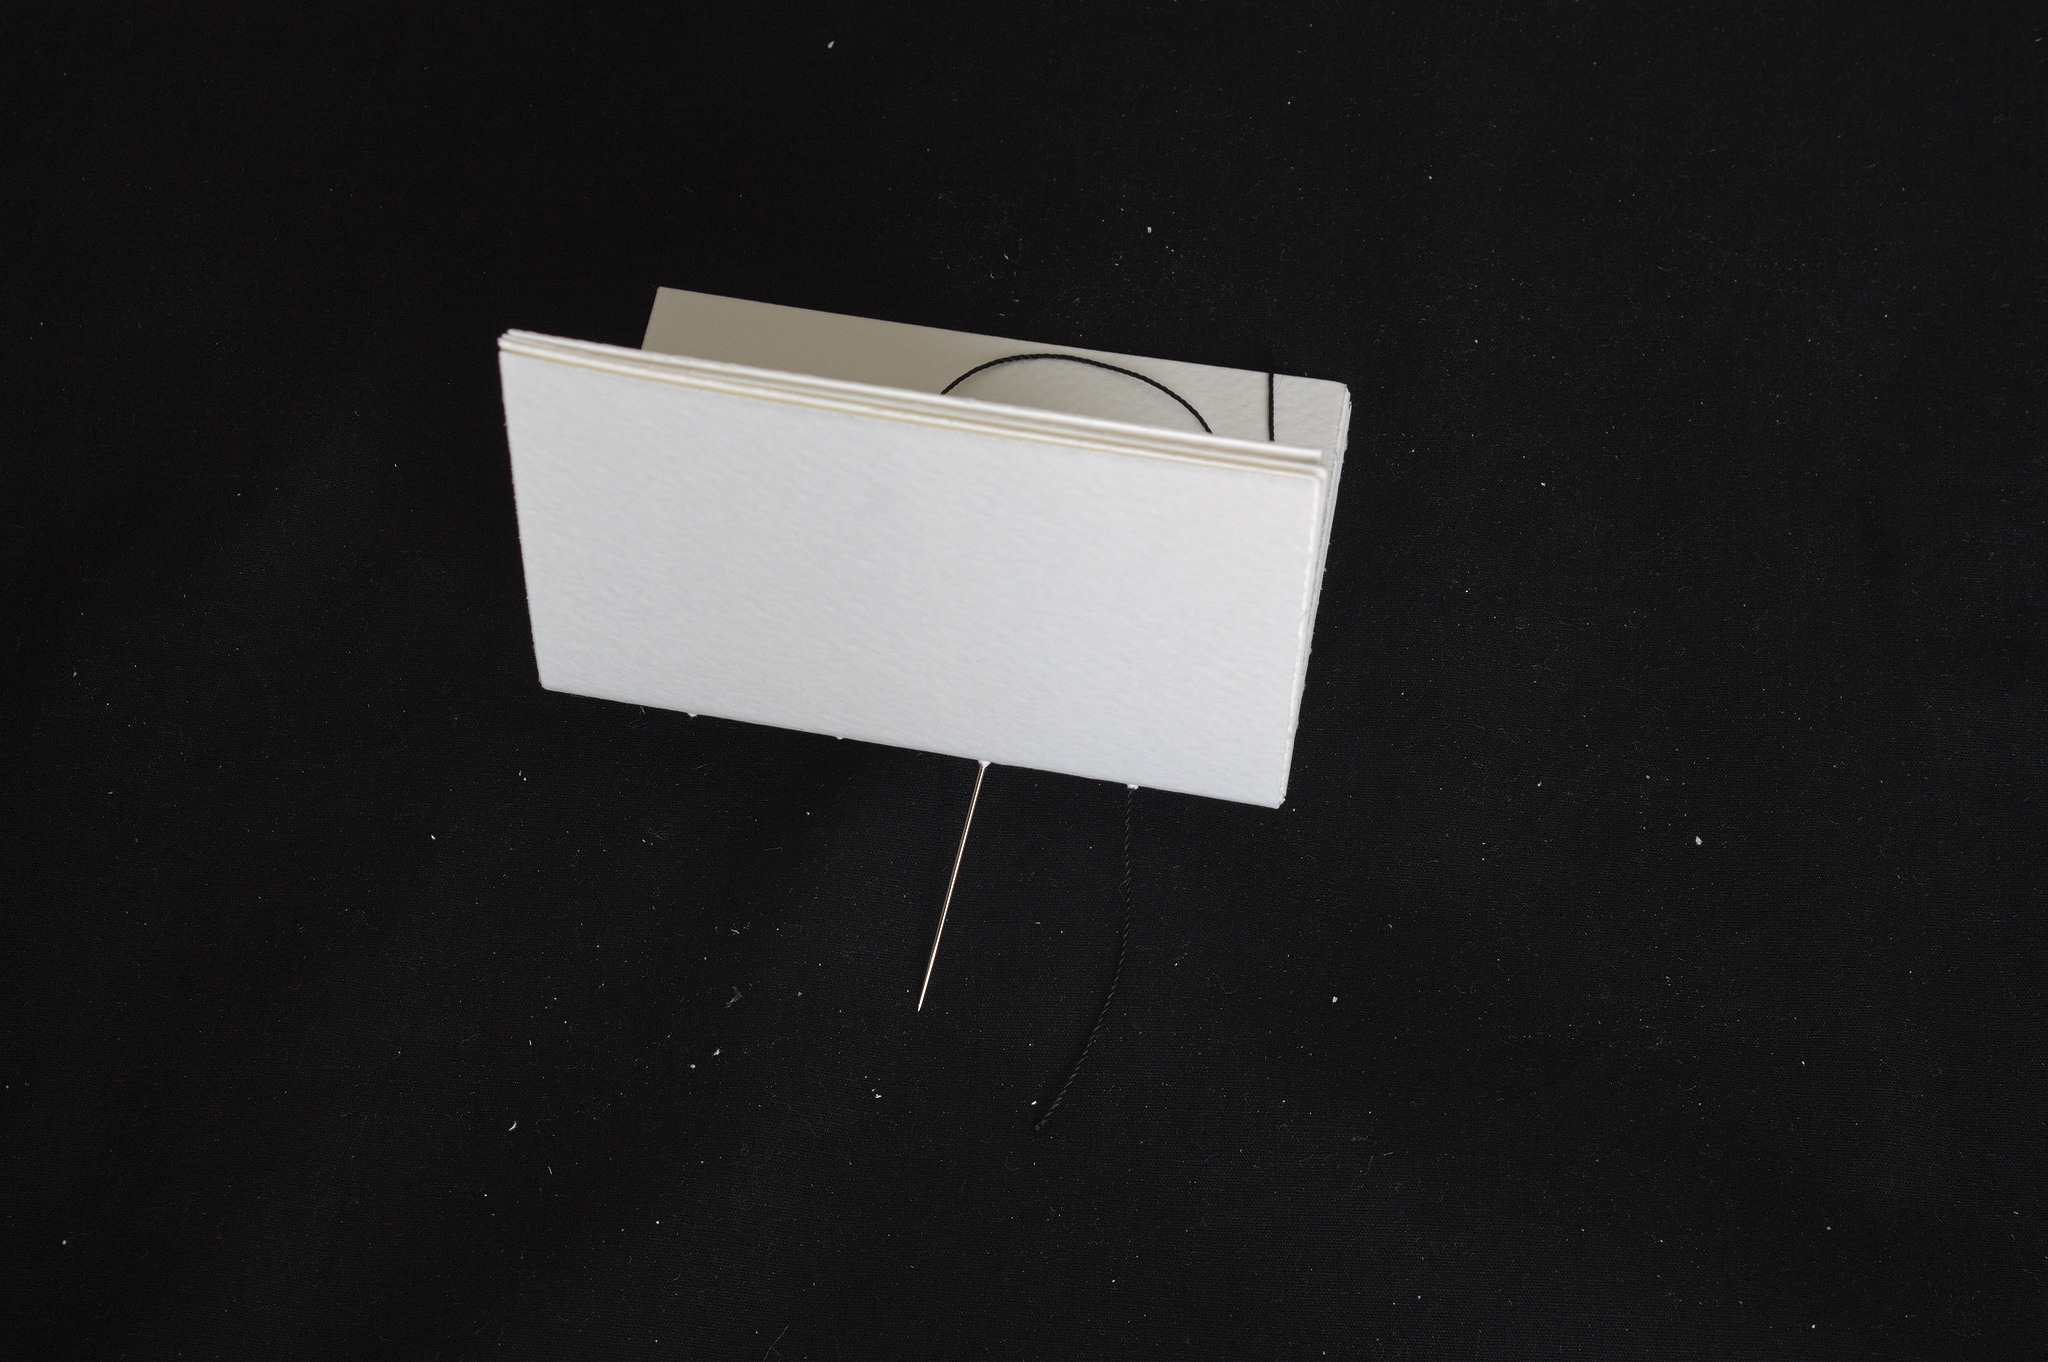
Sew the zine with a backstitch, i.e. the stitch shown in the image above:
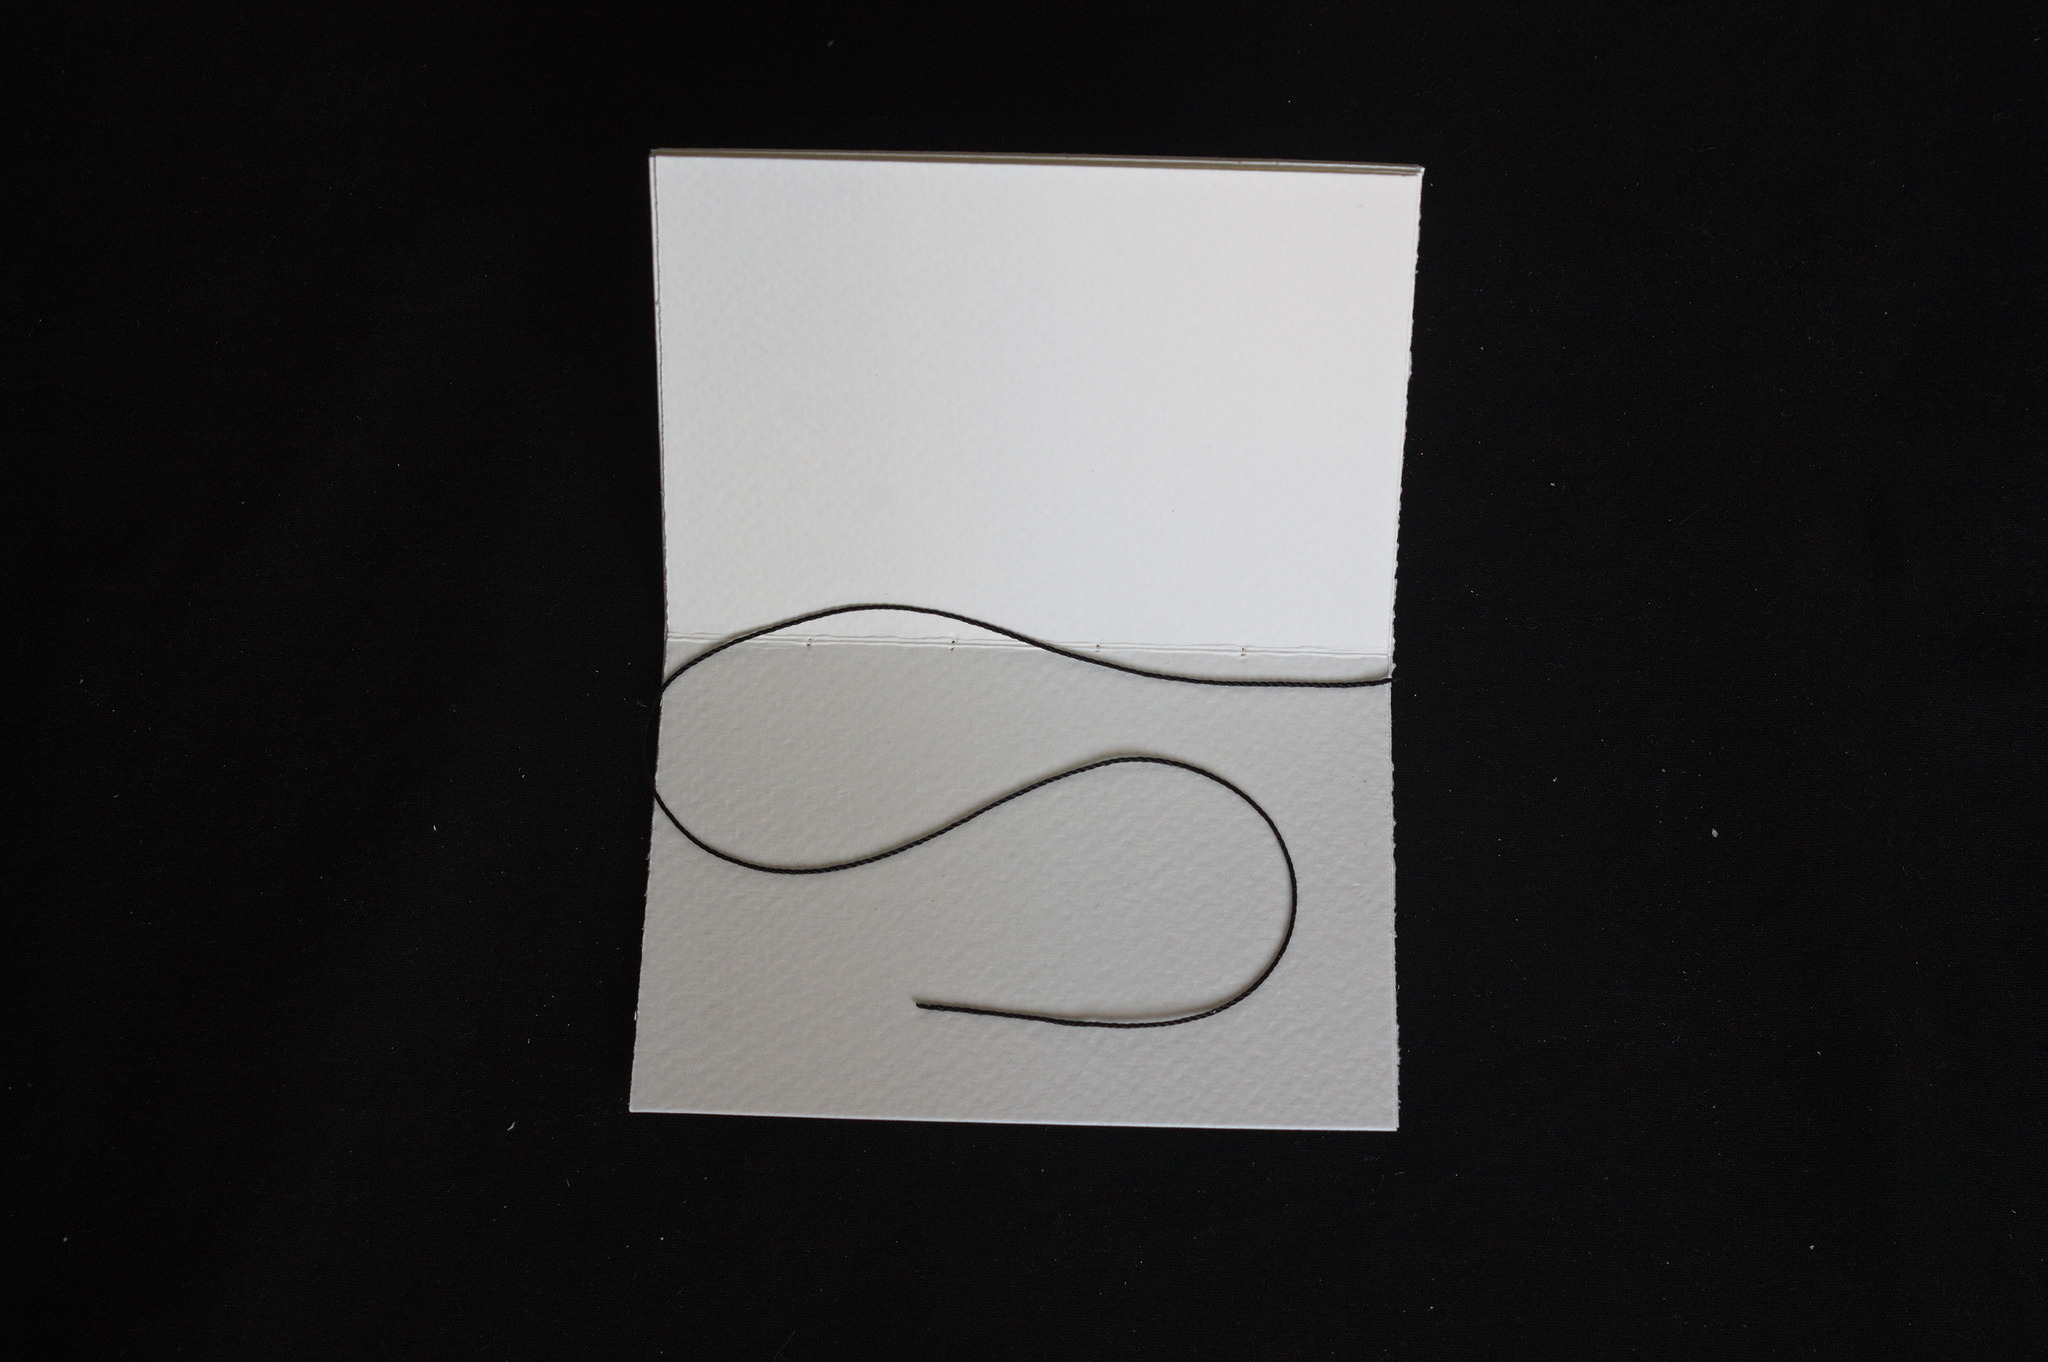
cut a piece of thread that is twice as long as the spine plus 10 cm;
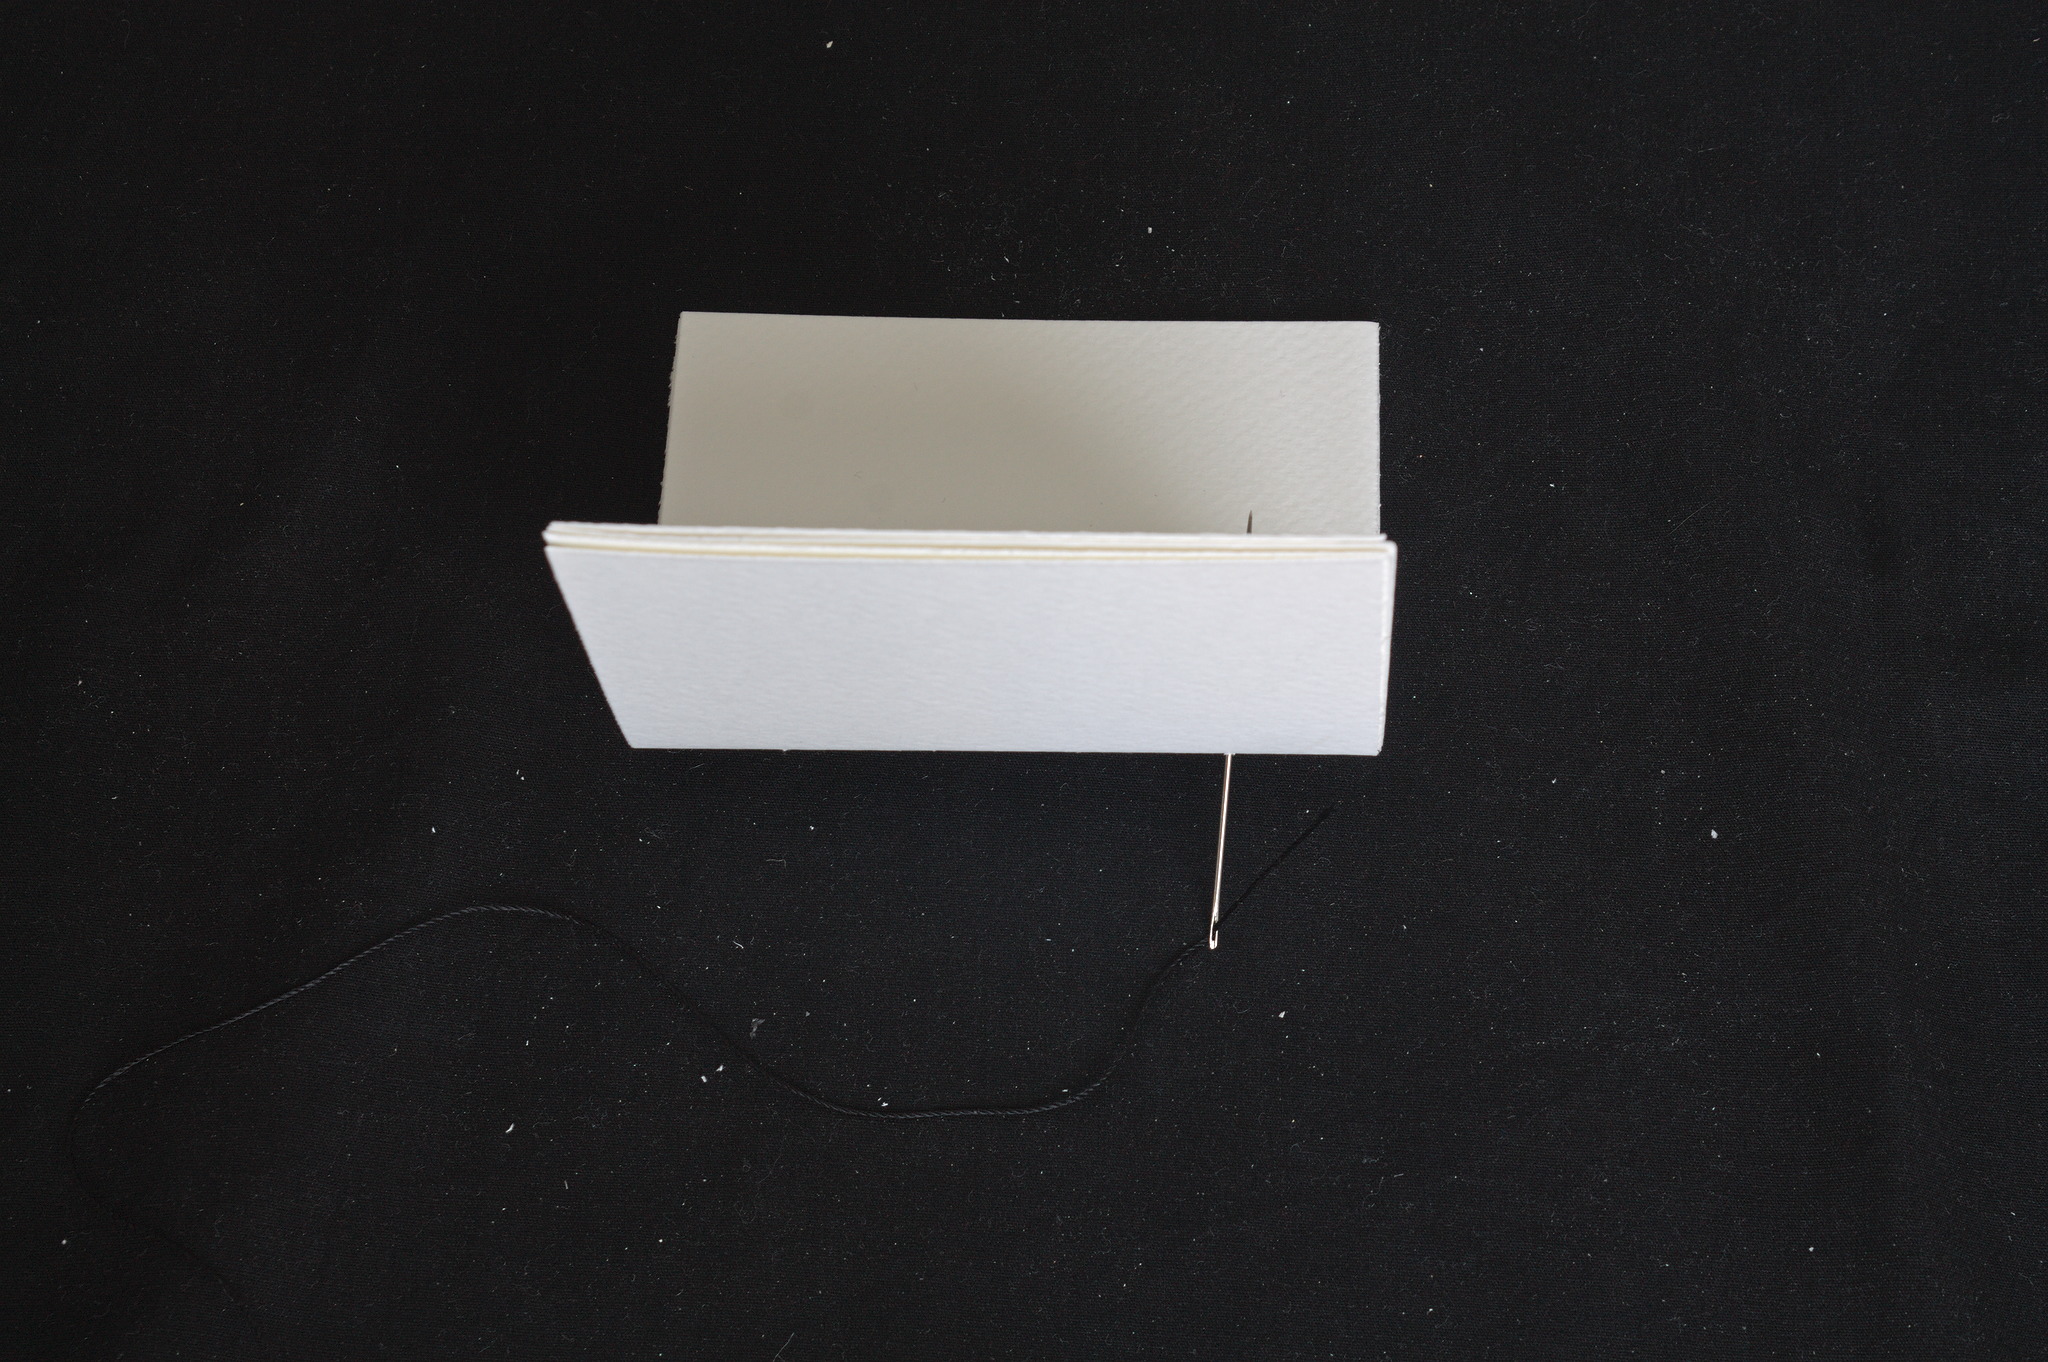
starting from the hole at the bottom of the zine, and from the outside, pass the thread to the inside and leaving a 3–4 cm tail;
then outside in the next hole;
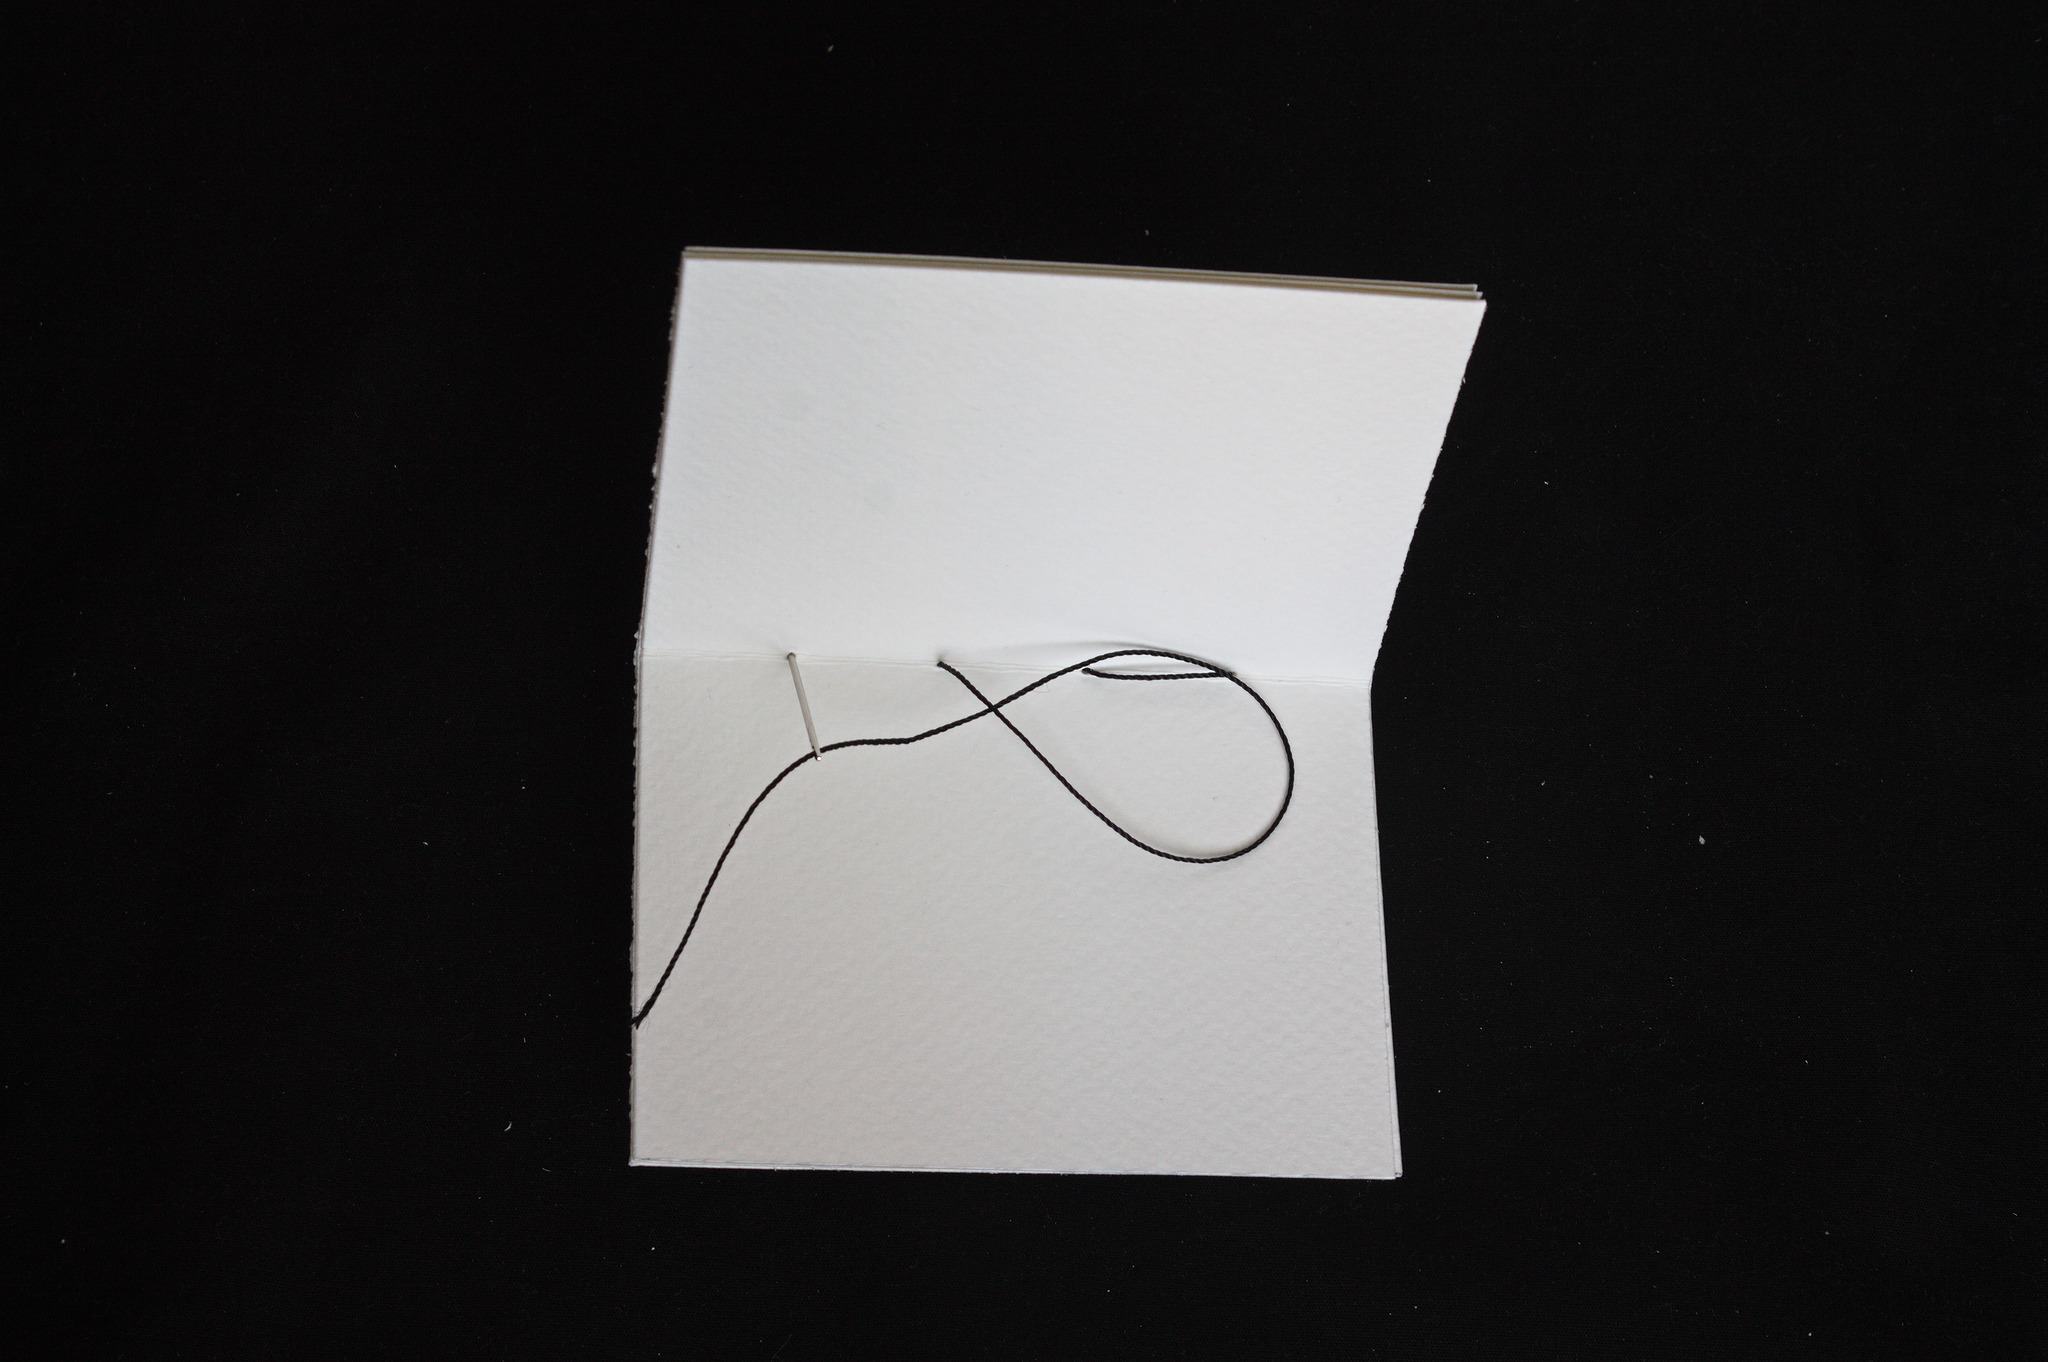
again inside and outside;
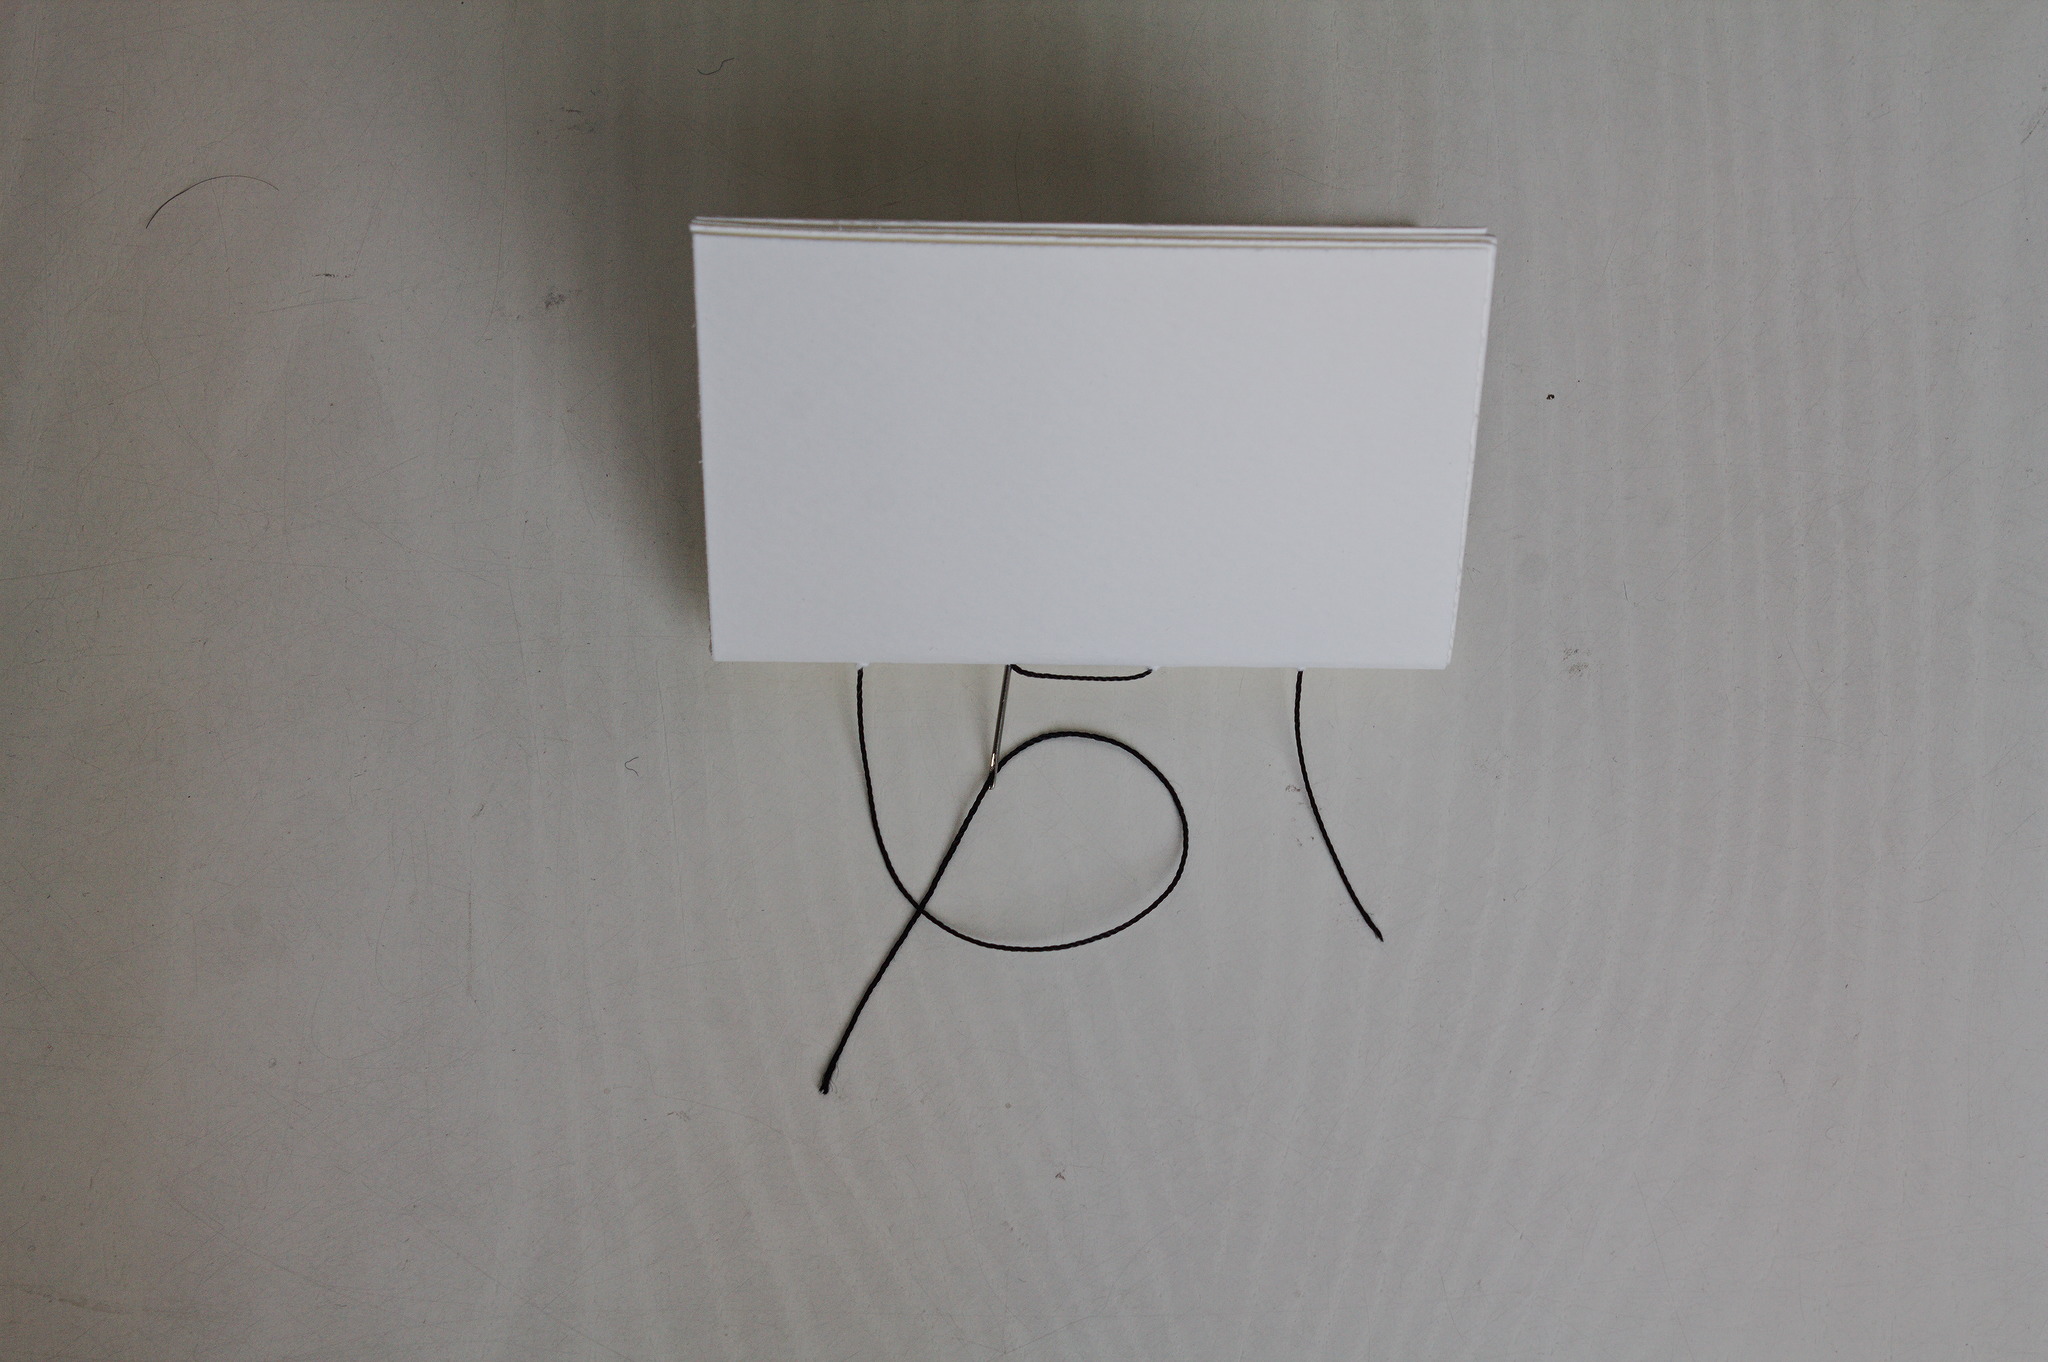
when you reach the top of the zine you should be at the outside of the zine, go back to the inside in the second hole from the top;

and again outside and inside until you’re back at the bottom, you should be on the inside of the zine;
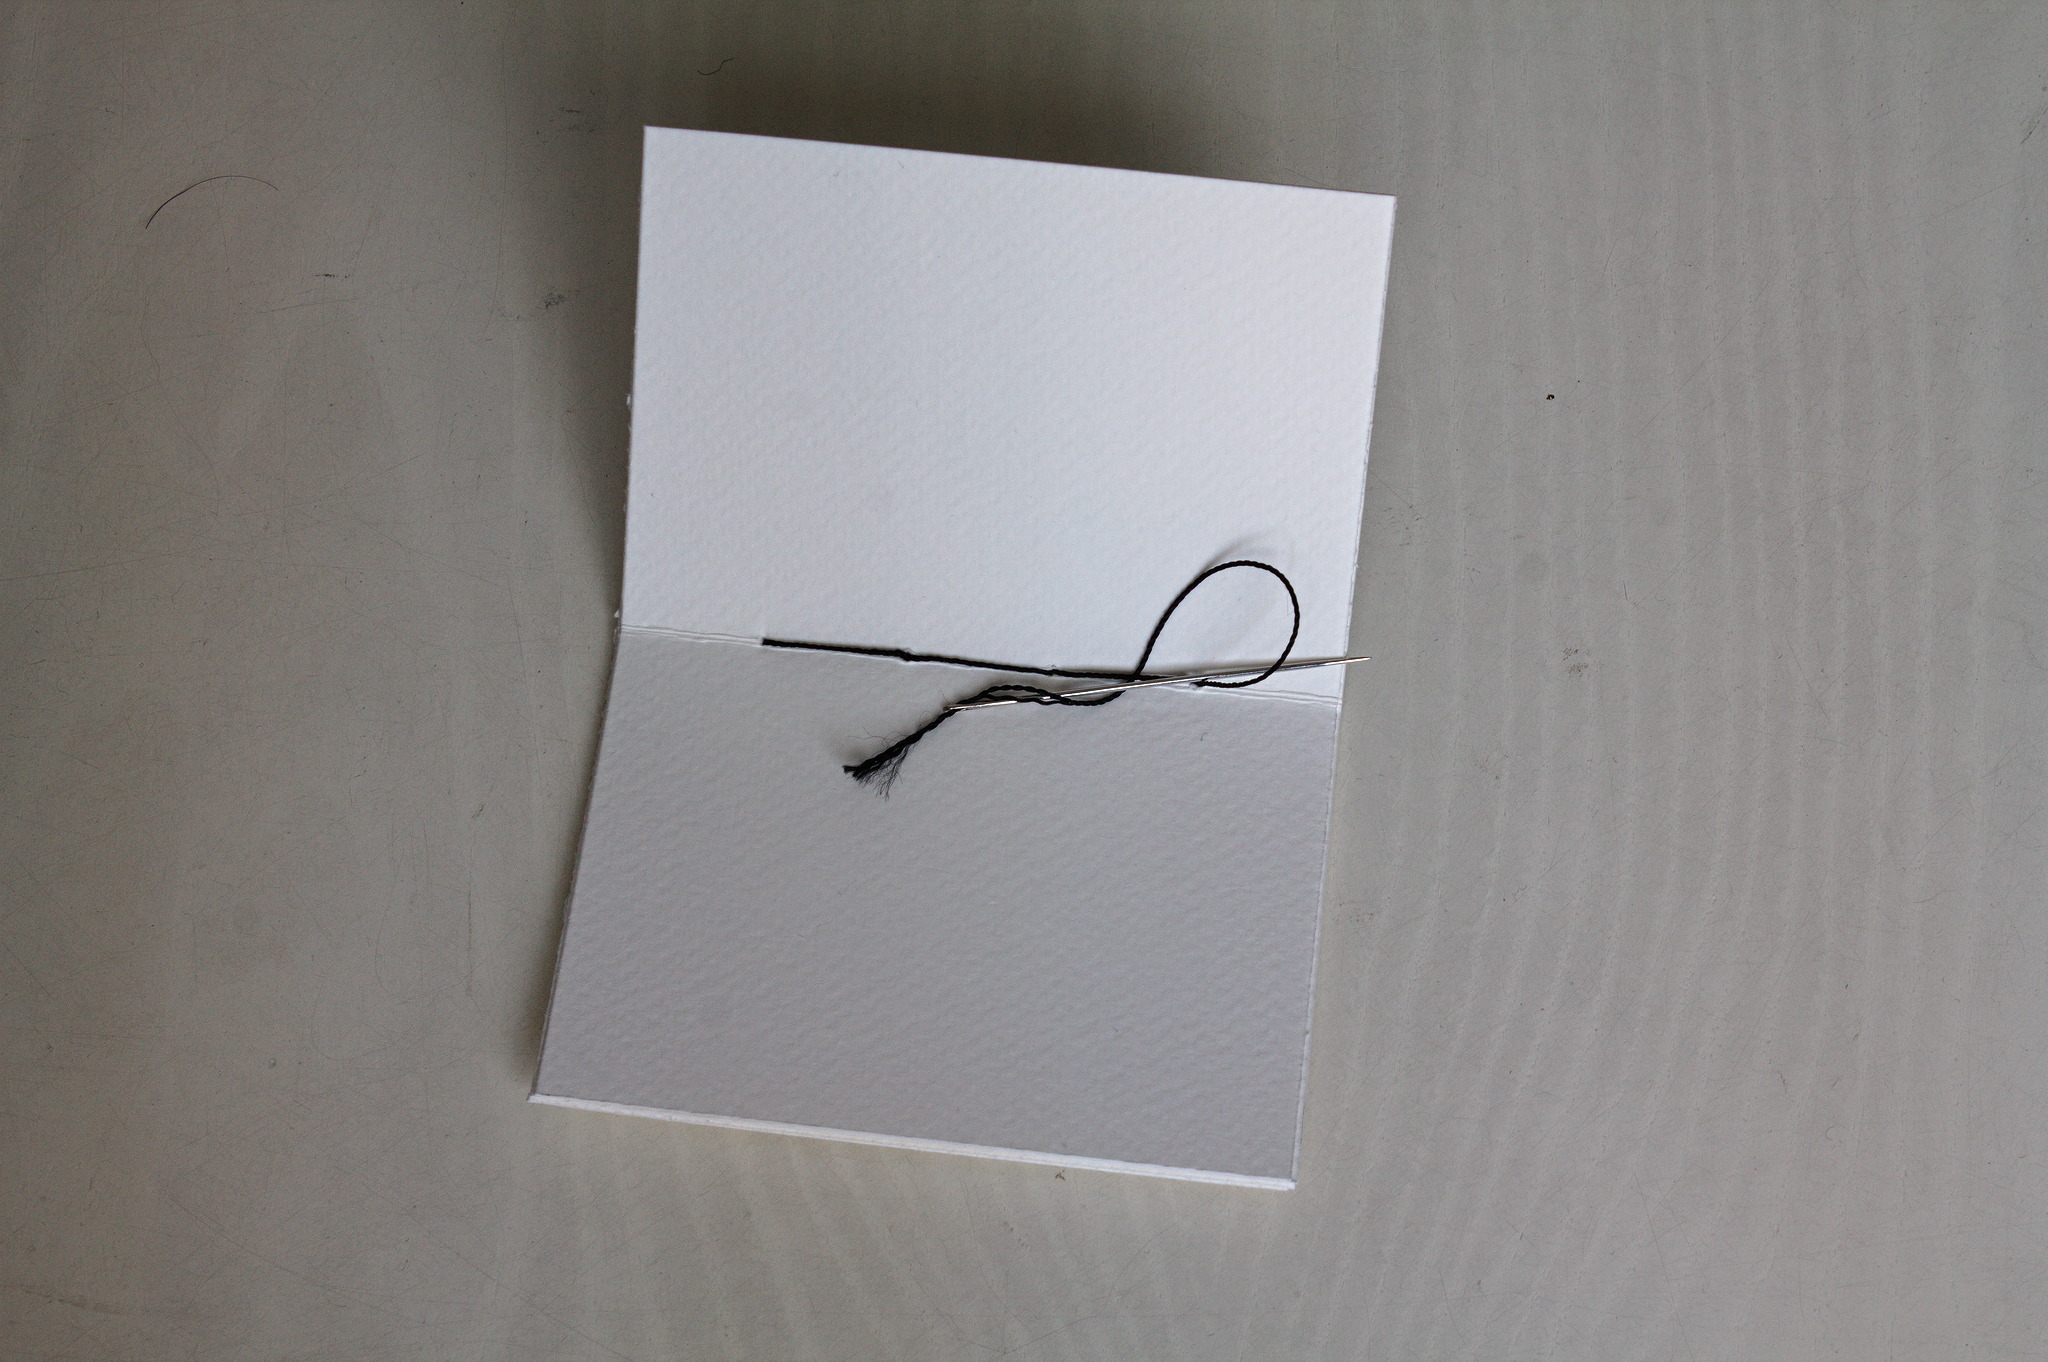
pass the needle through the last stitch, and in the loop to make a knot, repeat for a second knot;
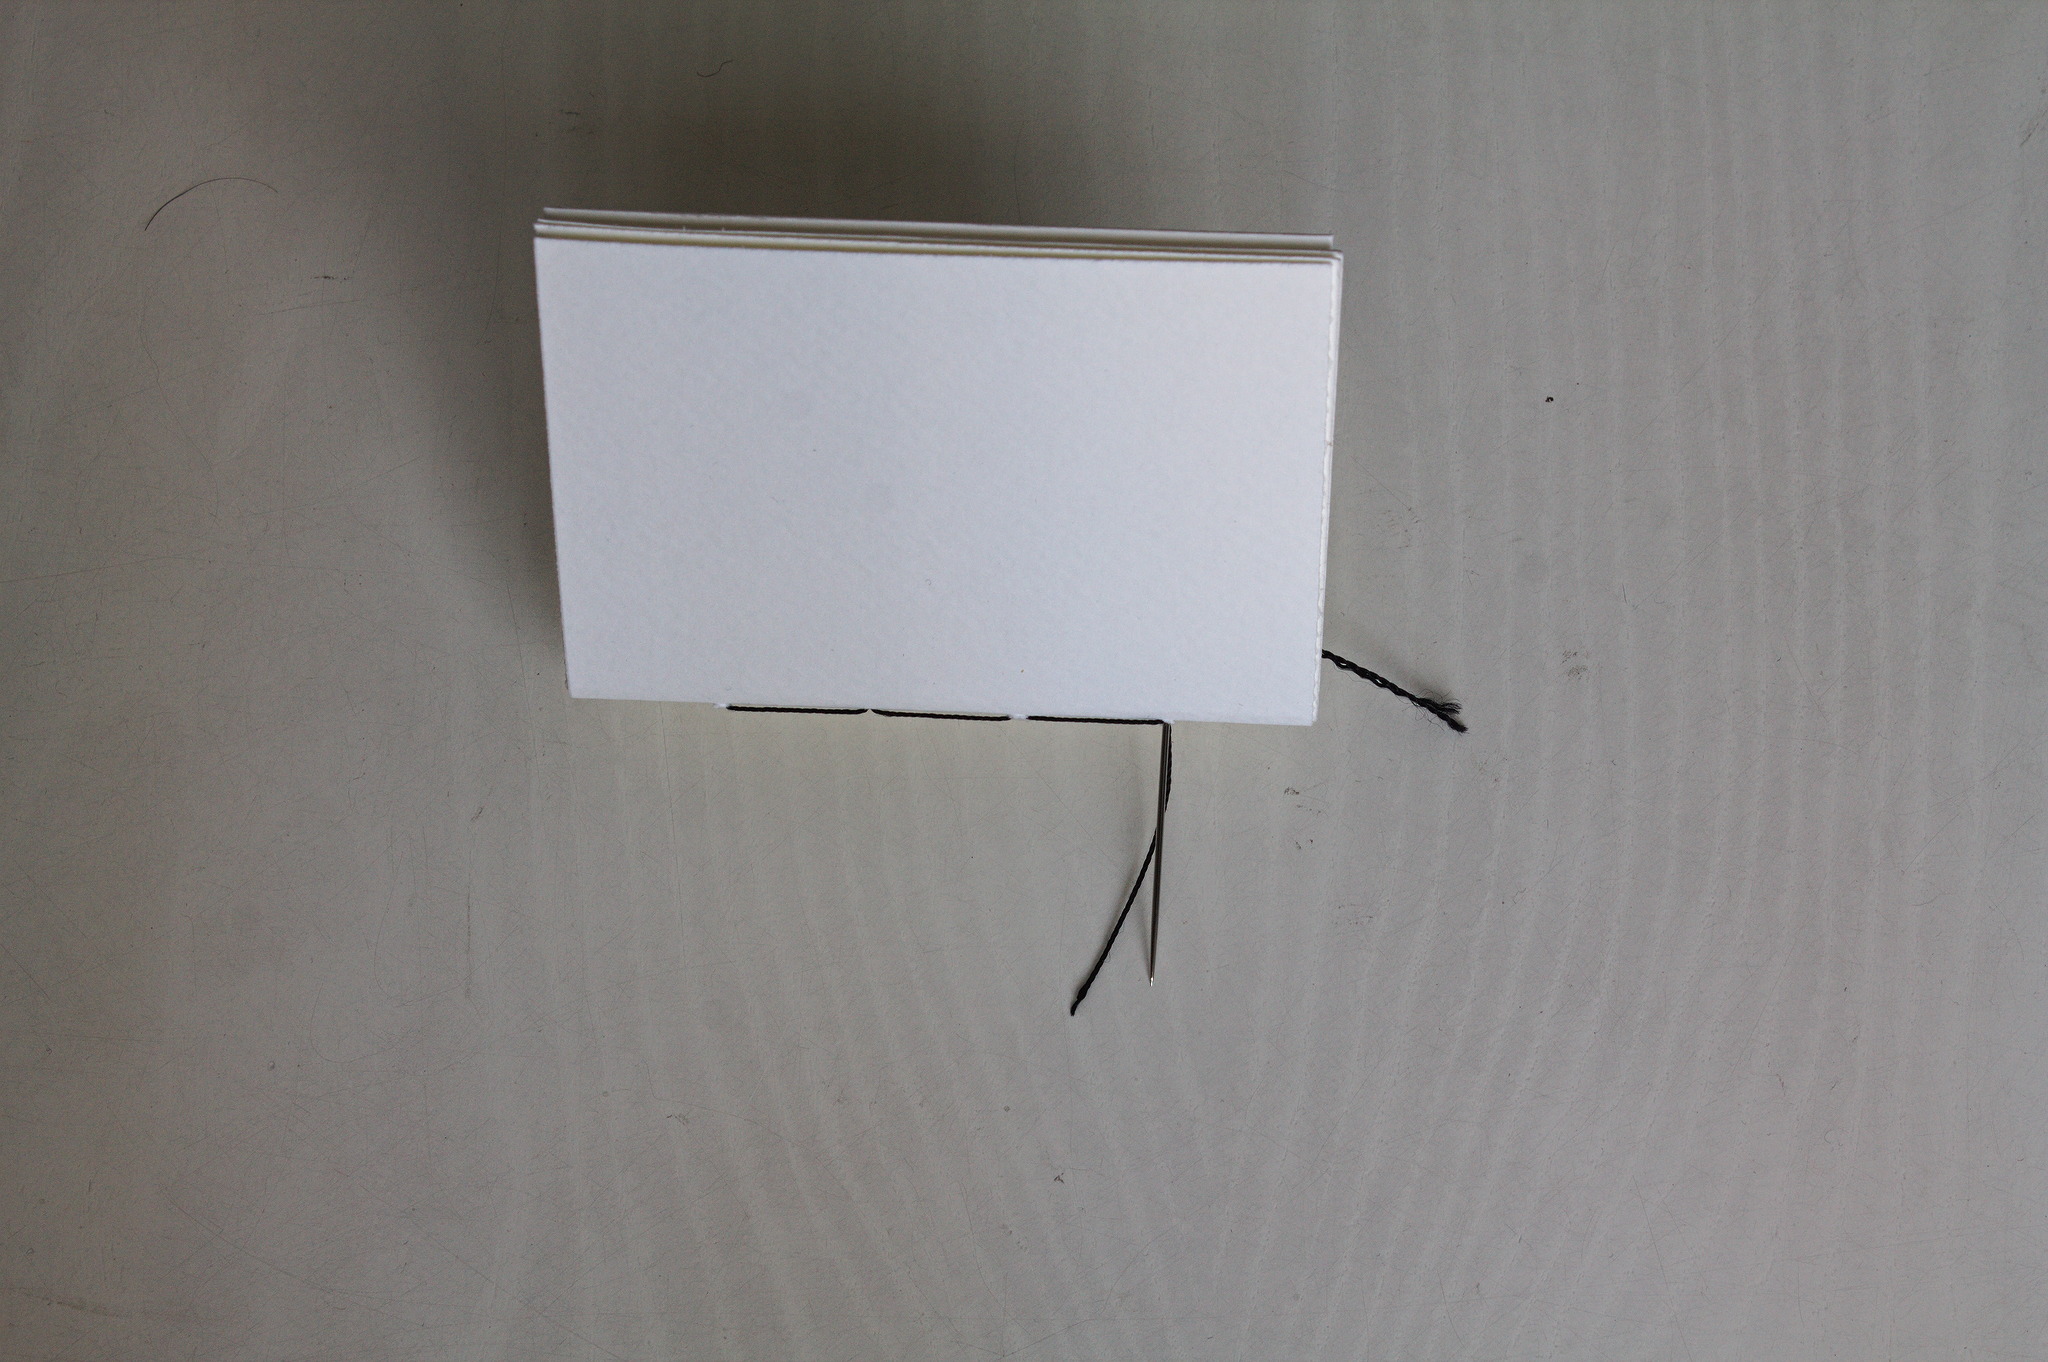
pass the needle again to the outside;
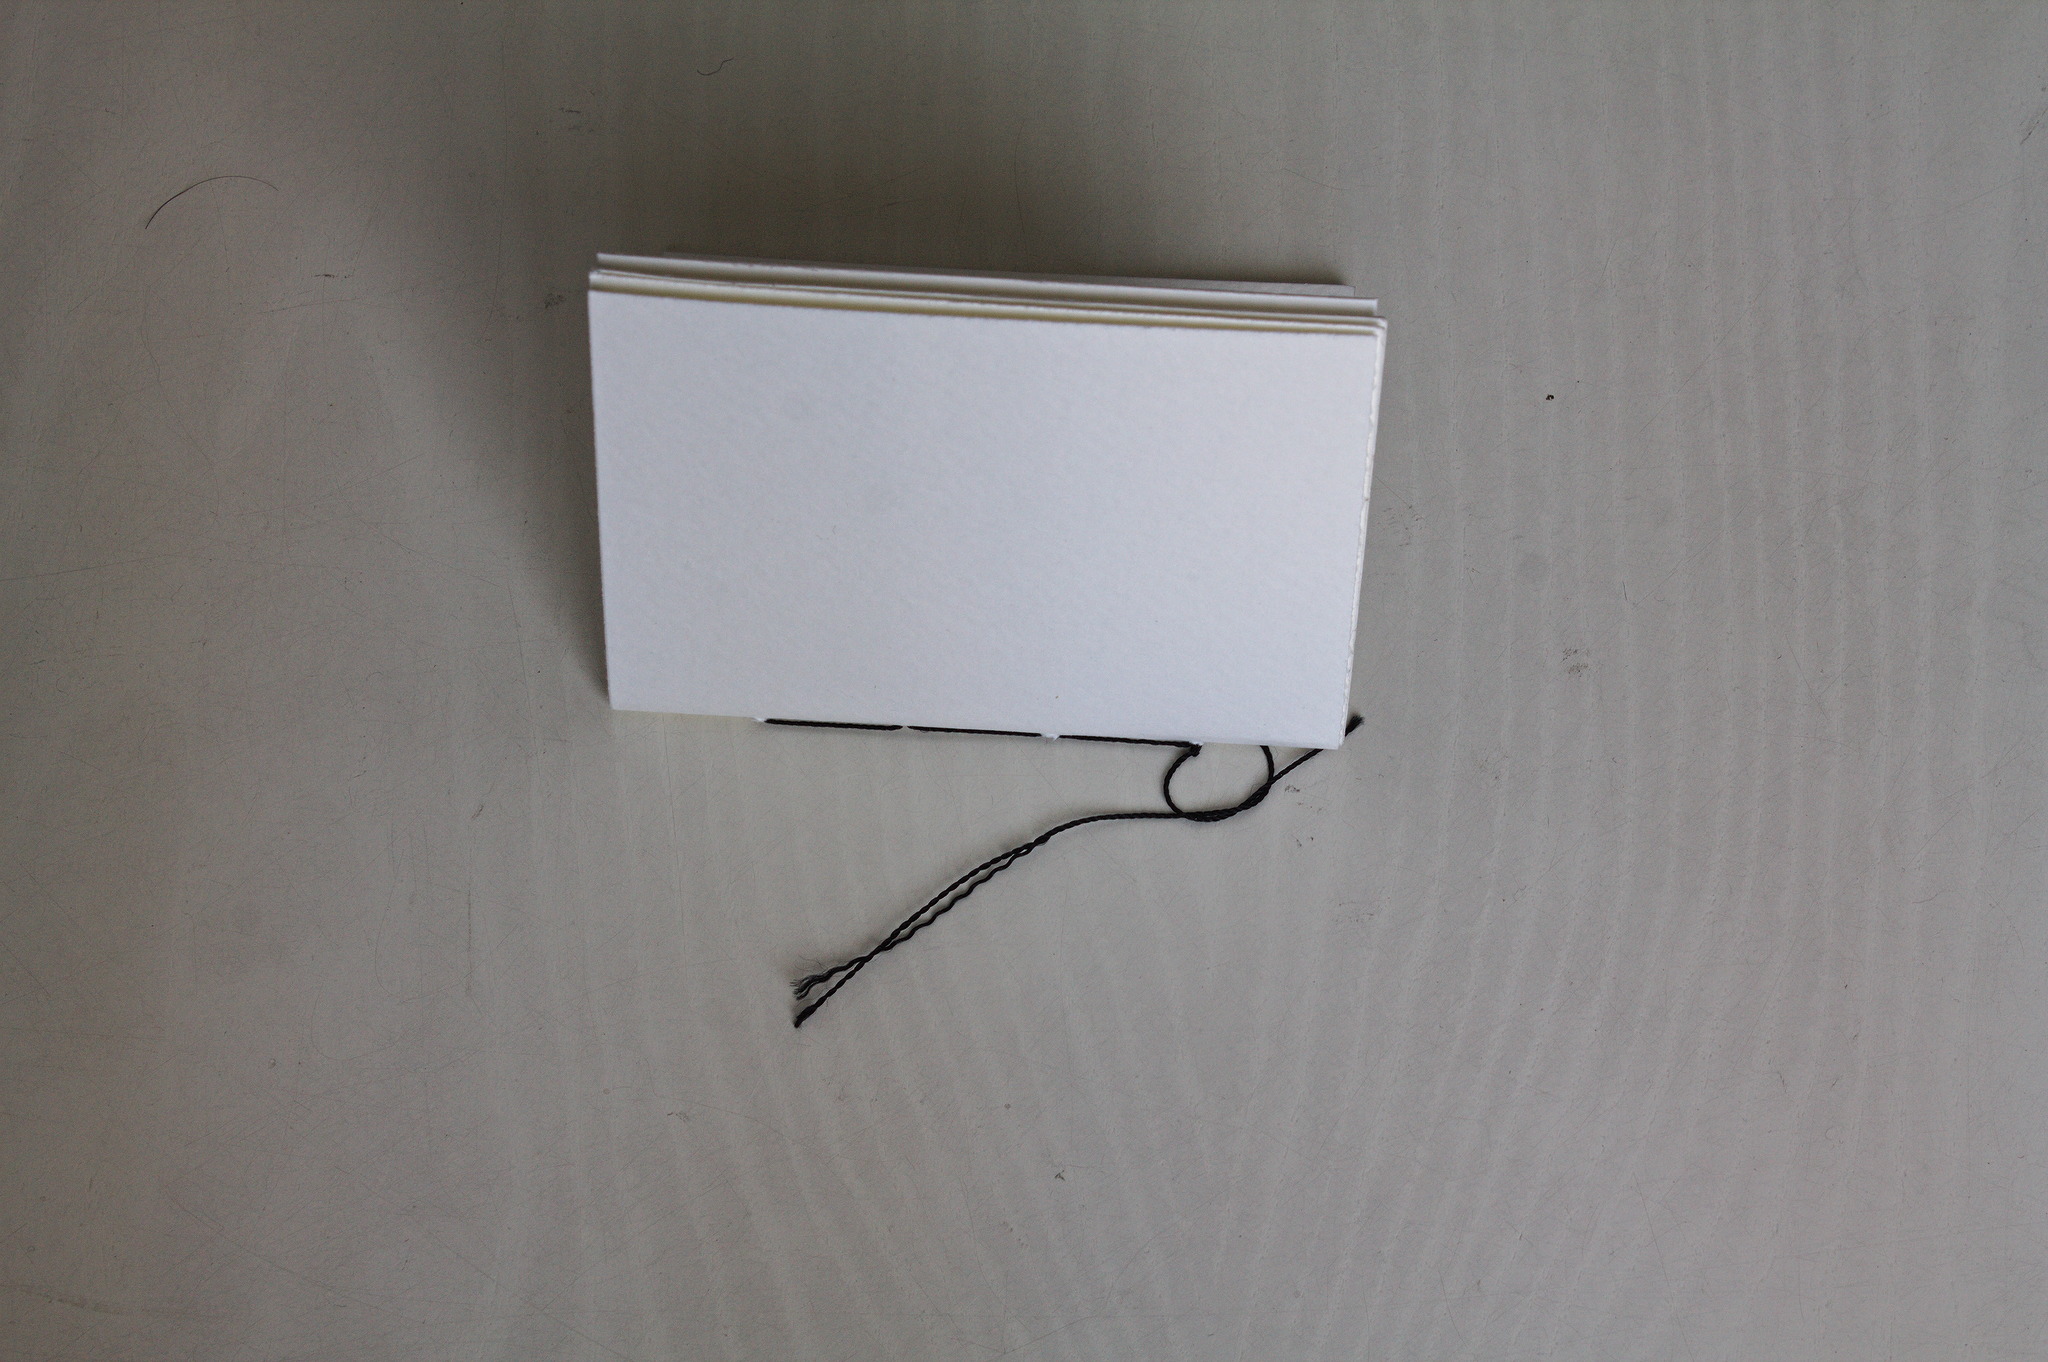
finish the seam with a square knot.
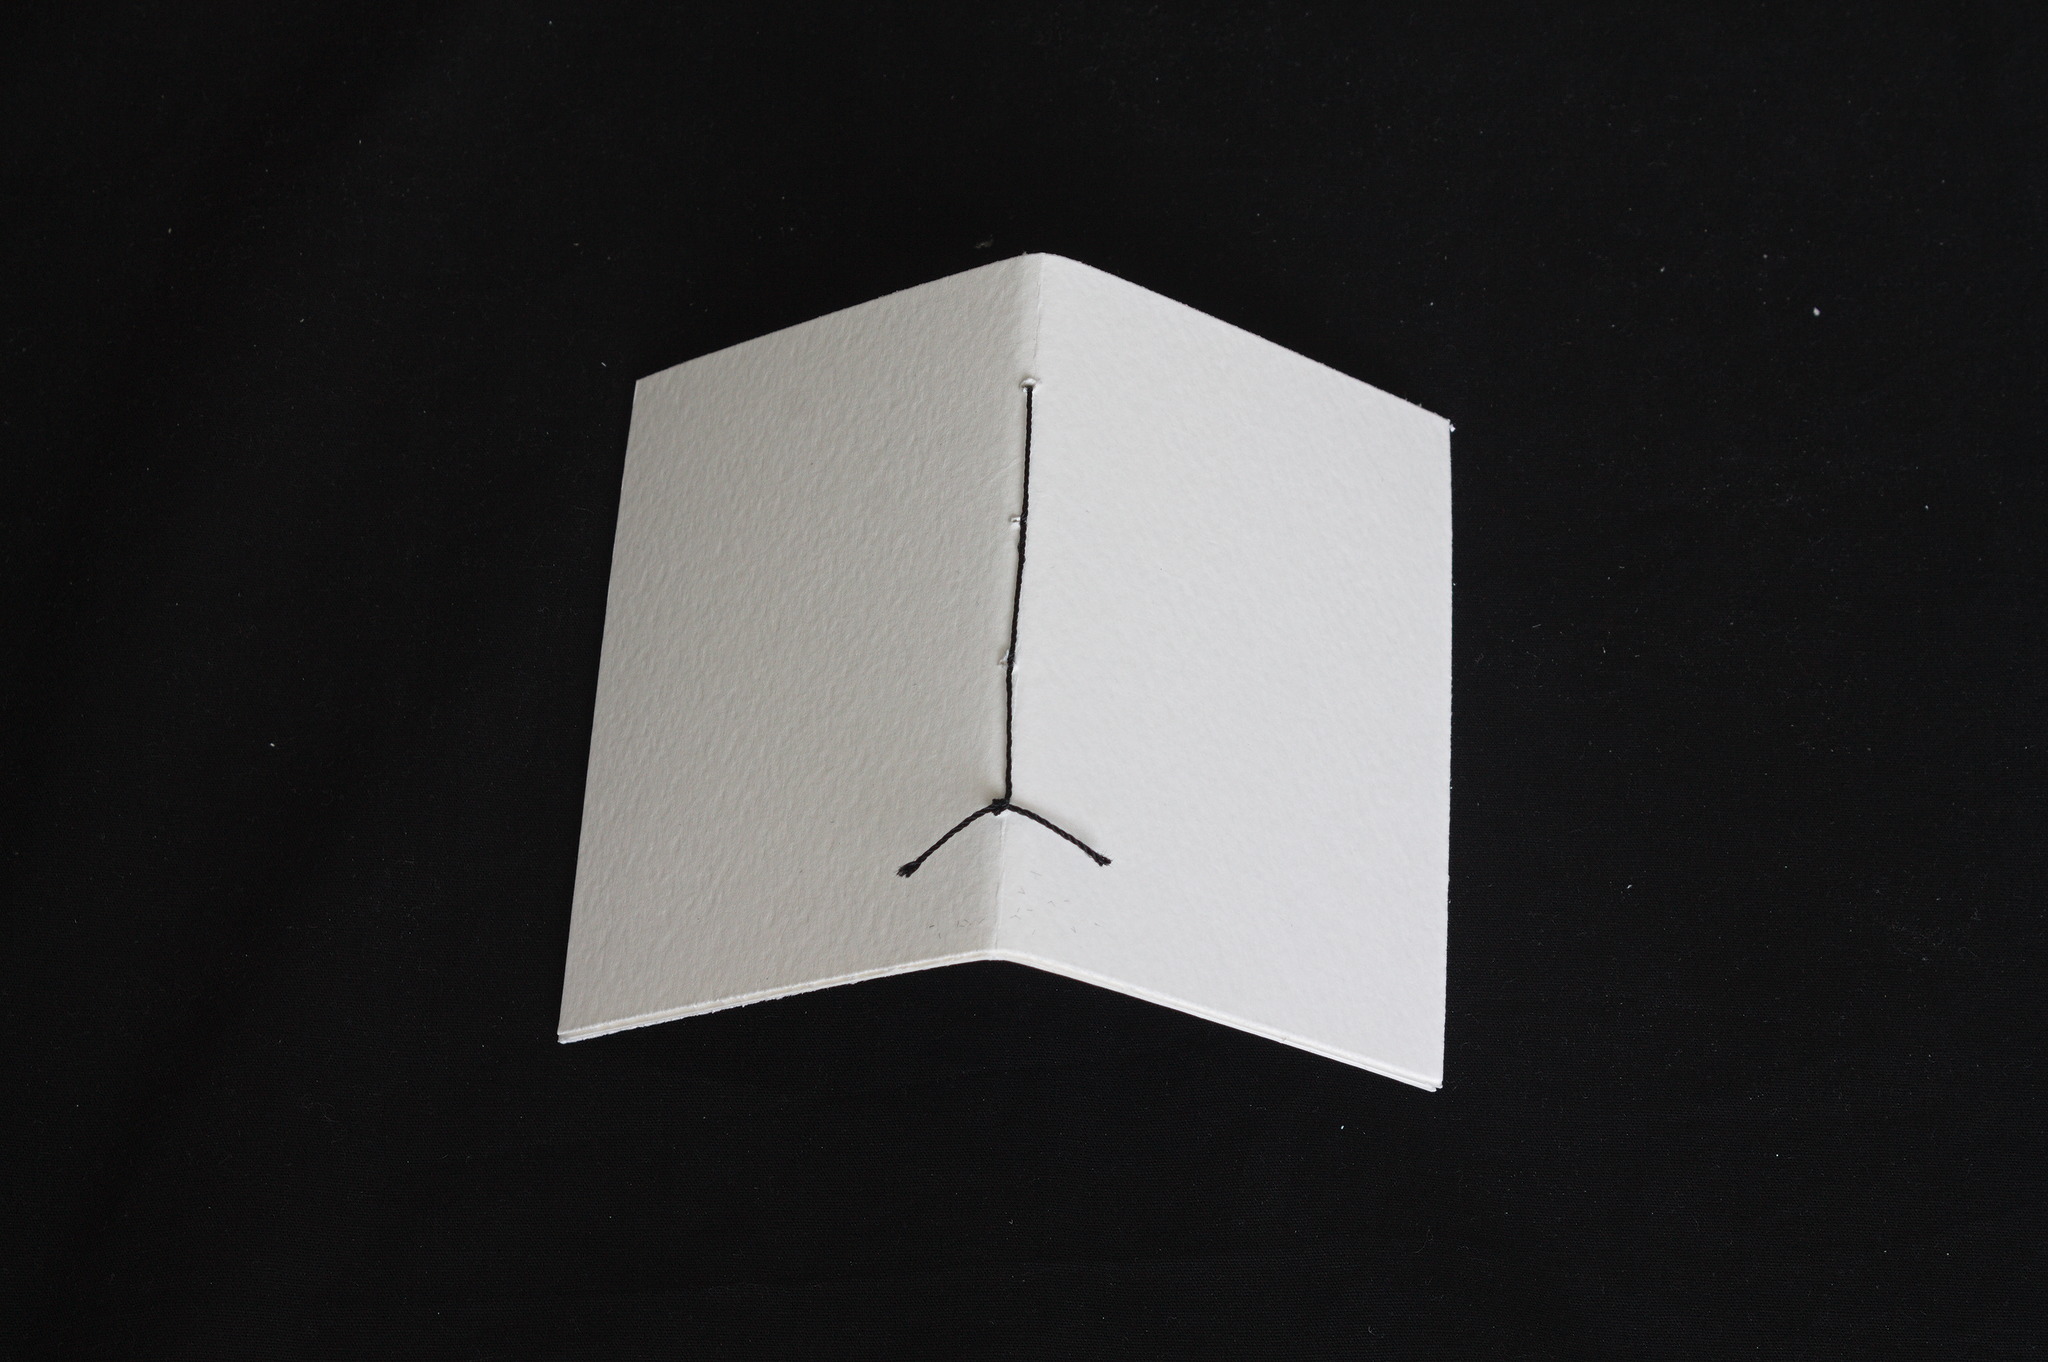
Trim the ends of the thread so that they are shorter than the book
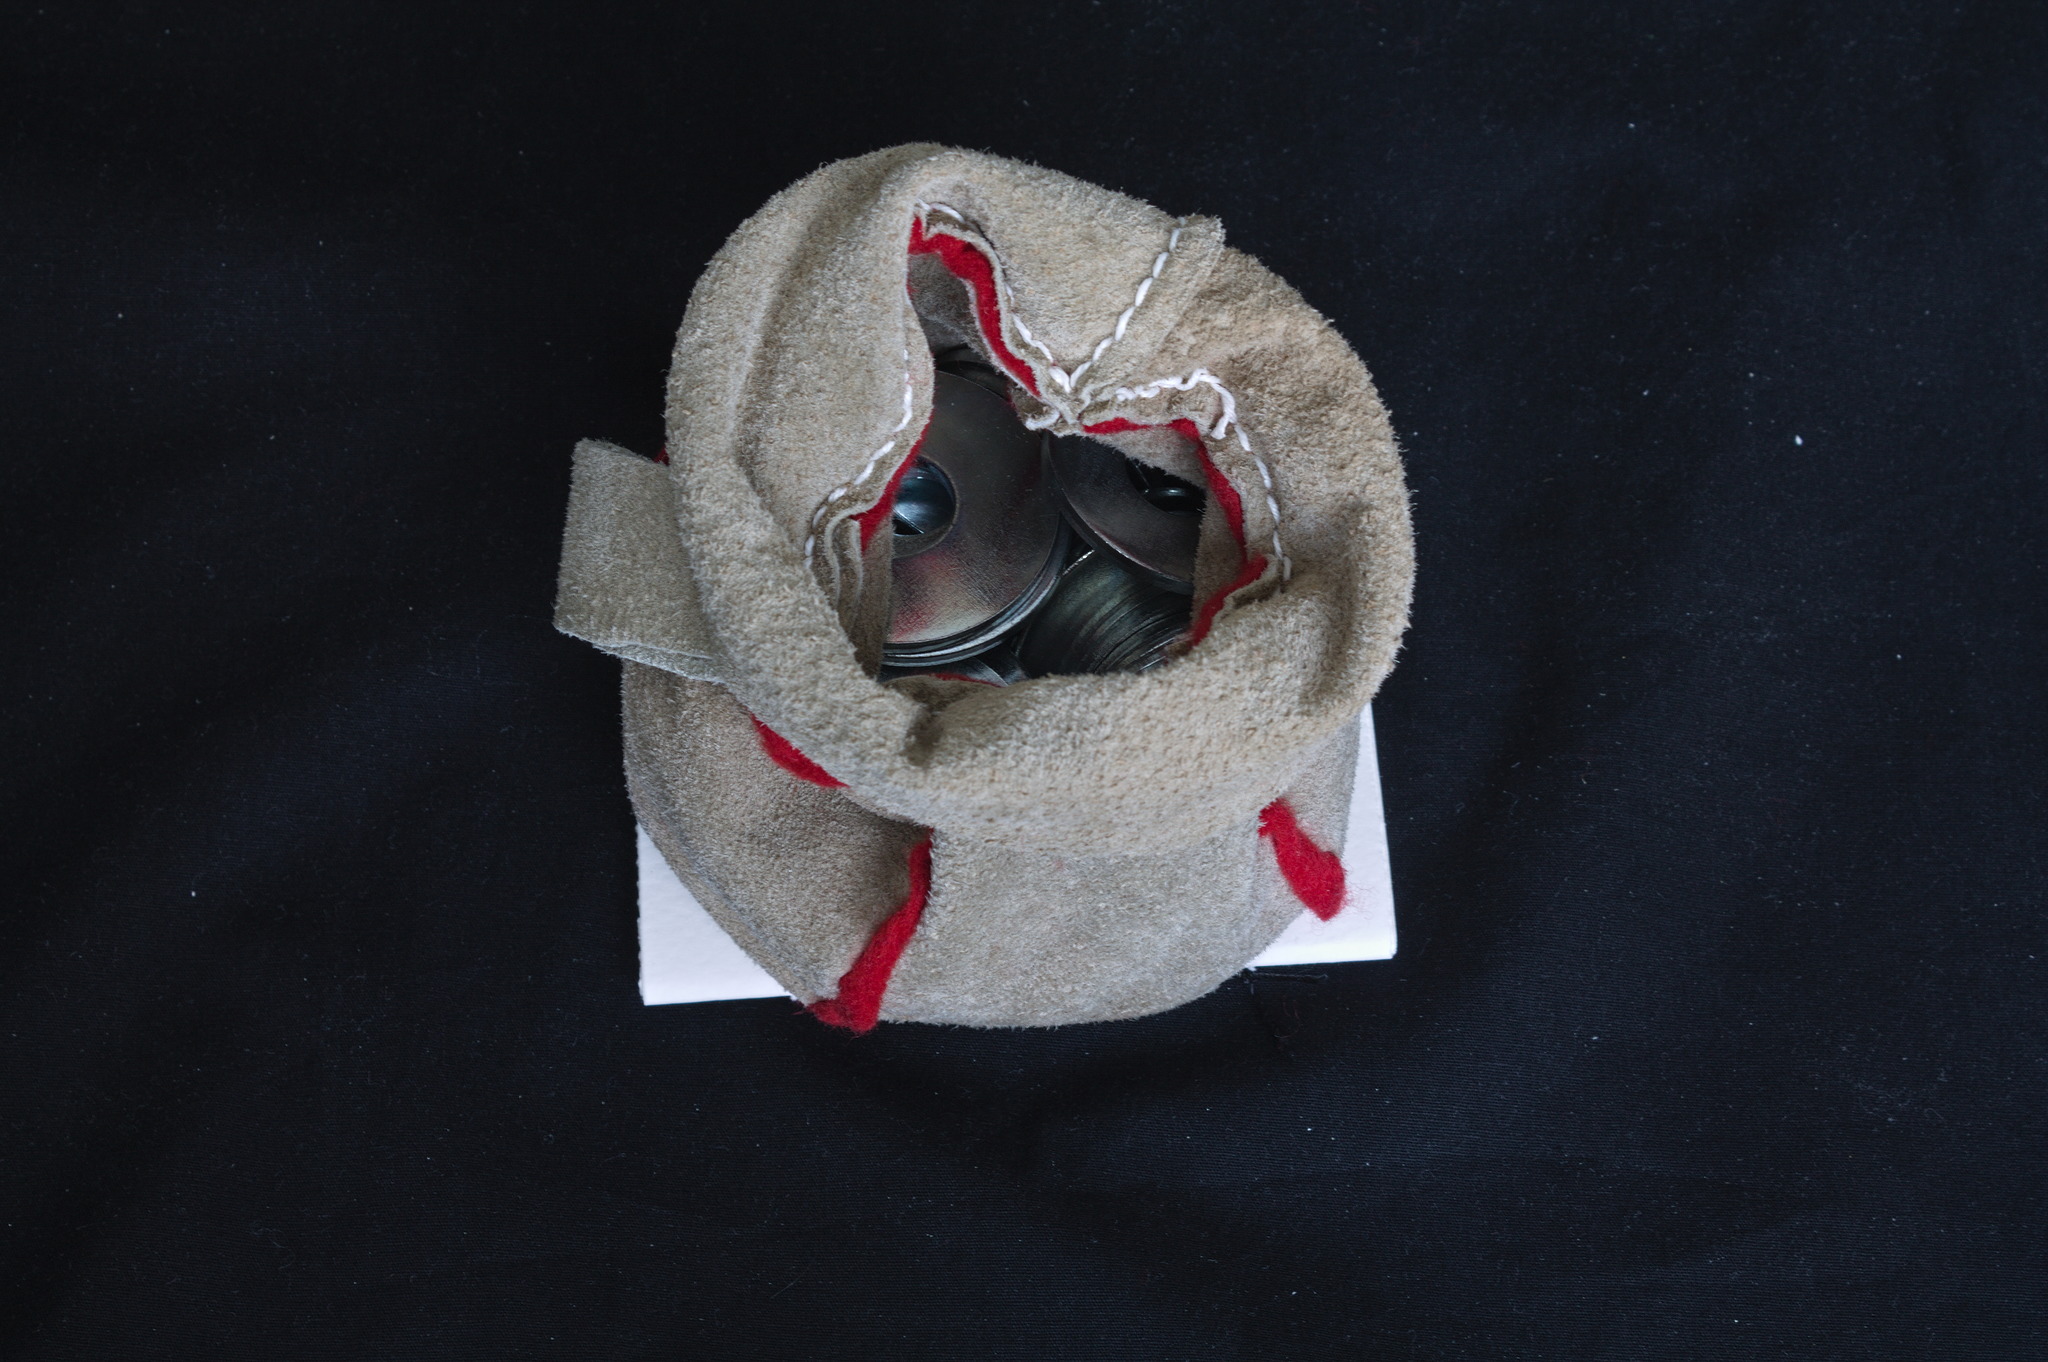
Put everything under a weight for at least two hours, or overnight.
Carefully trim the pages with a ruler and knife to the size of the outer page.
See also
https://mastodon.art/@rina/110842136688688125 the fediverse thread that gave me the idea.
https://www.wikihow.com/Make-a-Zine making an 8-pages zine with just one cut (where I took the size recommendation from).
https://www.youtube.com/watch?v=9XCvTZRVbgg kettle stitch binding for a full book.